
307 - 1056 Bernard Avenue
Kelowna North, Kelowna

$325,000
Bedrooms: 2
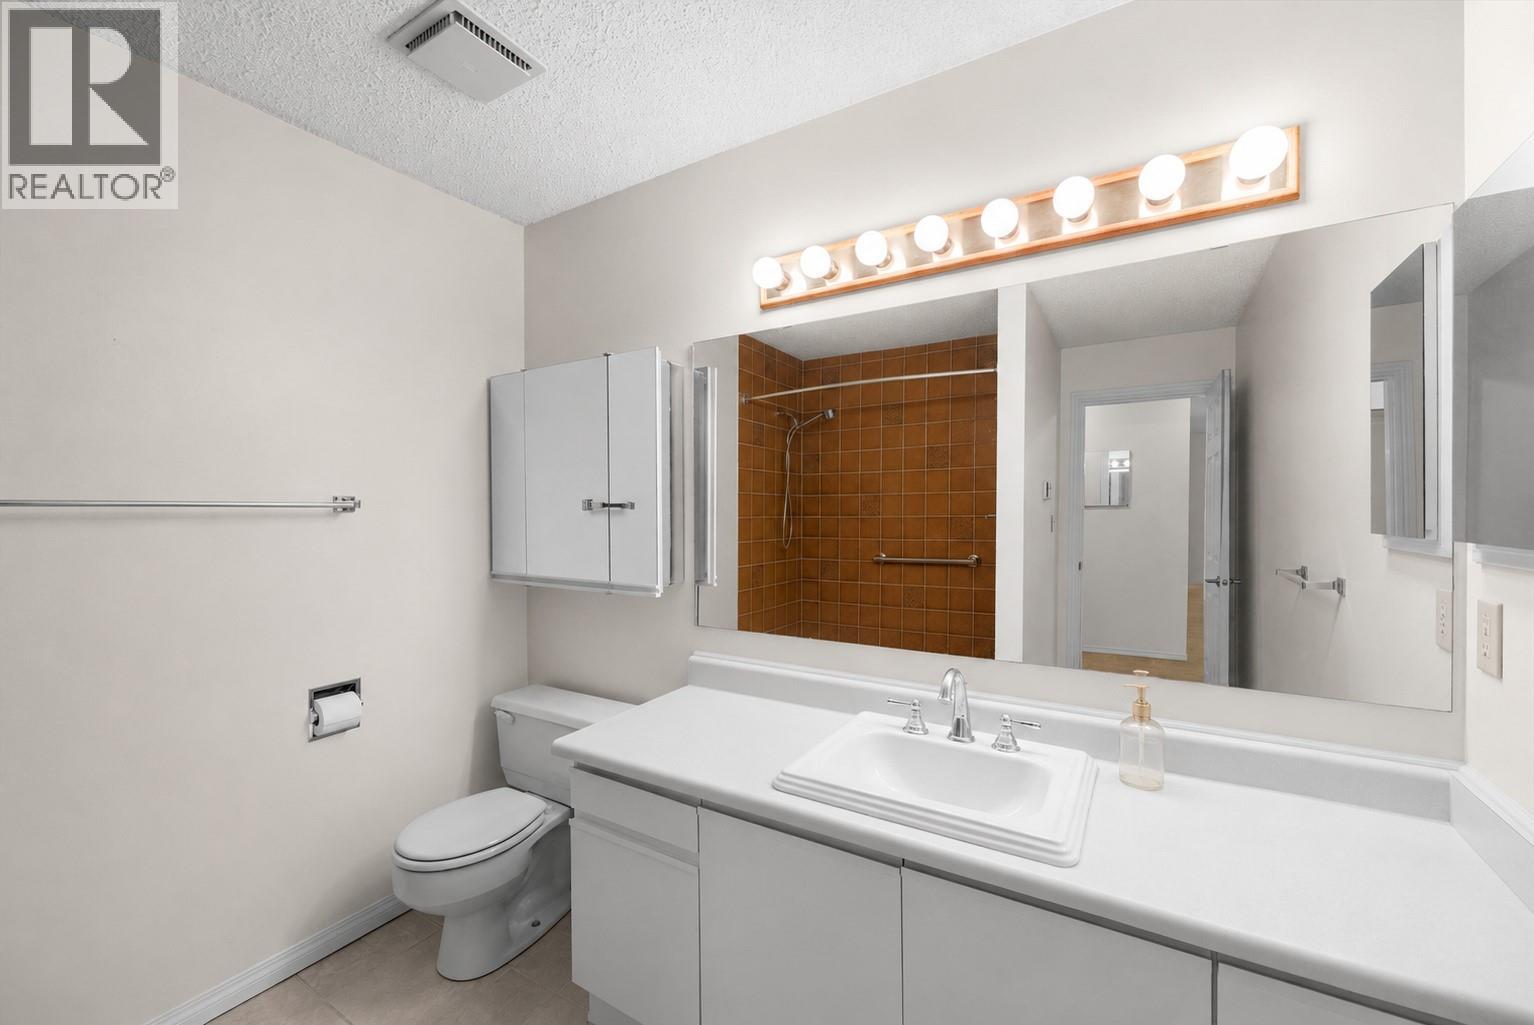
Bathrooms: 1
Living Area: 903 sqft
About this Condo
in Kelowna North, Kelowna
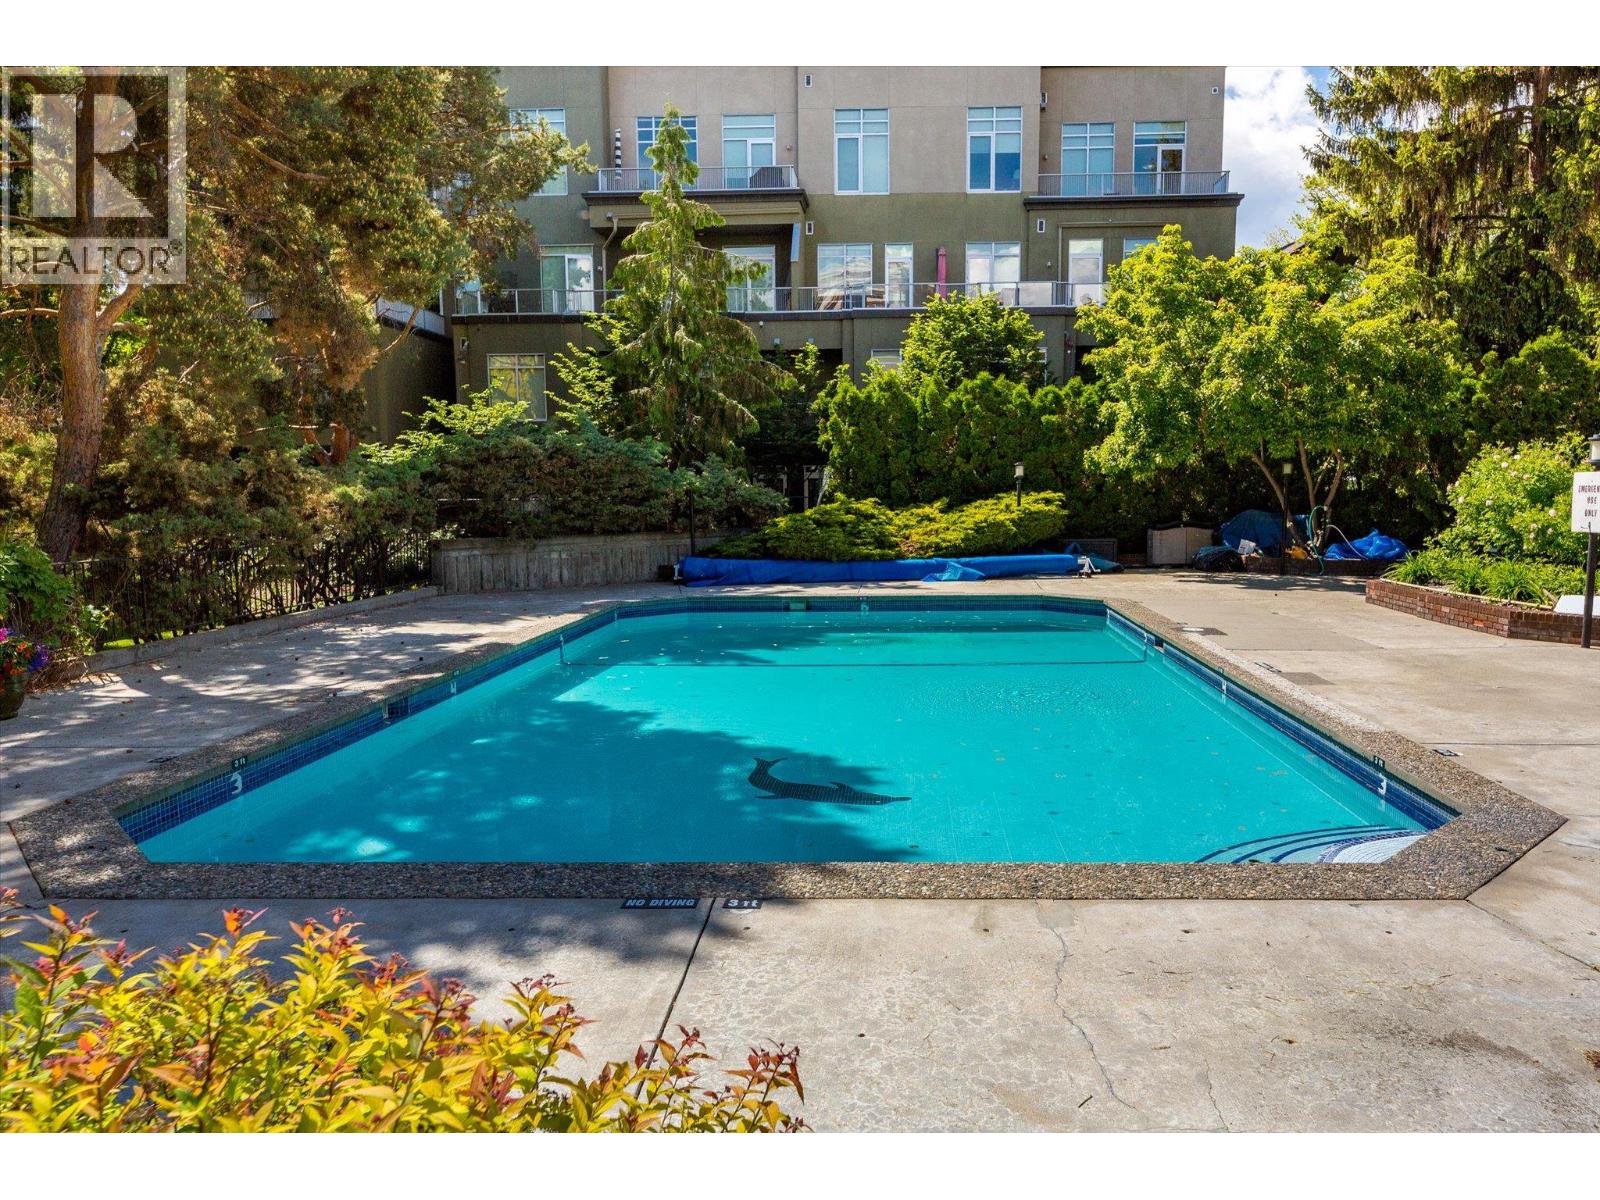
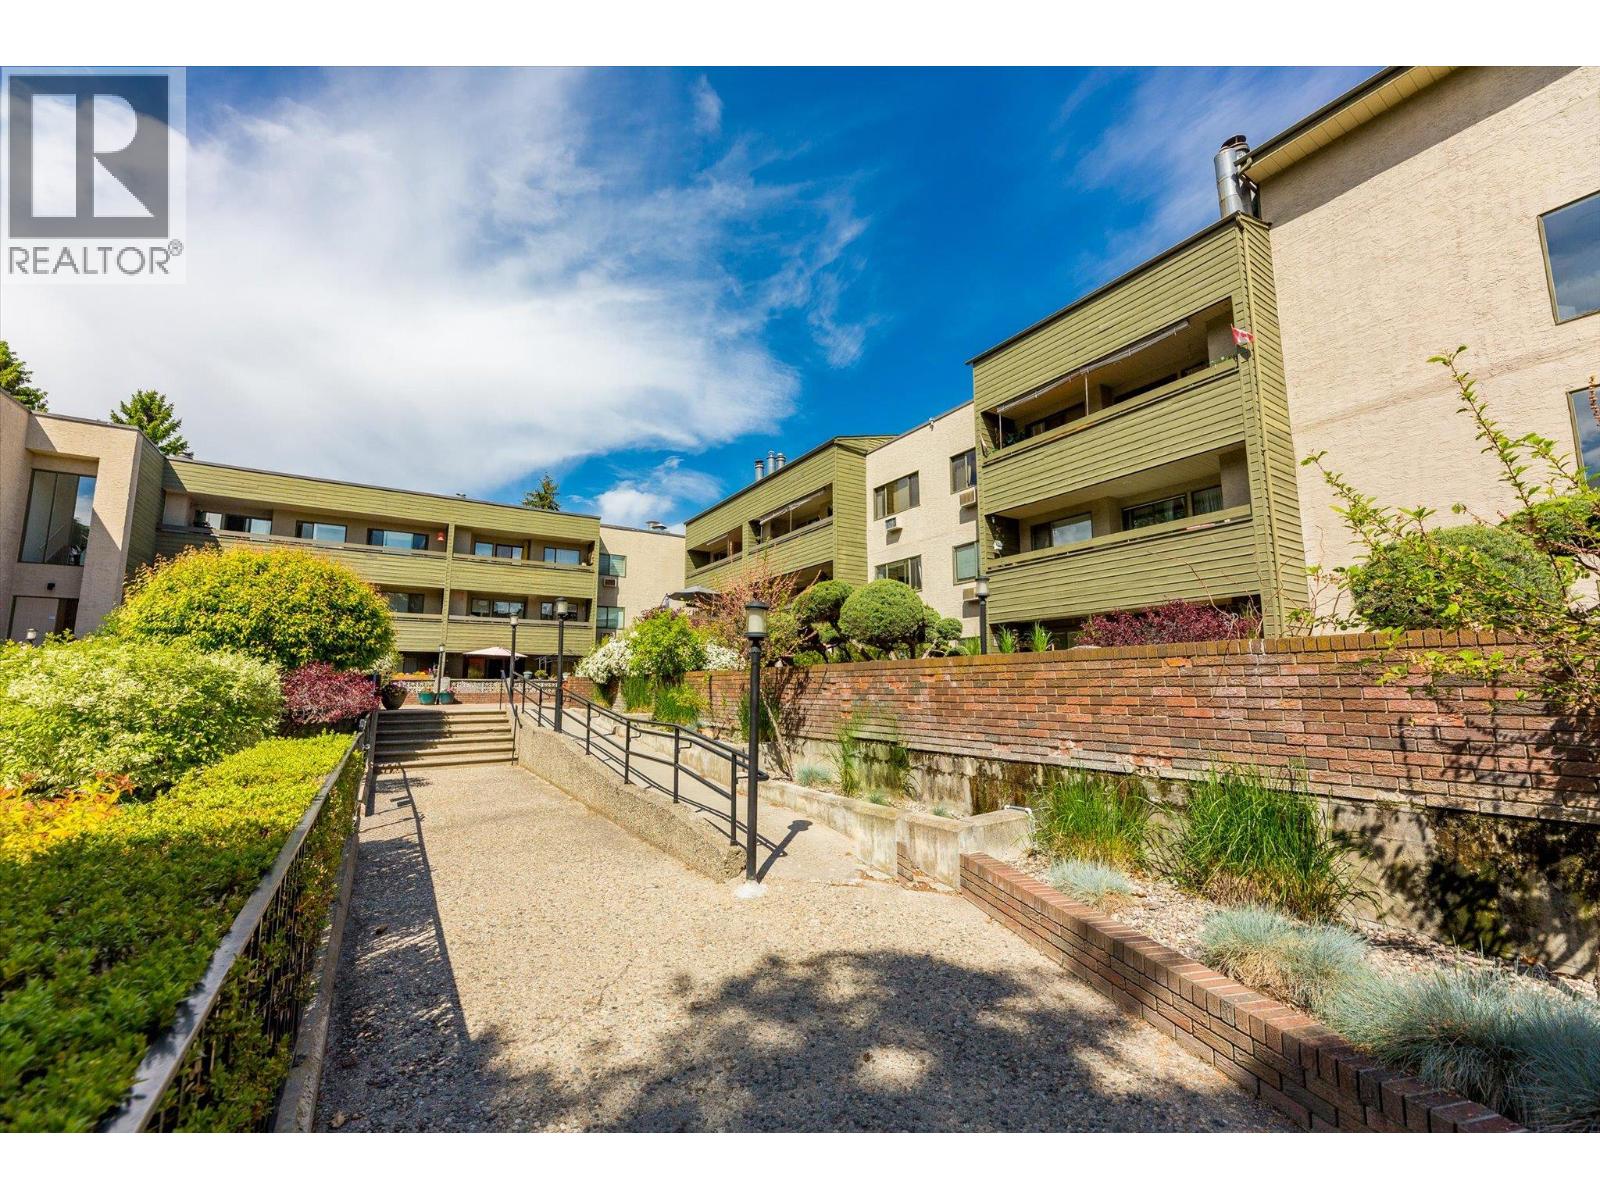
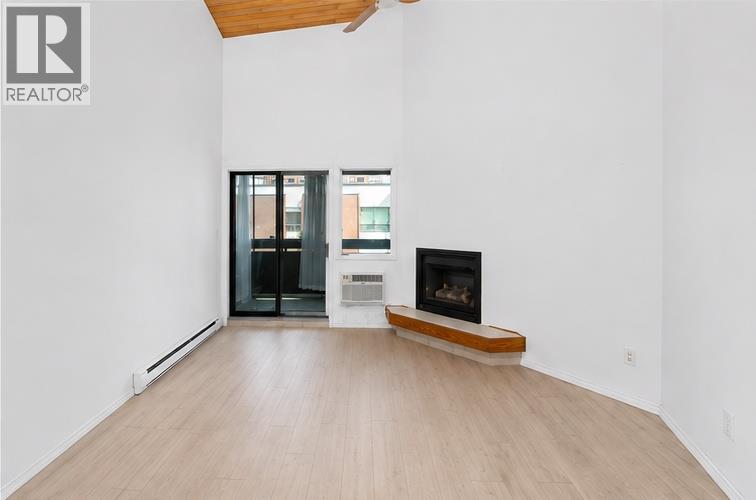
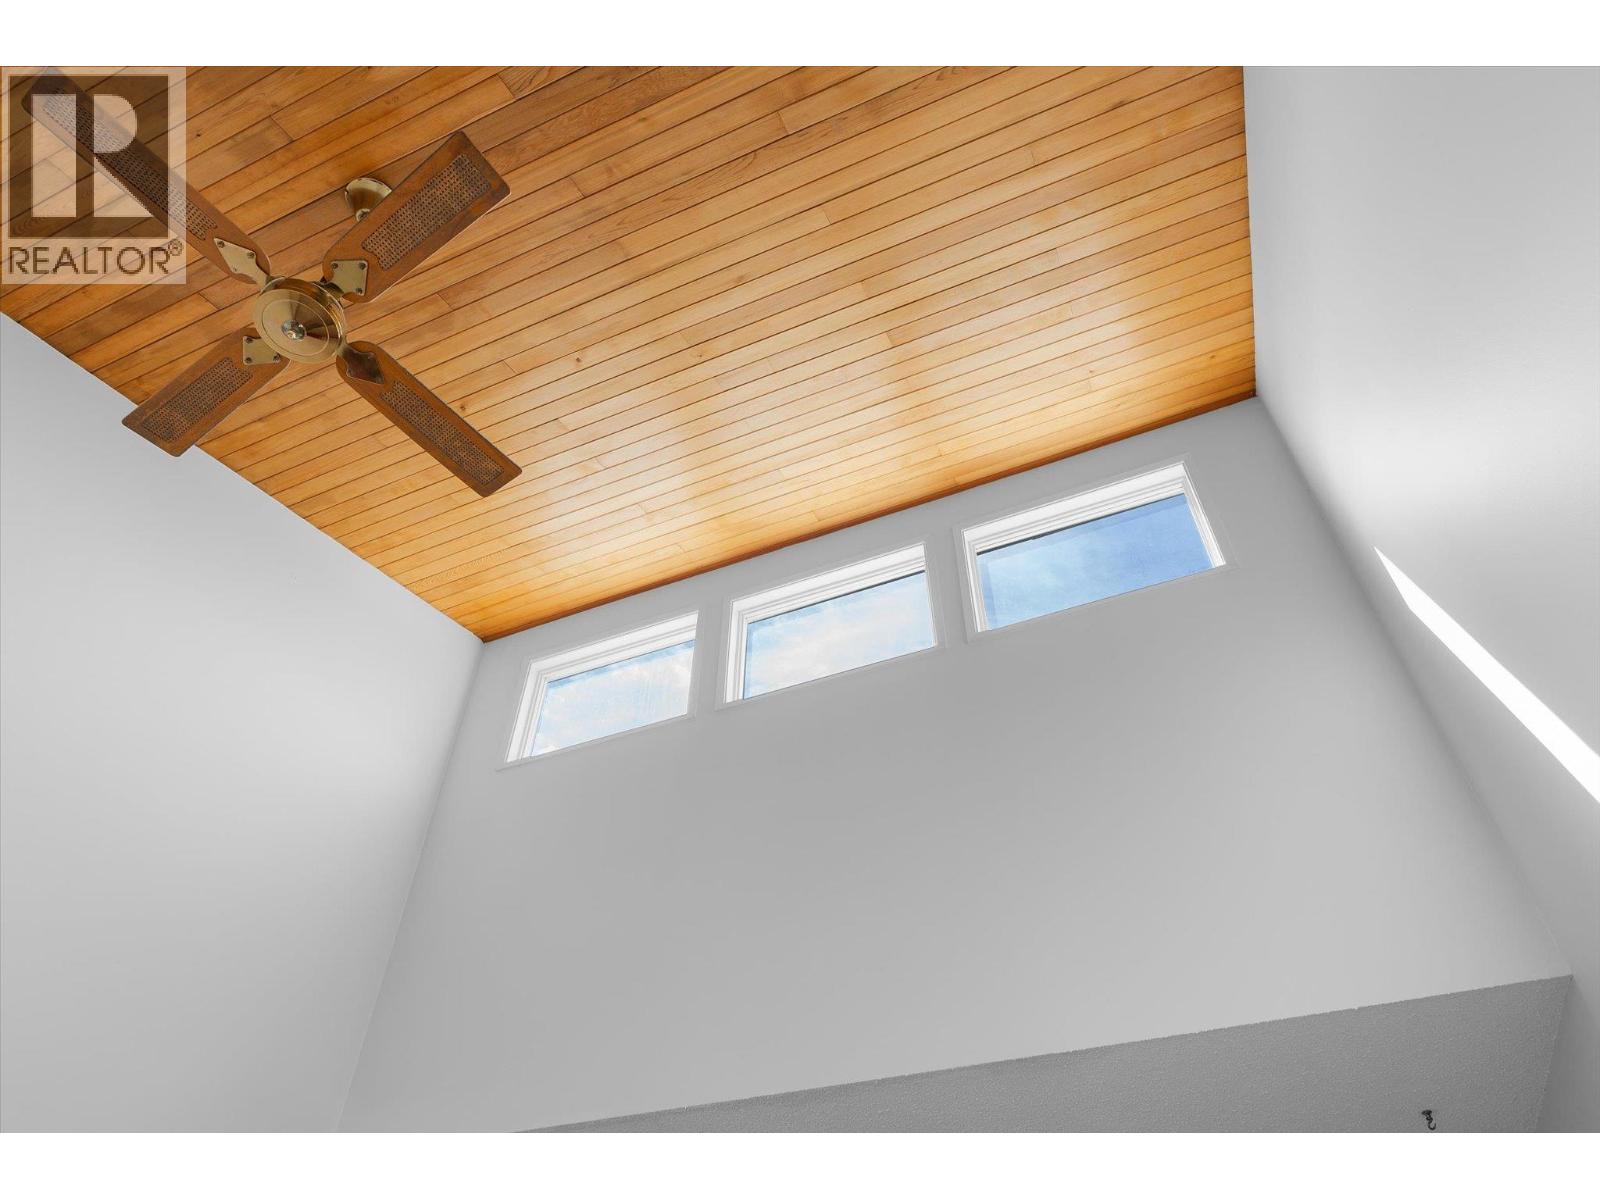
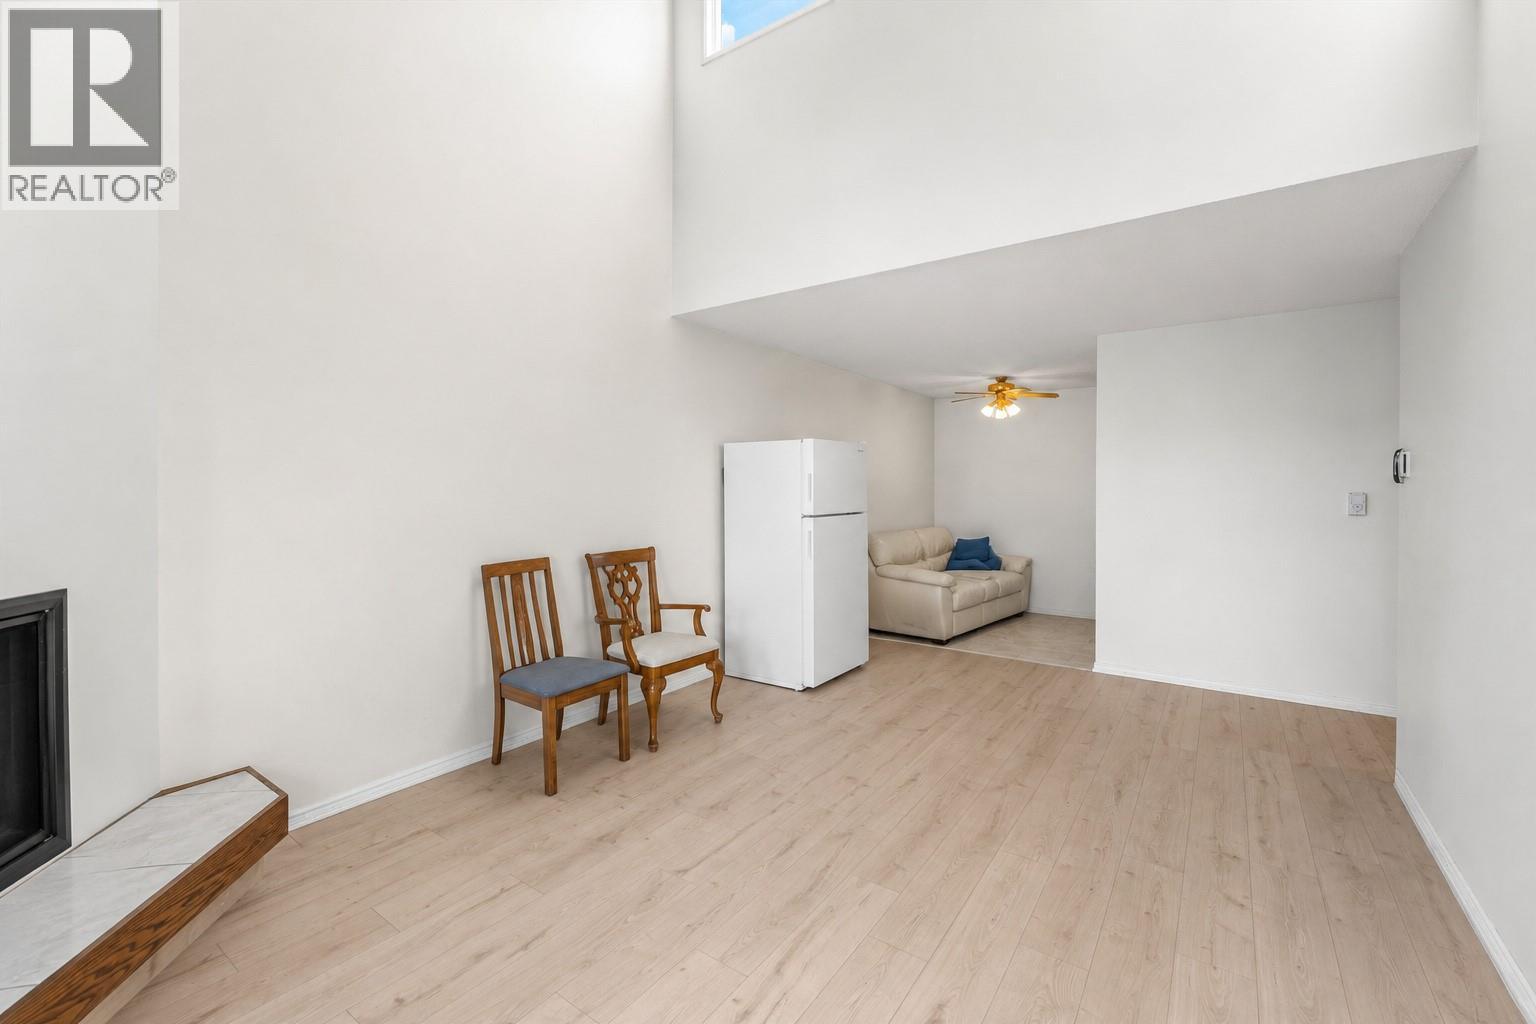
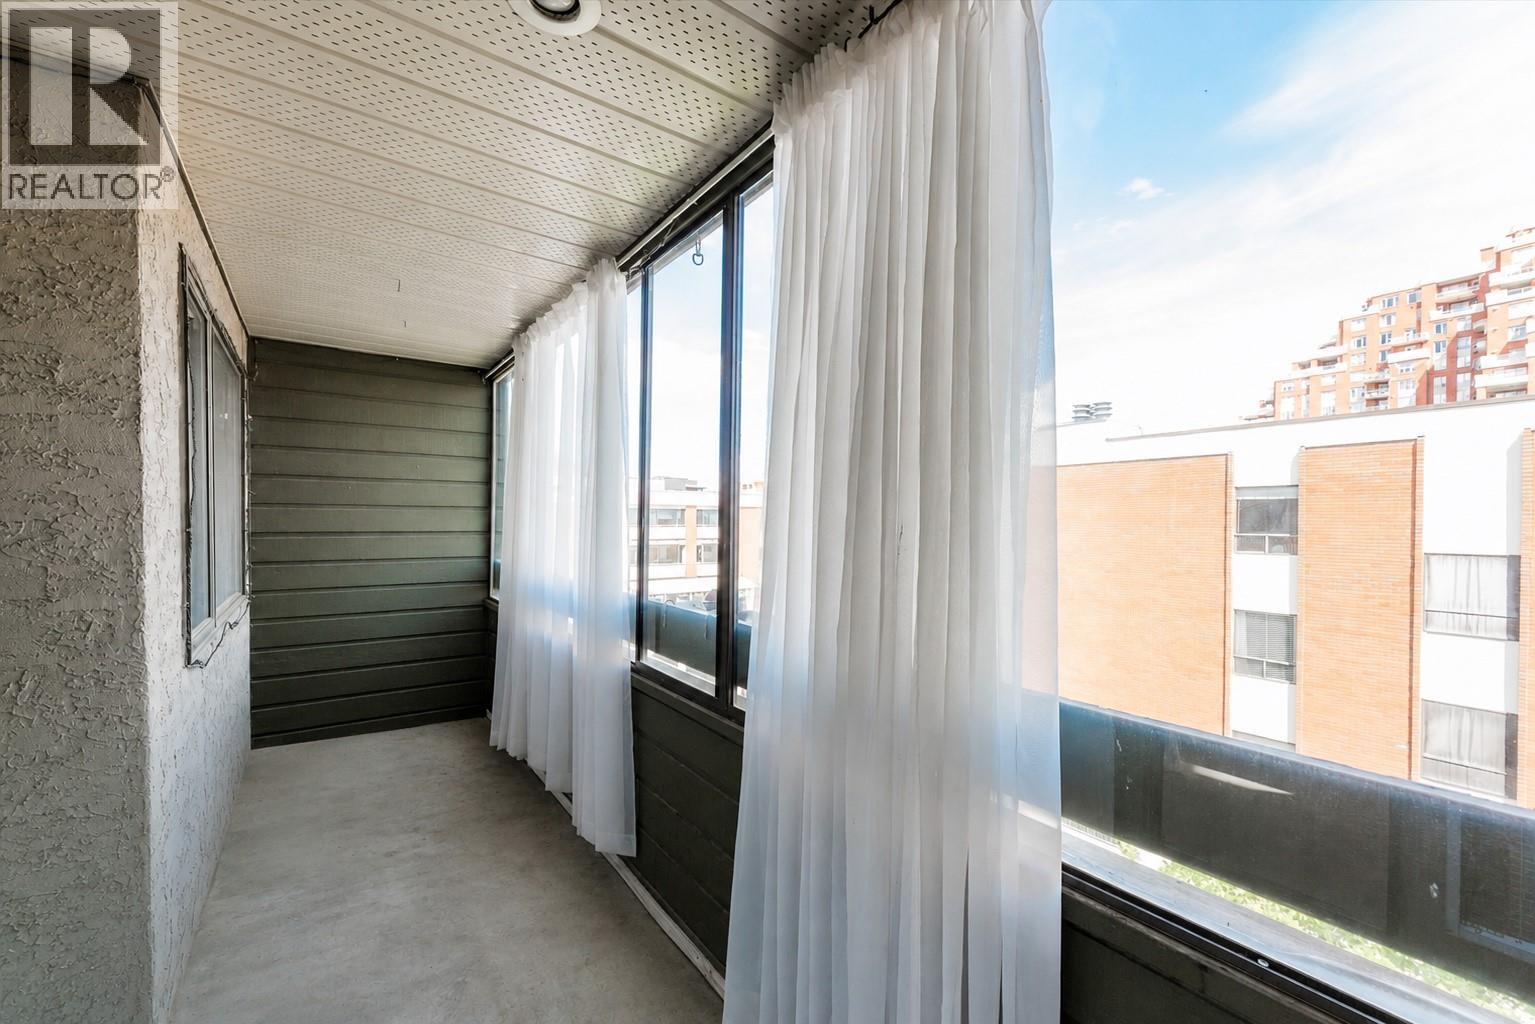
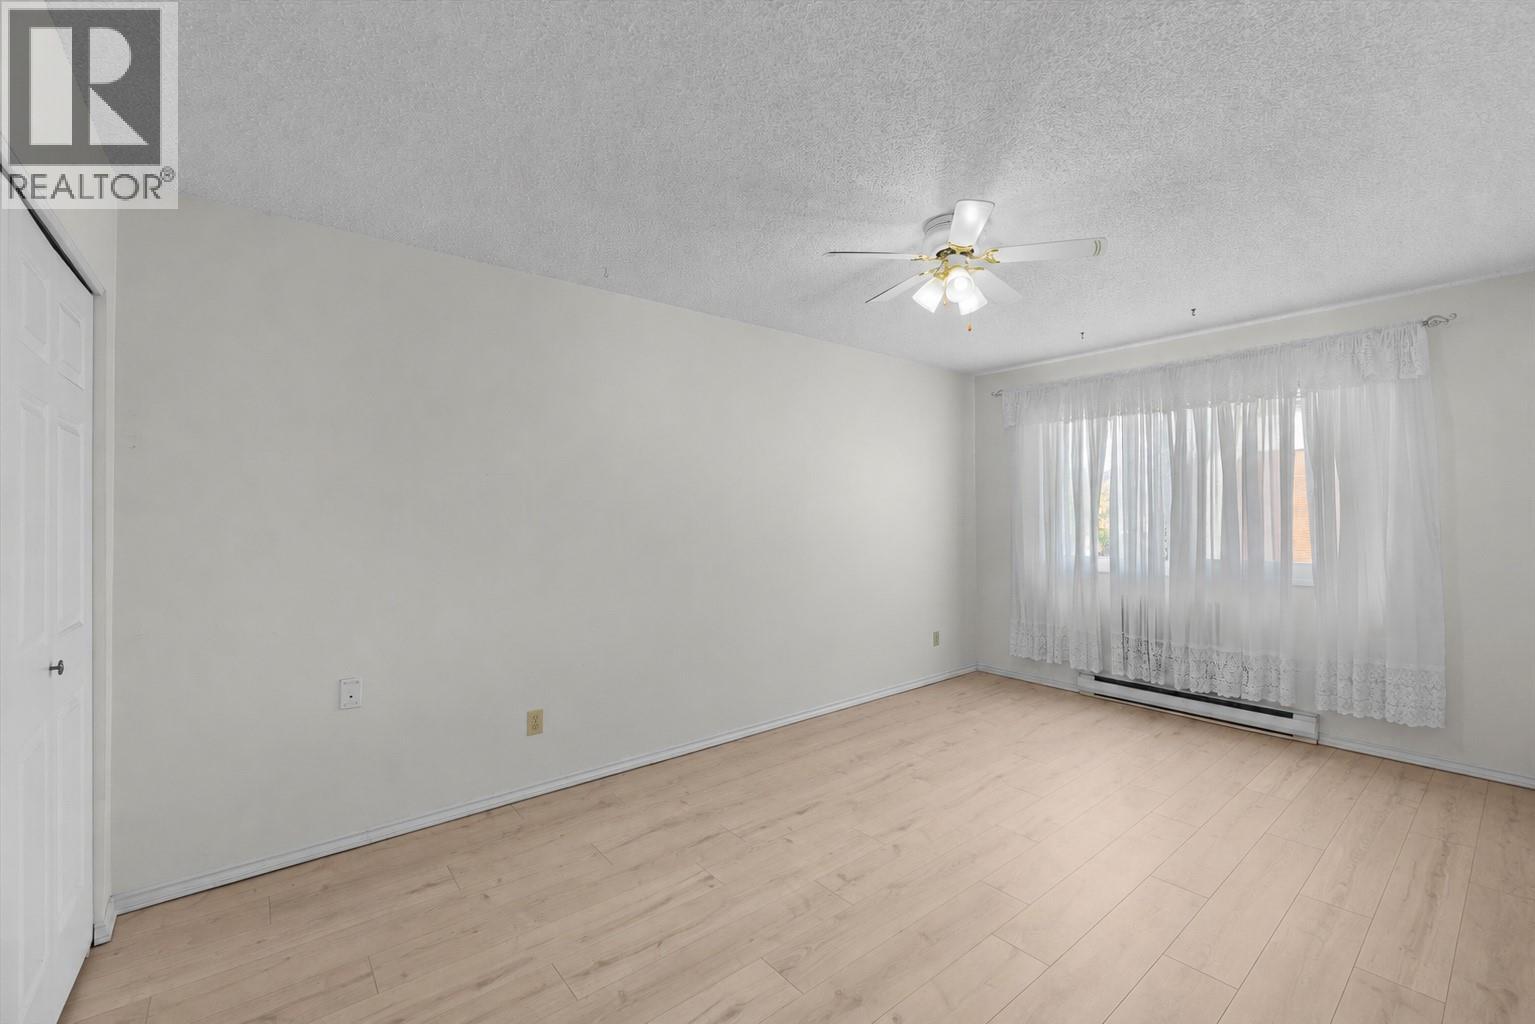
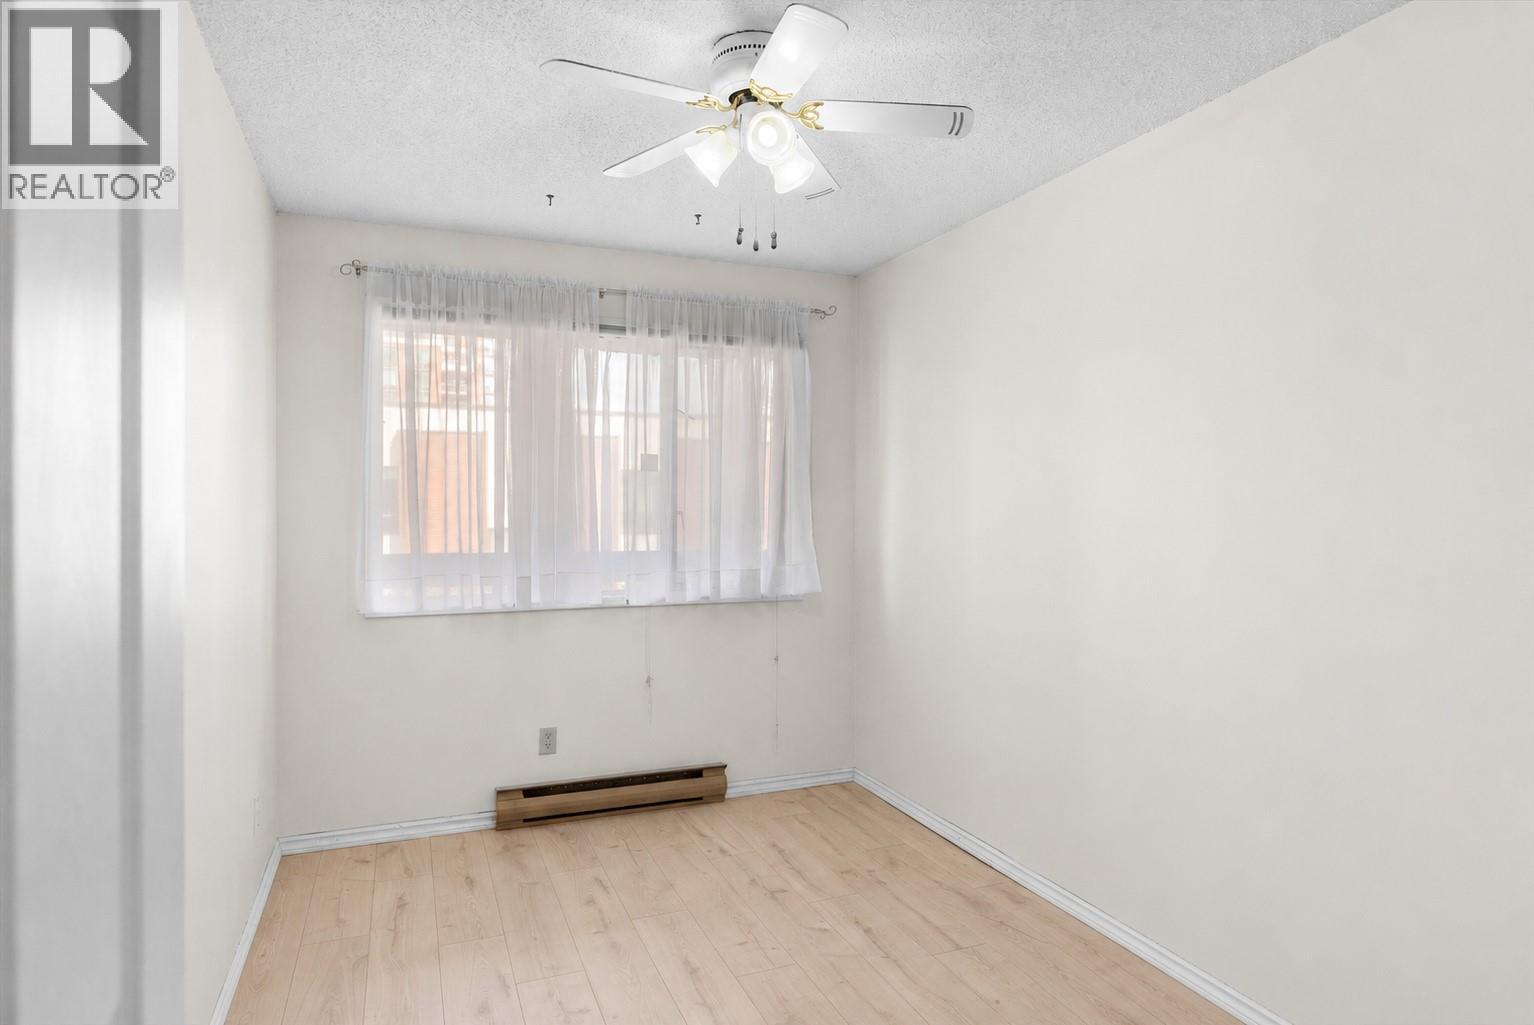
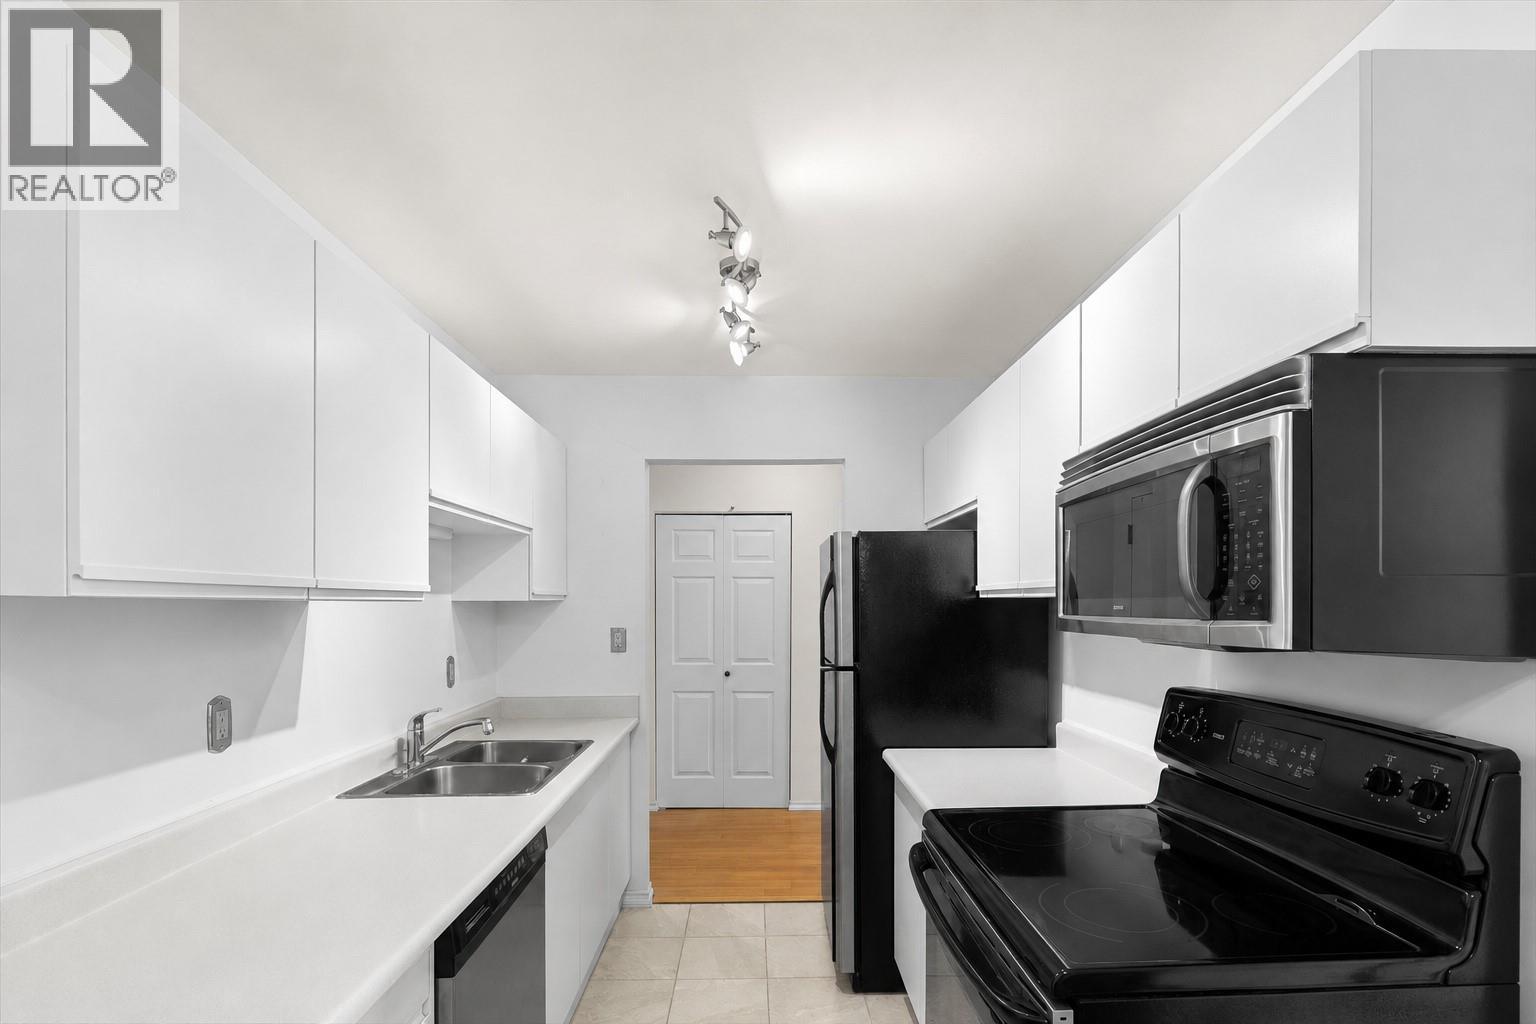
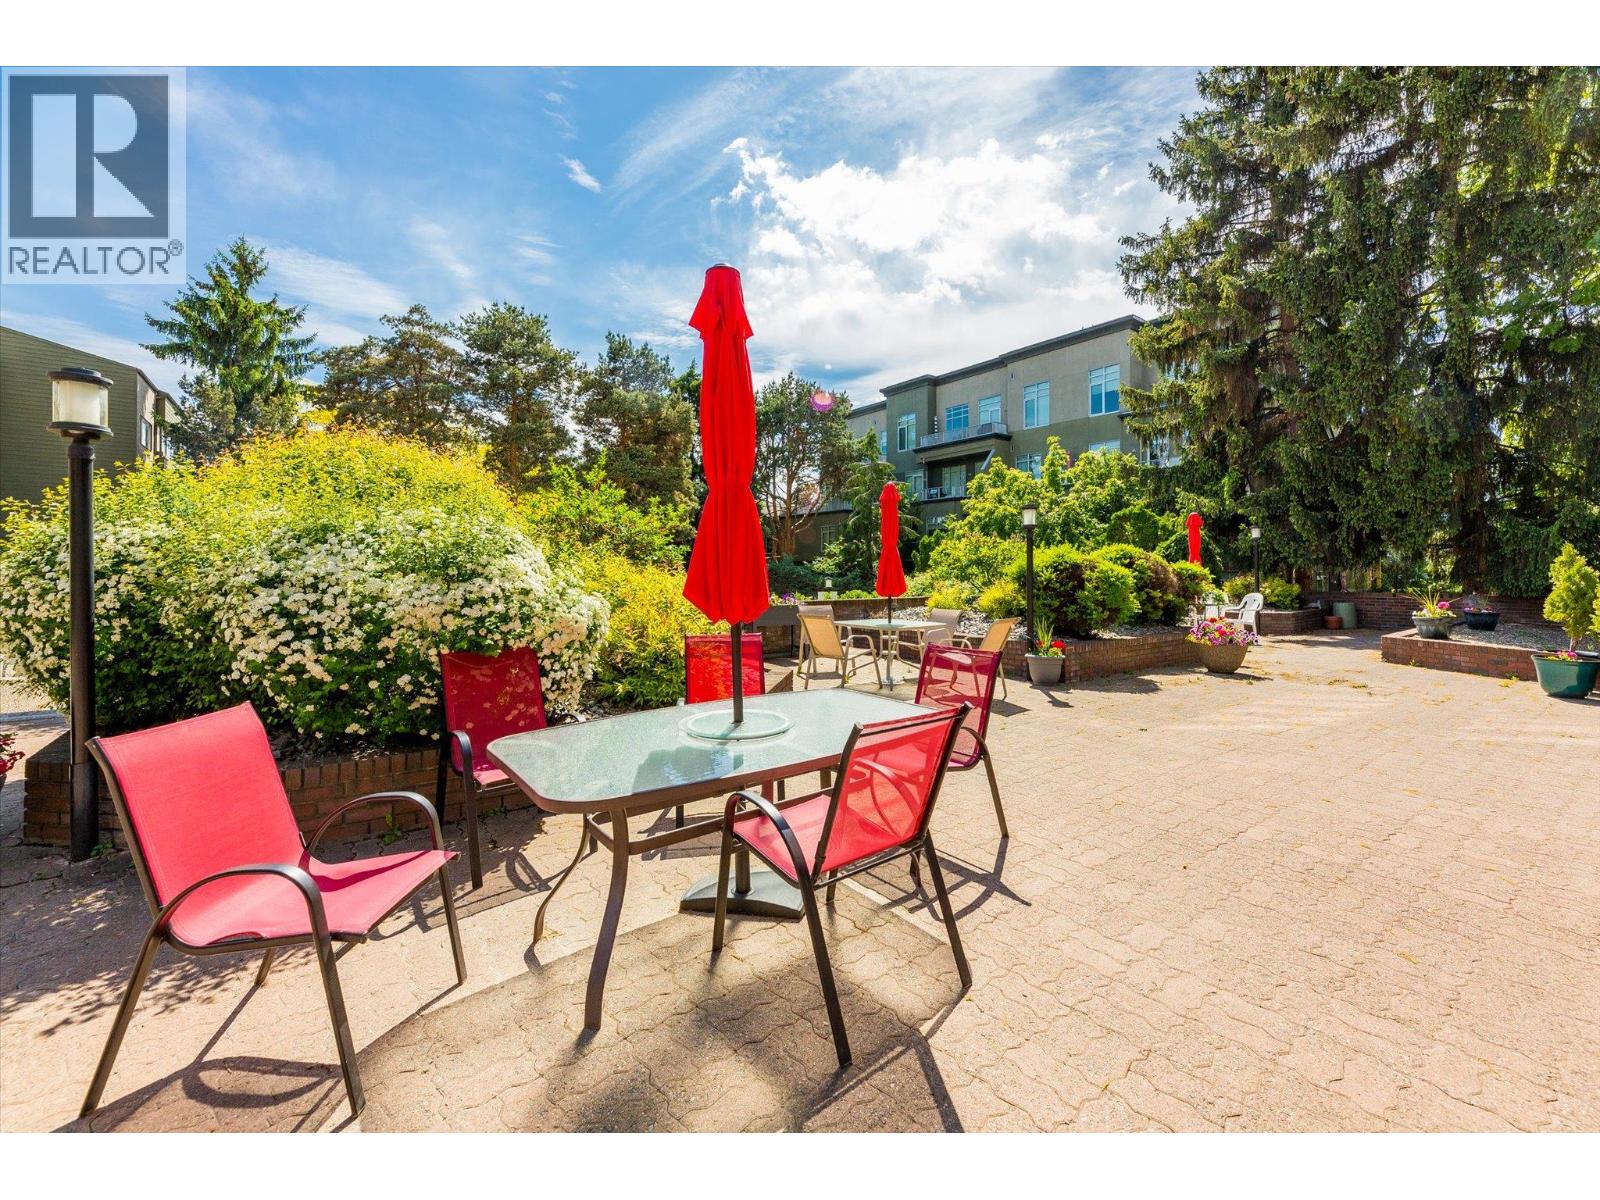
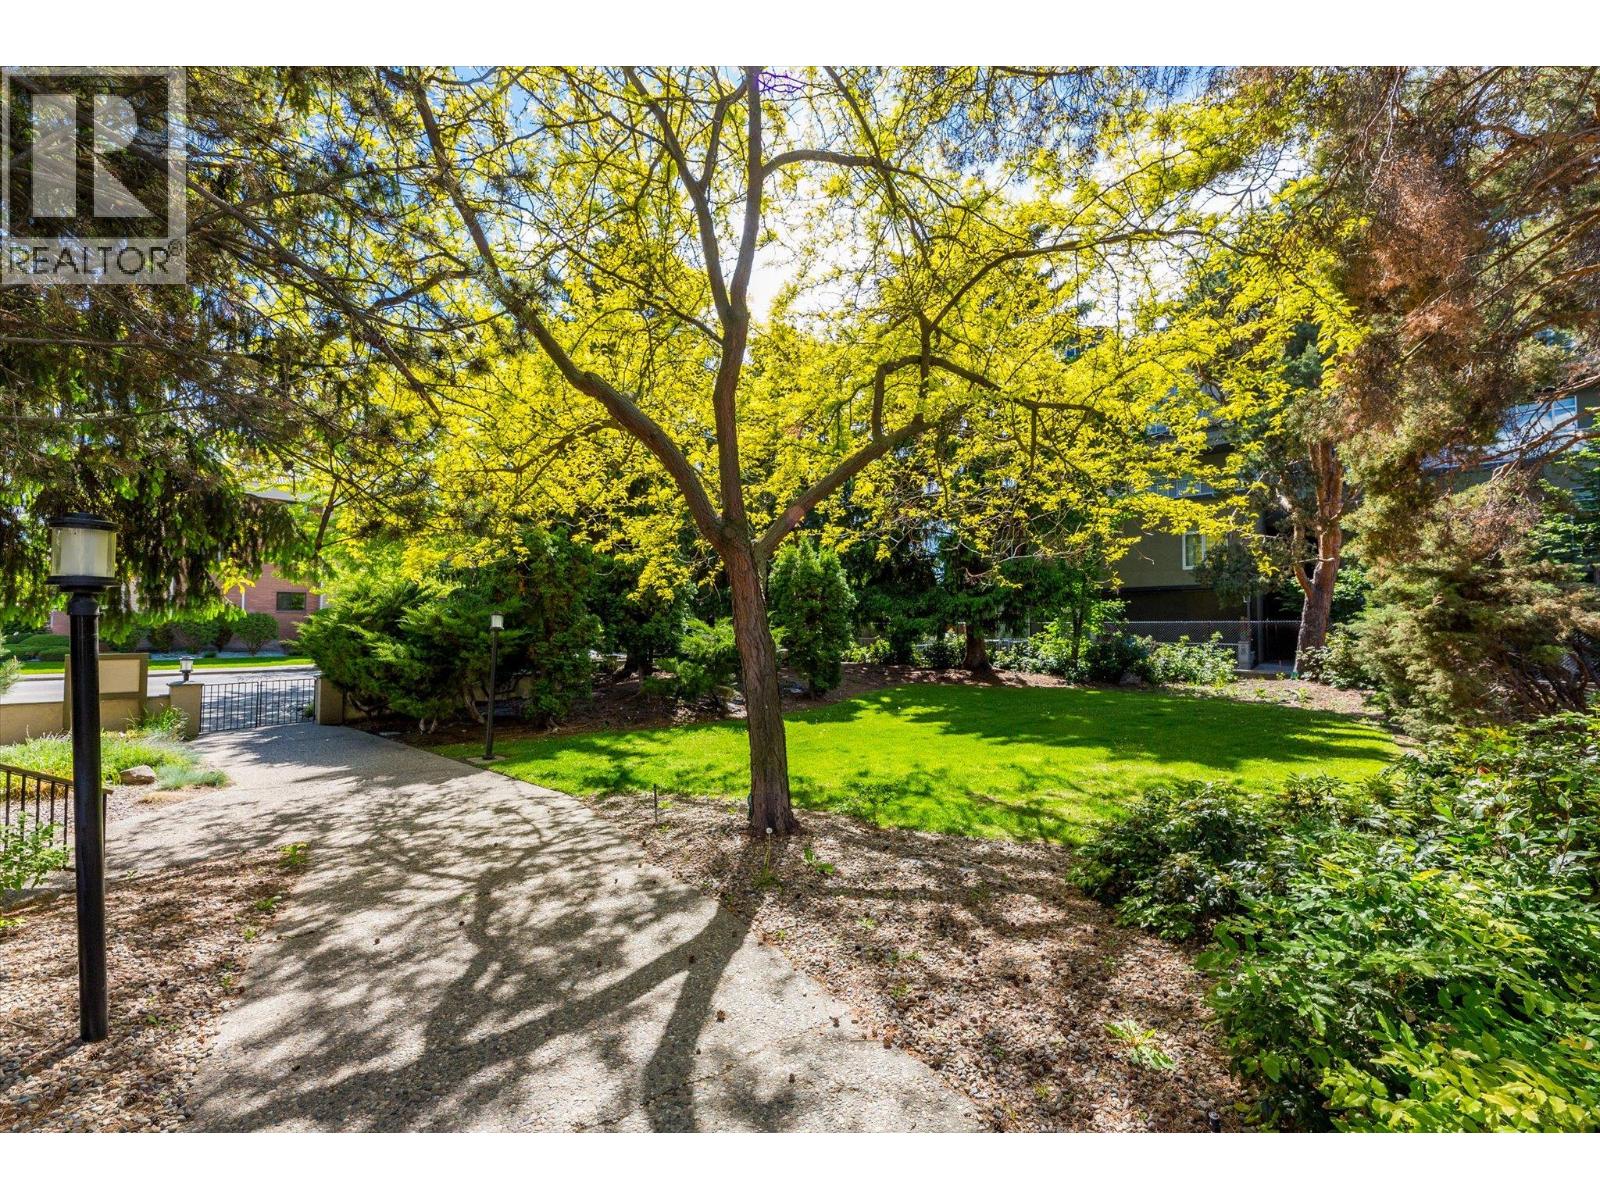
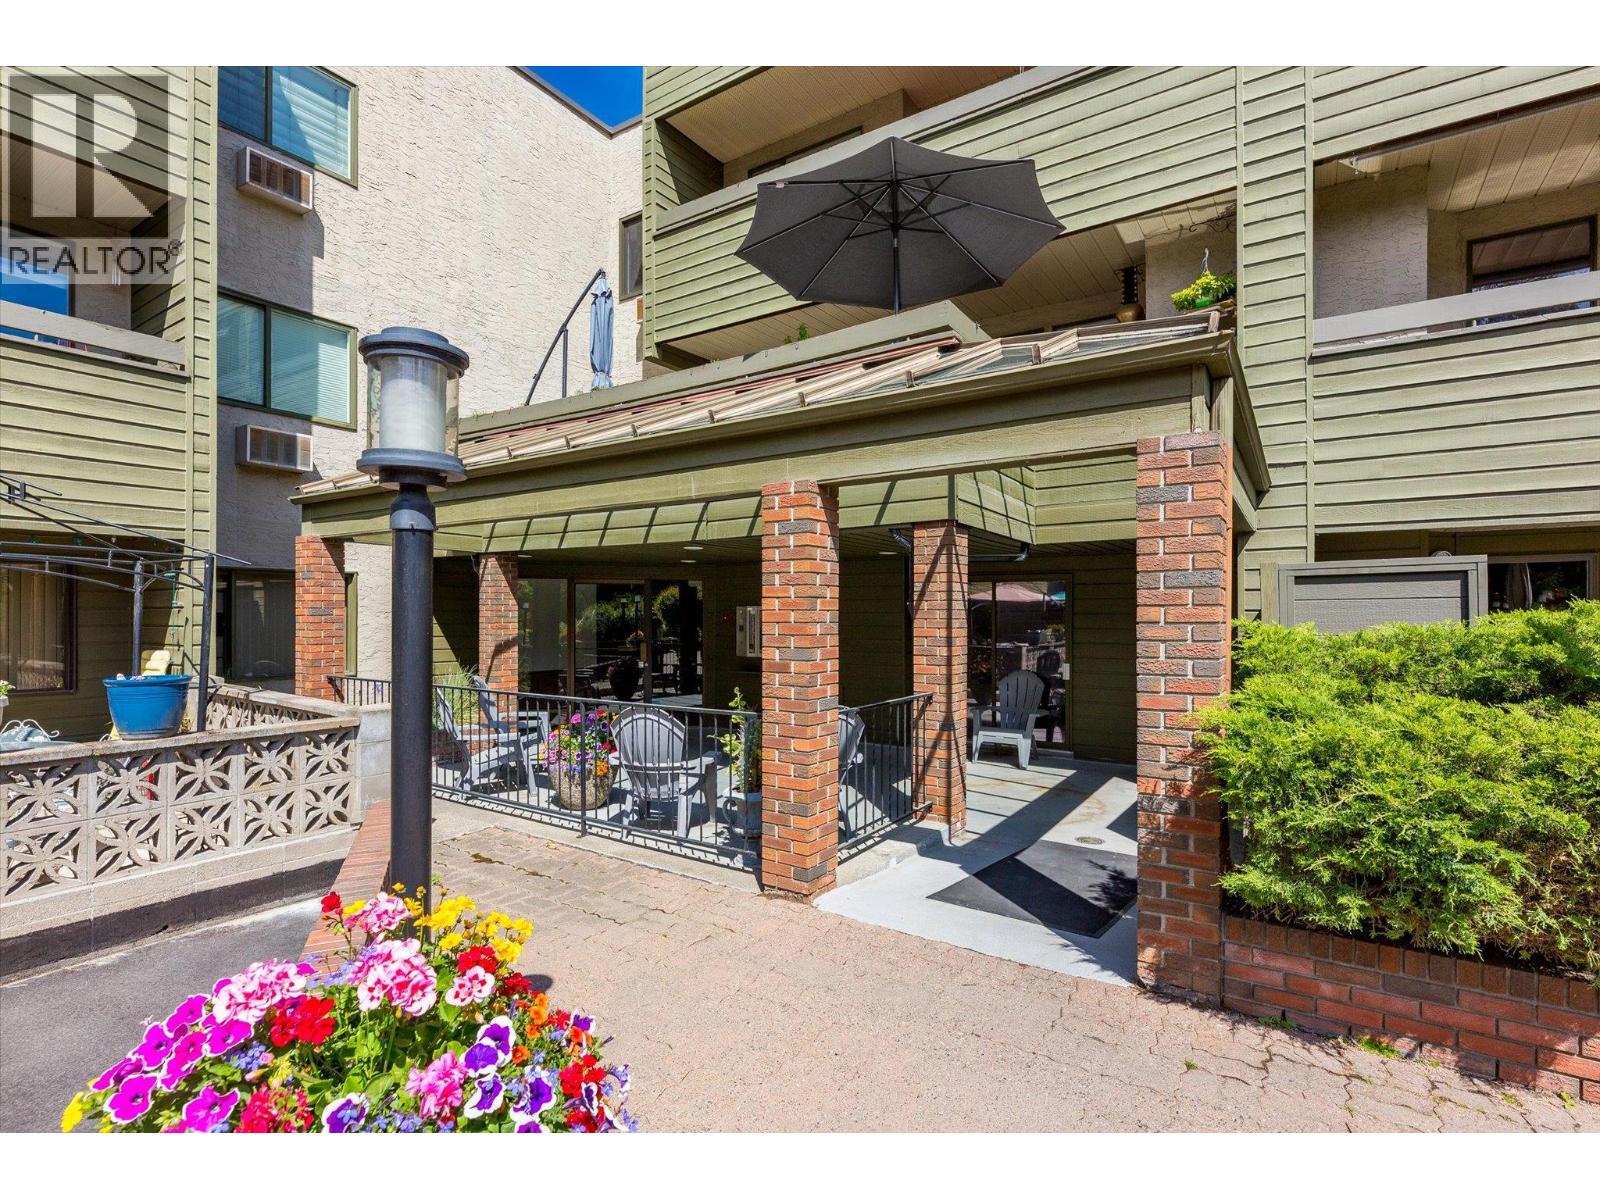
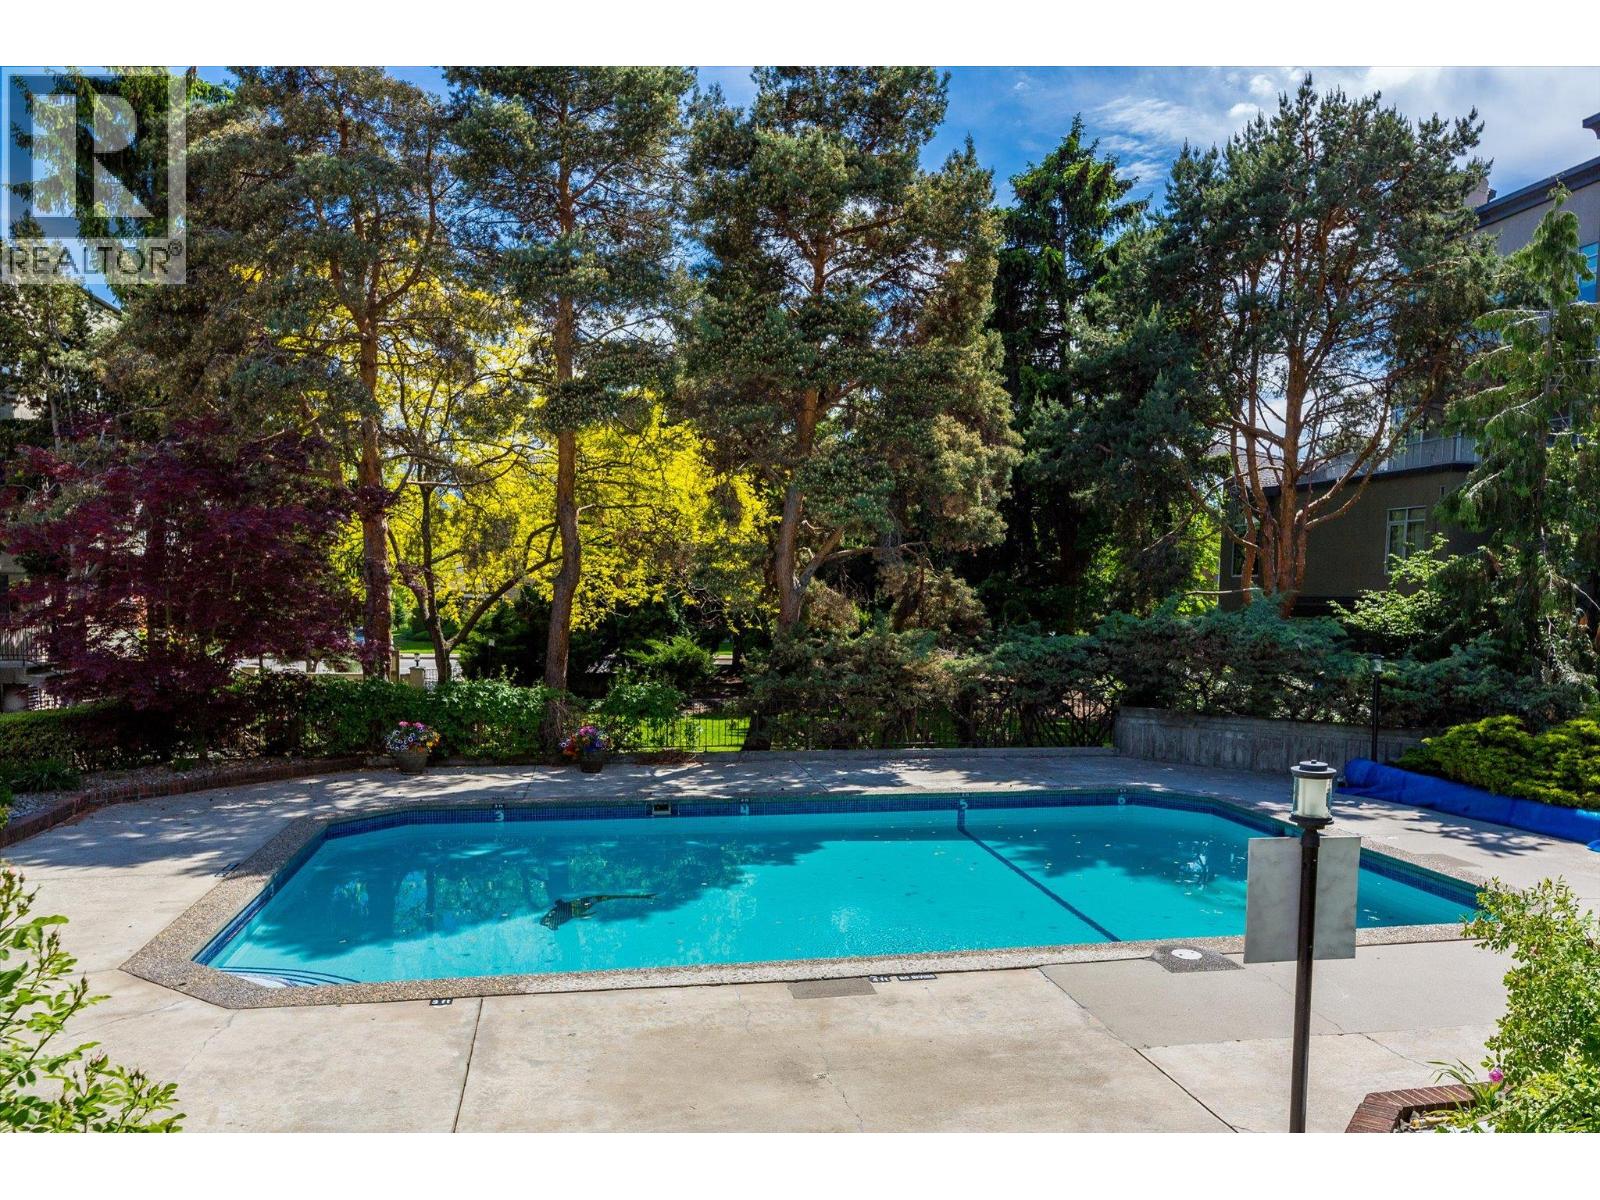
Looking for a low-maintenance Kelowna home without giving up a second bedroom, secure parking or outdoor space? This top-floor 2-bedroom condo offers vaulted ceilings, plenty of natural light, an enclosed balcony, underground parking and storage in a centrally located 55+ community. The 903 sq. ft. layout includes a spacious living room with gas fireplace, in-suite laundry and two bedrooms that give you flexibility for guests, hobbies or a home office. Residents also enjoy an outdoor pool, hot tub, sauna and workshop, with shopping, parks, transit and downtown Kelowna close by. Two pets are permitted with restrictions. (id:14735)
Listed by eXp Realty (Kelowna).
 Brought to you by your friendly REALTORS® through the MLS® System and OMREB (Okanagan Mainland Real Estate Board), courtesy of Stuart McFadden for your convenience.
The information contained on this site is based in whole or in part on information that is provided by members of The Canadian Real Estate Association, who are responsible for its accuracy. CREA reproduces and distributes this information as a service for its members and assumes no responsibility for its accuracy.