
507 - 1220 Pacific Avenue
Springfield, Kelowna

$565,000
Bedrooms: 2
Bathrooms: 2
Living Area: 853 sqft
About this Condo
in Springfield, Kelowna
TOP FLOOR. CORNER UNIT. MOUNTAIN VIEWS. Discover 853 sq. ft. of bright, modern living in the heart of Kelowna. Built in 2023, this south-facing, 2-bedroom, 2-bathroom condo features soaring 11-foot ceilings and an abundance of natural light. Quartz countertops, stainless steel appliances and oak laminate flooring complete the contemporary interior. The thoughtfully designed split-bedroom layout offers privacy, with a generous primary bedroom featuring a walk-in closet and ensuite. Step onto your 72 sq. ft. covered deck, where you can enjoy the mountain views and BBQ year-round. Everyday convenience is covered with in-suite laundry, secure underground parking and a storage locker. Building amenities include a social room with kitchen and BBQ deck, secure bike storage, and a bike/pet wash station. Pet-friendly, with up to two pets permitted. Enjoy a central location just one block from Capri Mall, with groceries, shops and everyday essentials nearby. Downtown Kelowna, the beach, Kelowna General Hospital and Parkinson Recreation Centre are all a short bike ride away via designated bike routes. (id:14735)
Listed by Century 21 Assurance Realty Ltd.
 Brought to you by your friendly REALTORS® through the MLS® System and OMREB (Okanagan Mainland Real Estate Board), courtesy of Stuart McFadden for your convenience.
The information contained on this site is based in whole or in part on information that is provided by members of The Canadian Real Estate Association, who are responsible for its accuracy. CREA reproduces and distributes this information as a service for its members and assumes no responsibility for its accuracy.
Photo 1
Photo 2
Photo 3
Photo 4
Photo 5
Photo 6
Photo 7
Photo 8
Photo 9
Photo 10
Photo 11
Photo 12
Photo 13
Photo 14
Photo 15
Photo 16
Photo 17
Photo 18
Photo 19
Photo 20
Photo 21
Photo 22
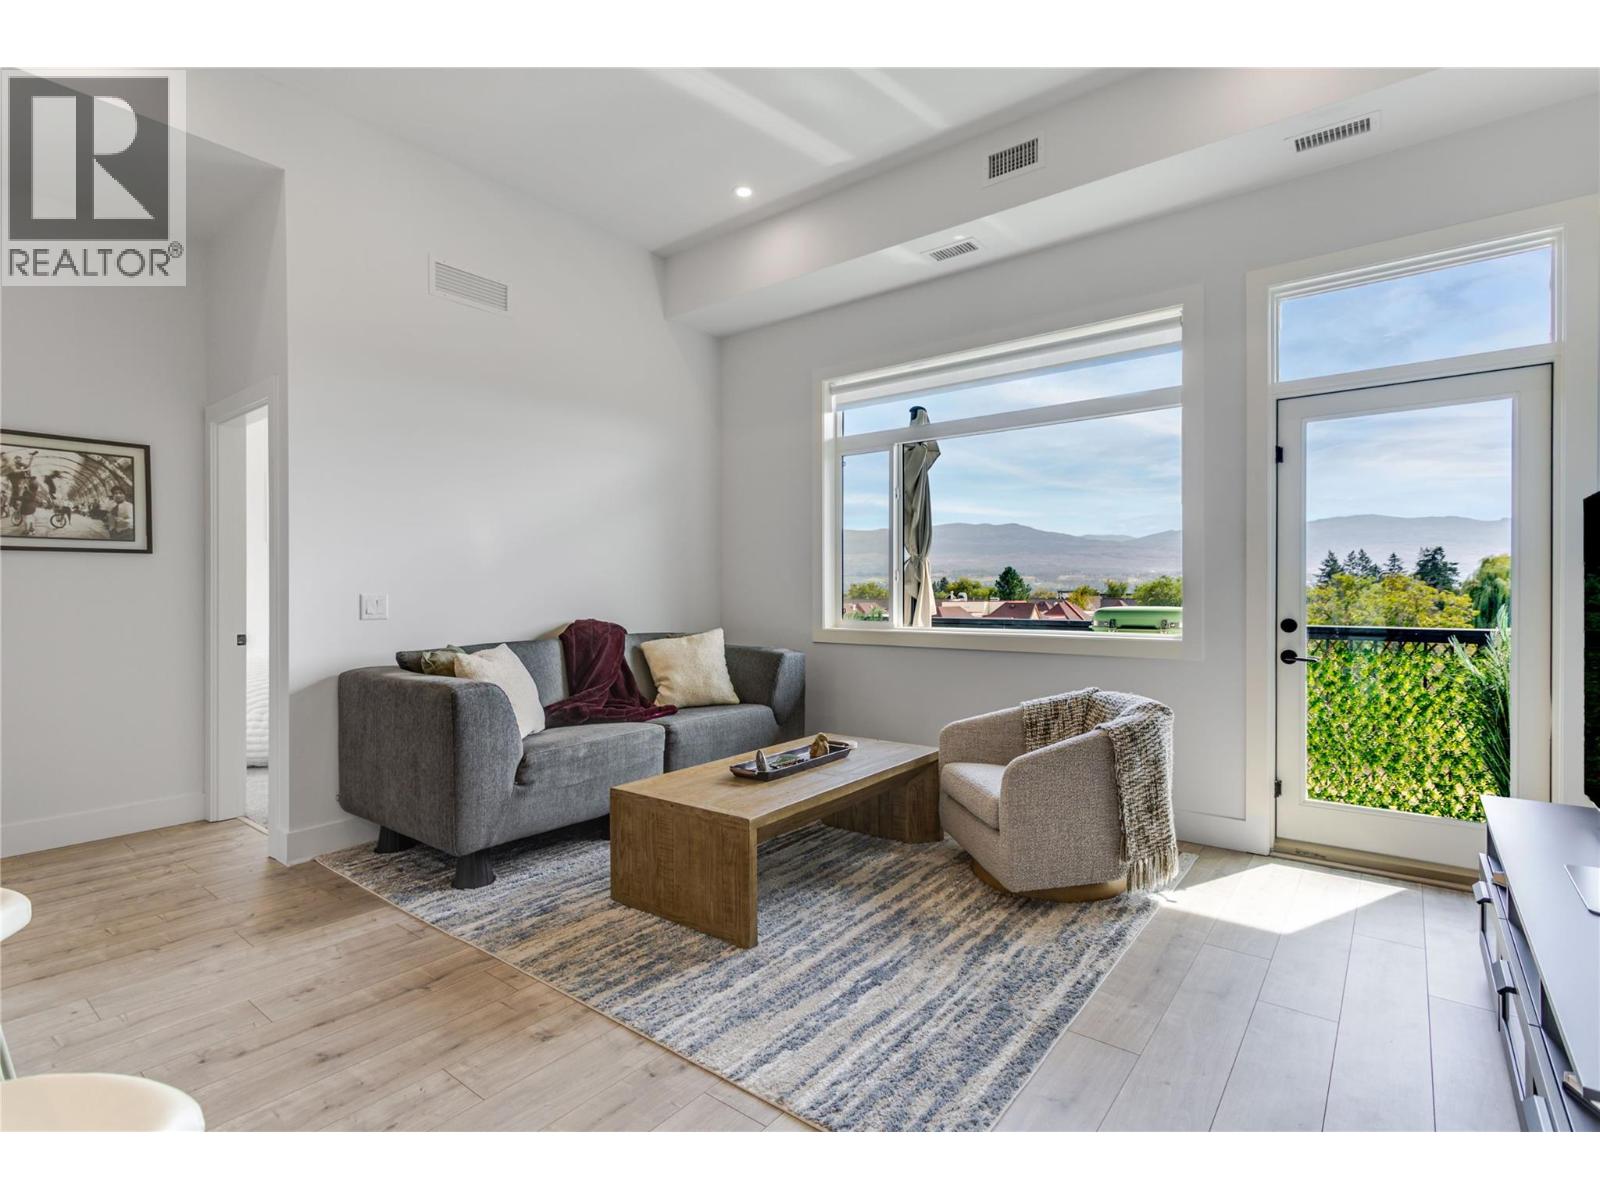
Photo 1
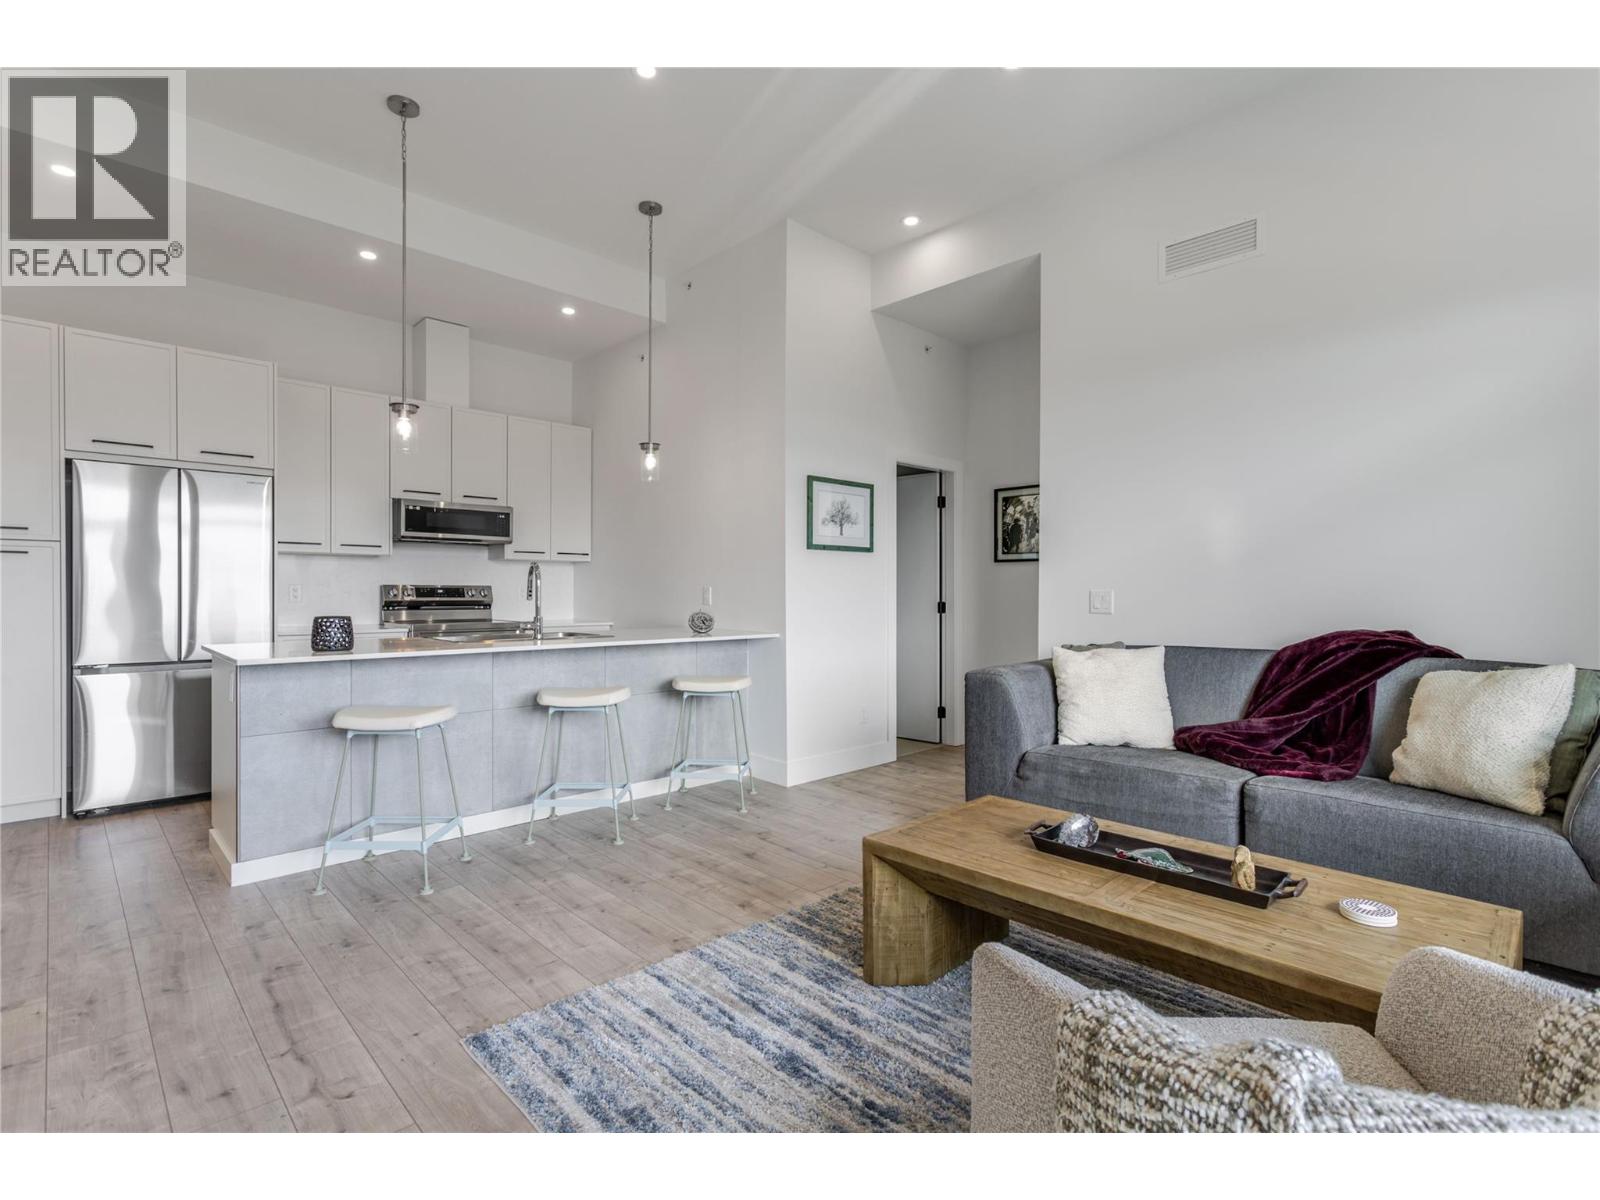
Photo 2
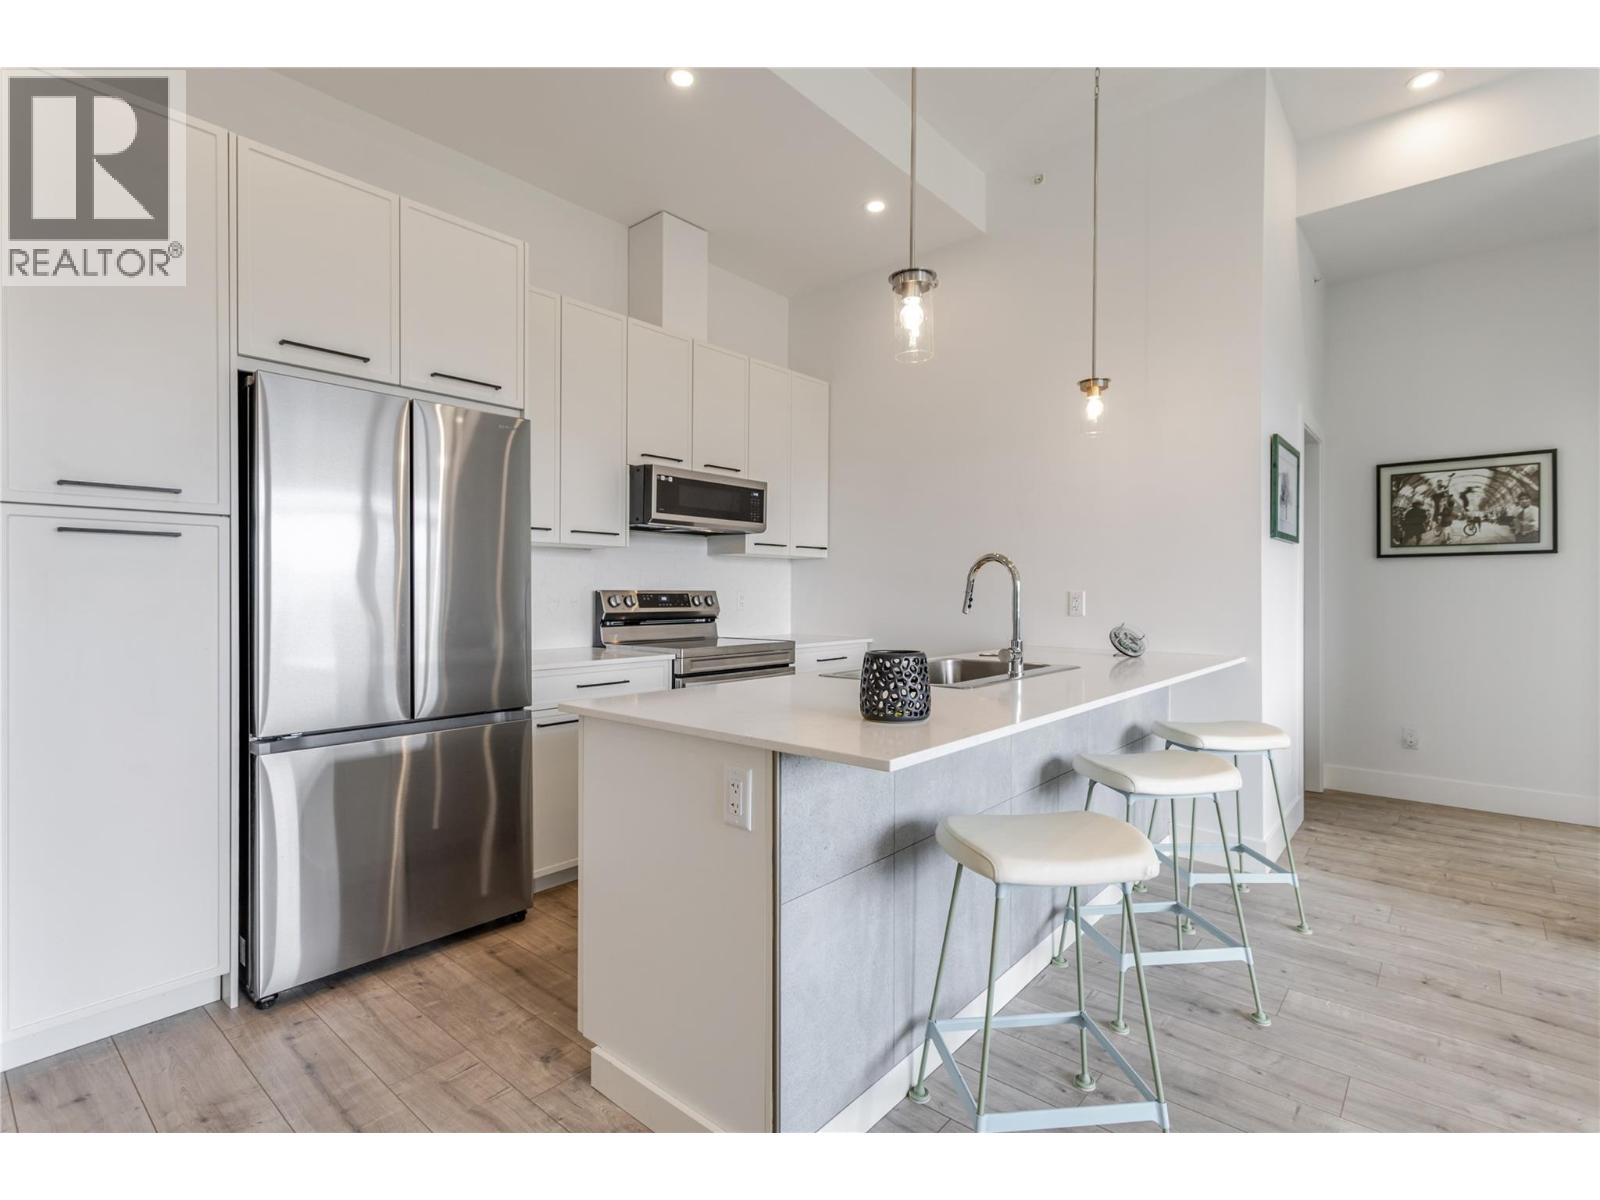
Photo 3
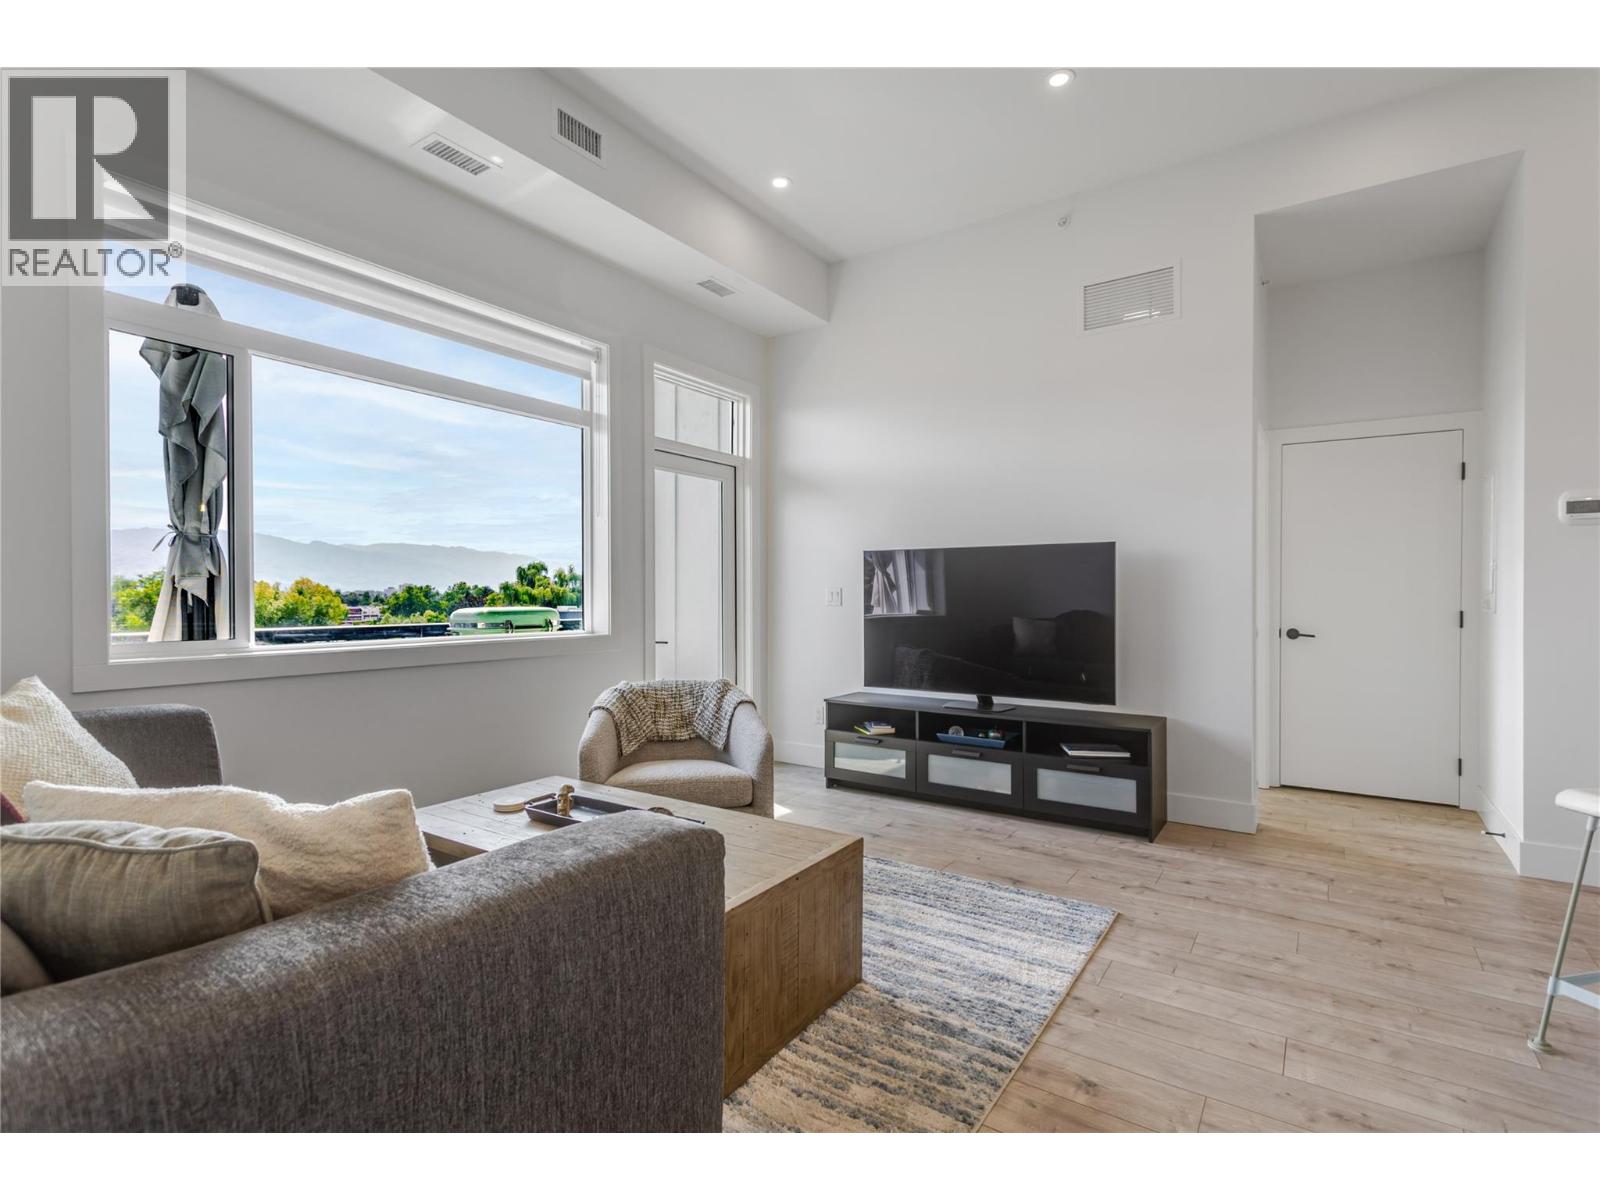
Photo 4
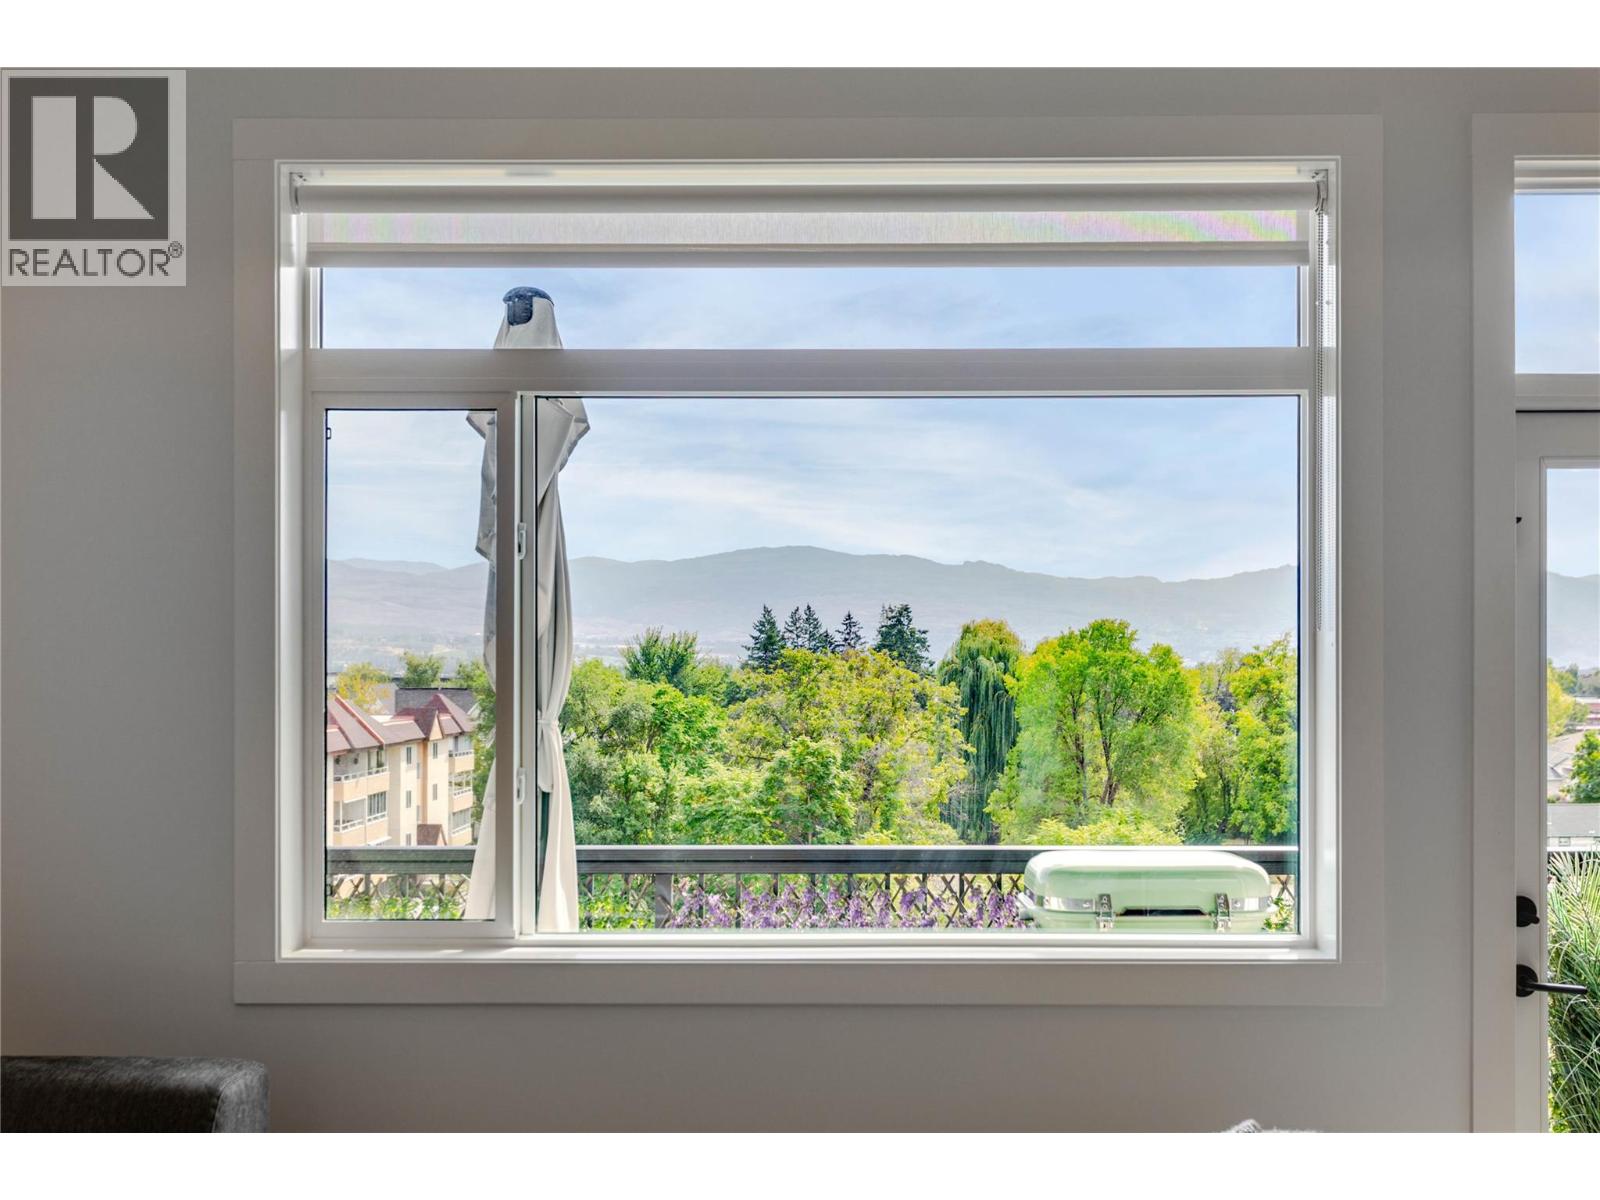
Photo 5
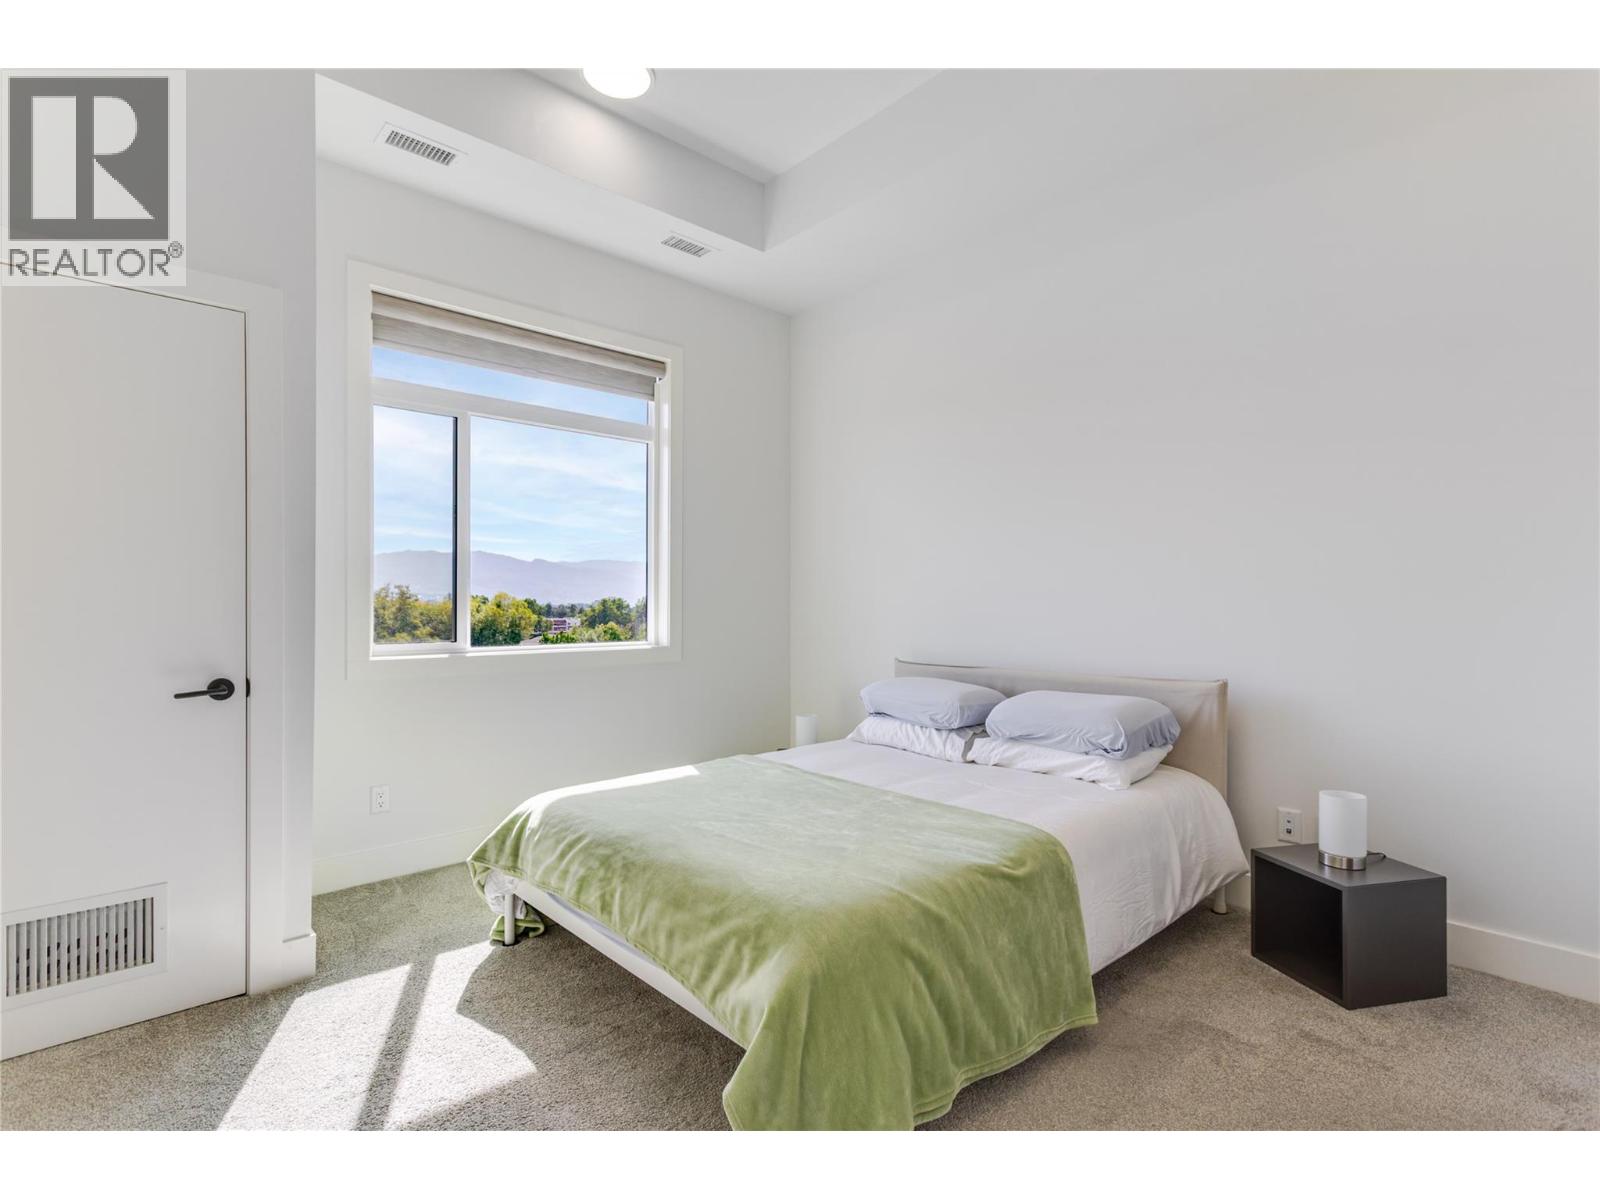
Photo 6
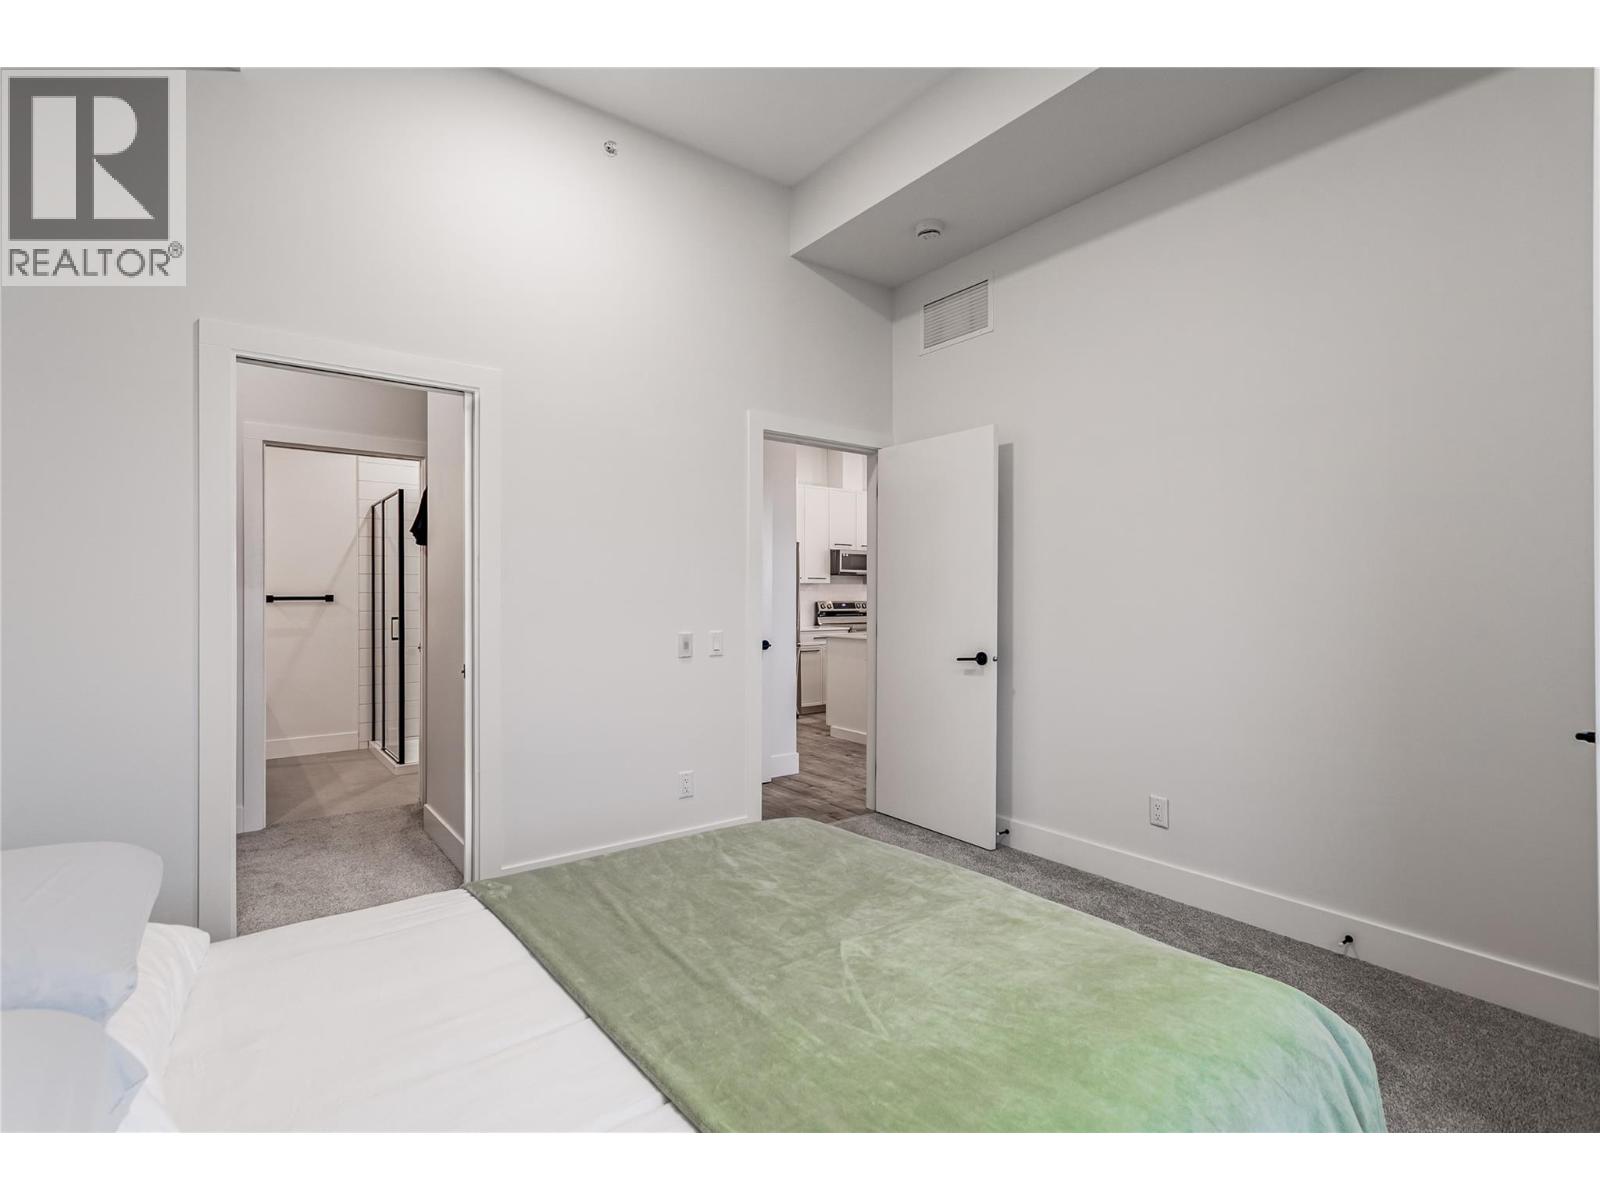
Photo 7
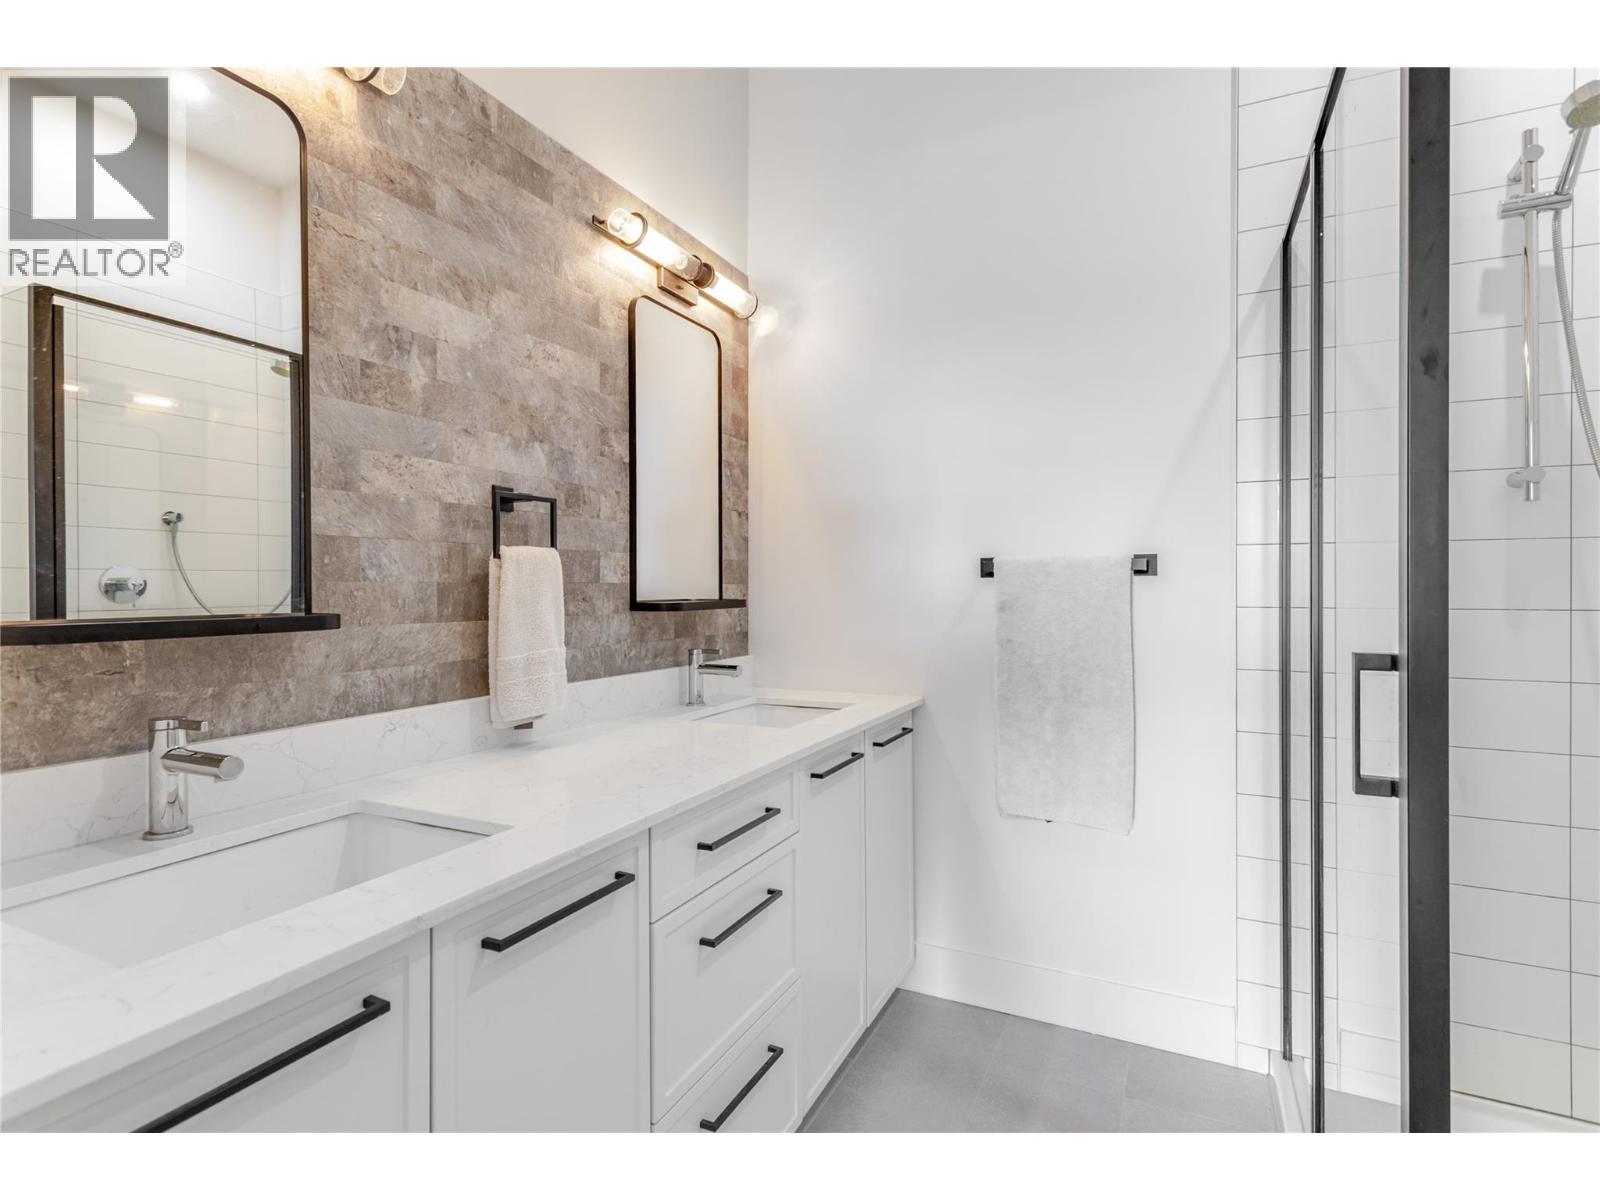
Photo 8
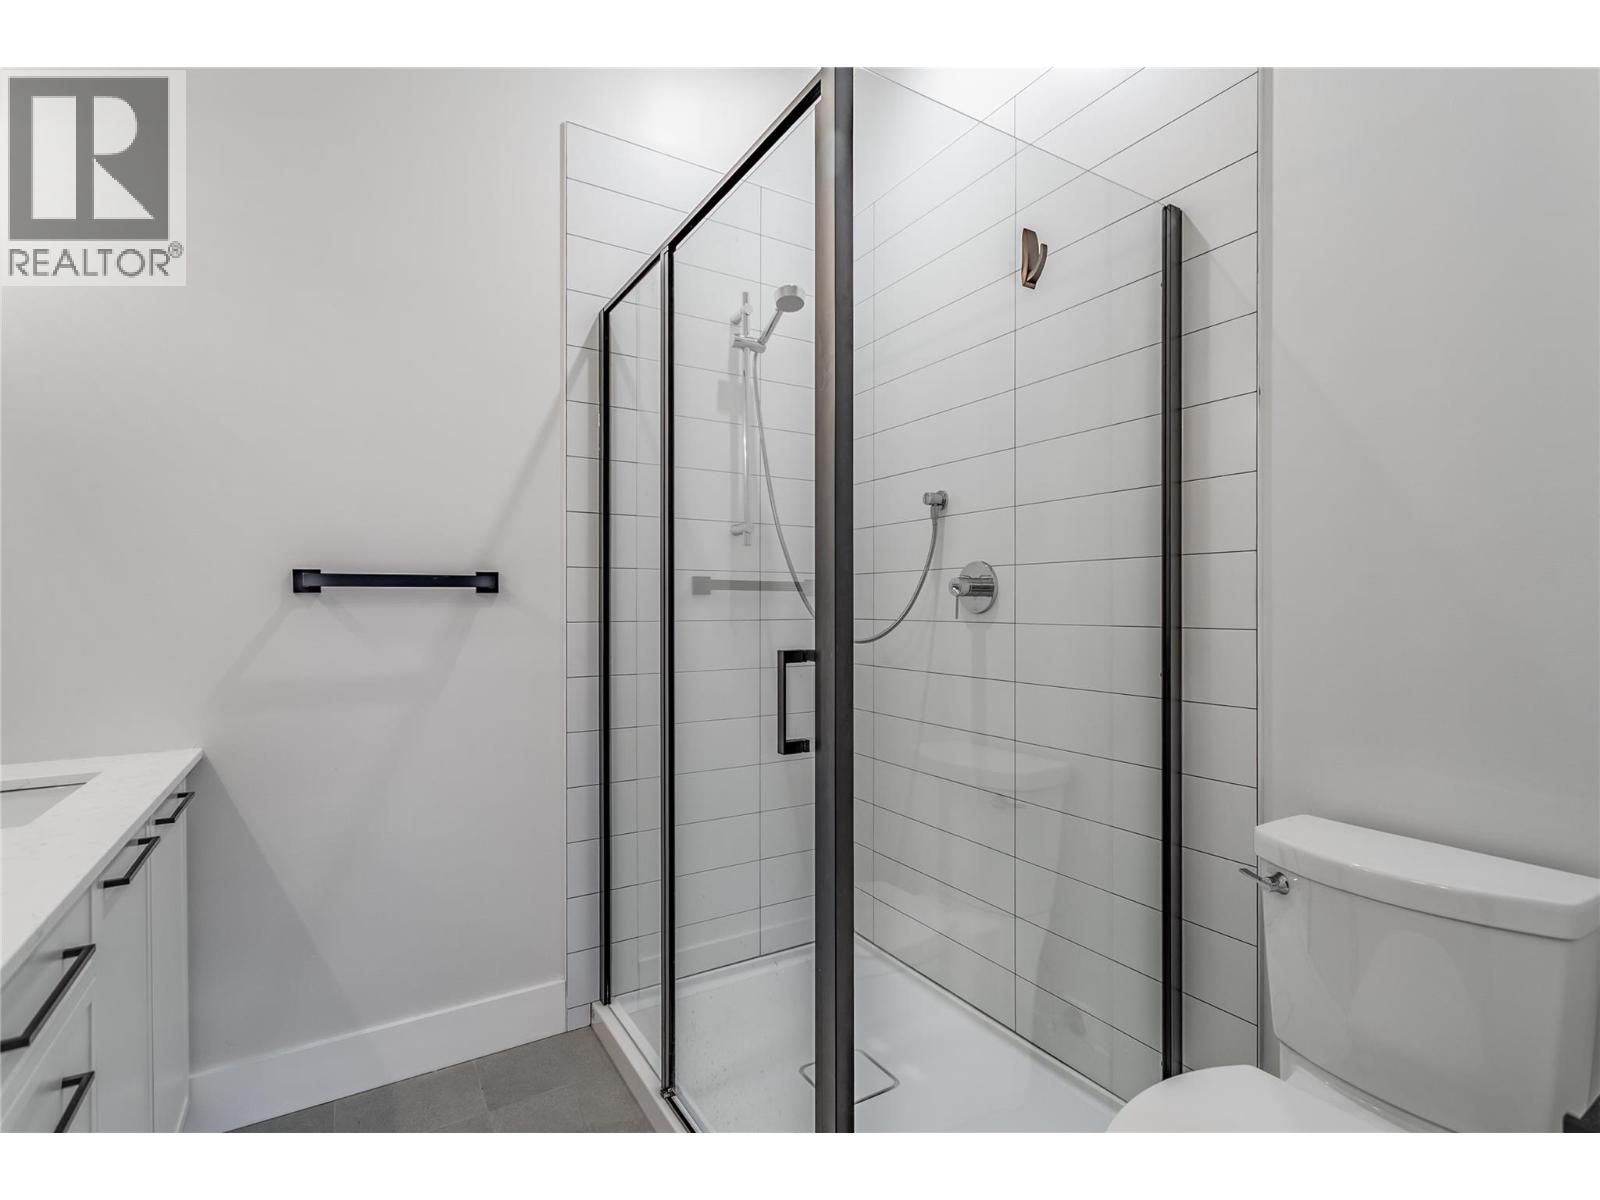
Photo 9
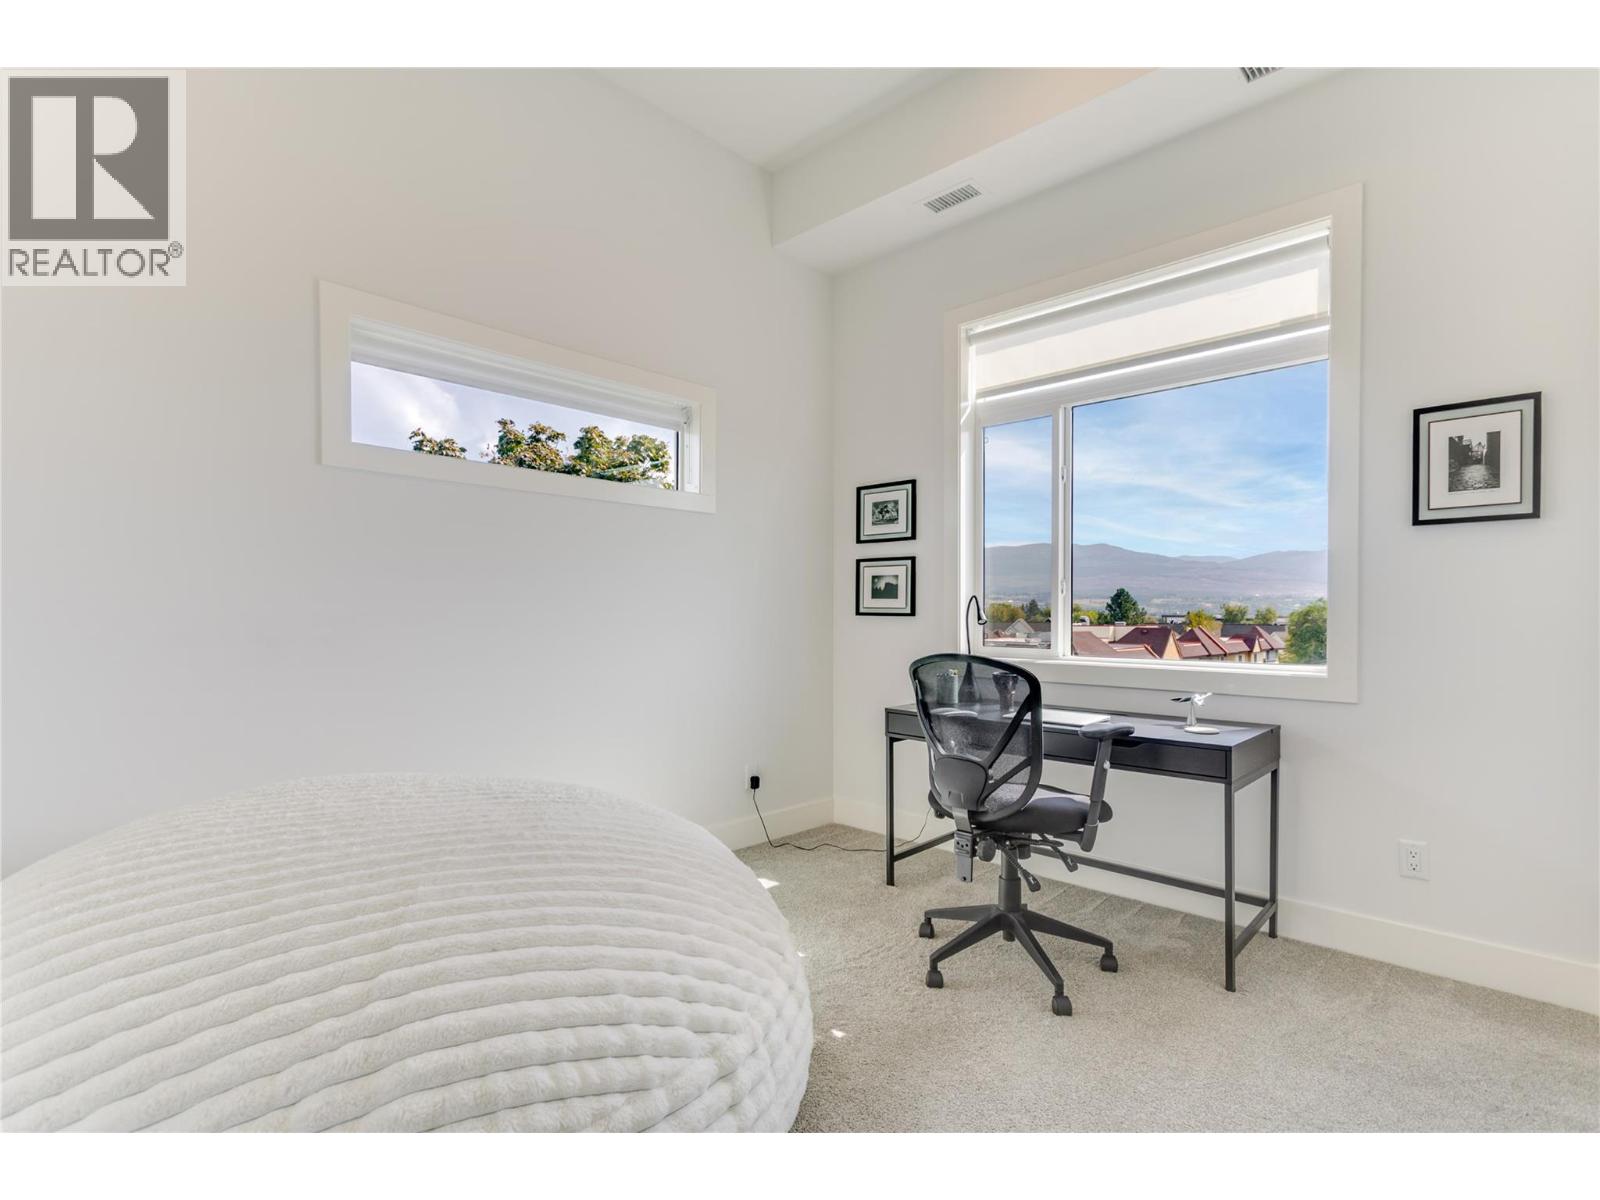
Photo 10
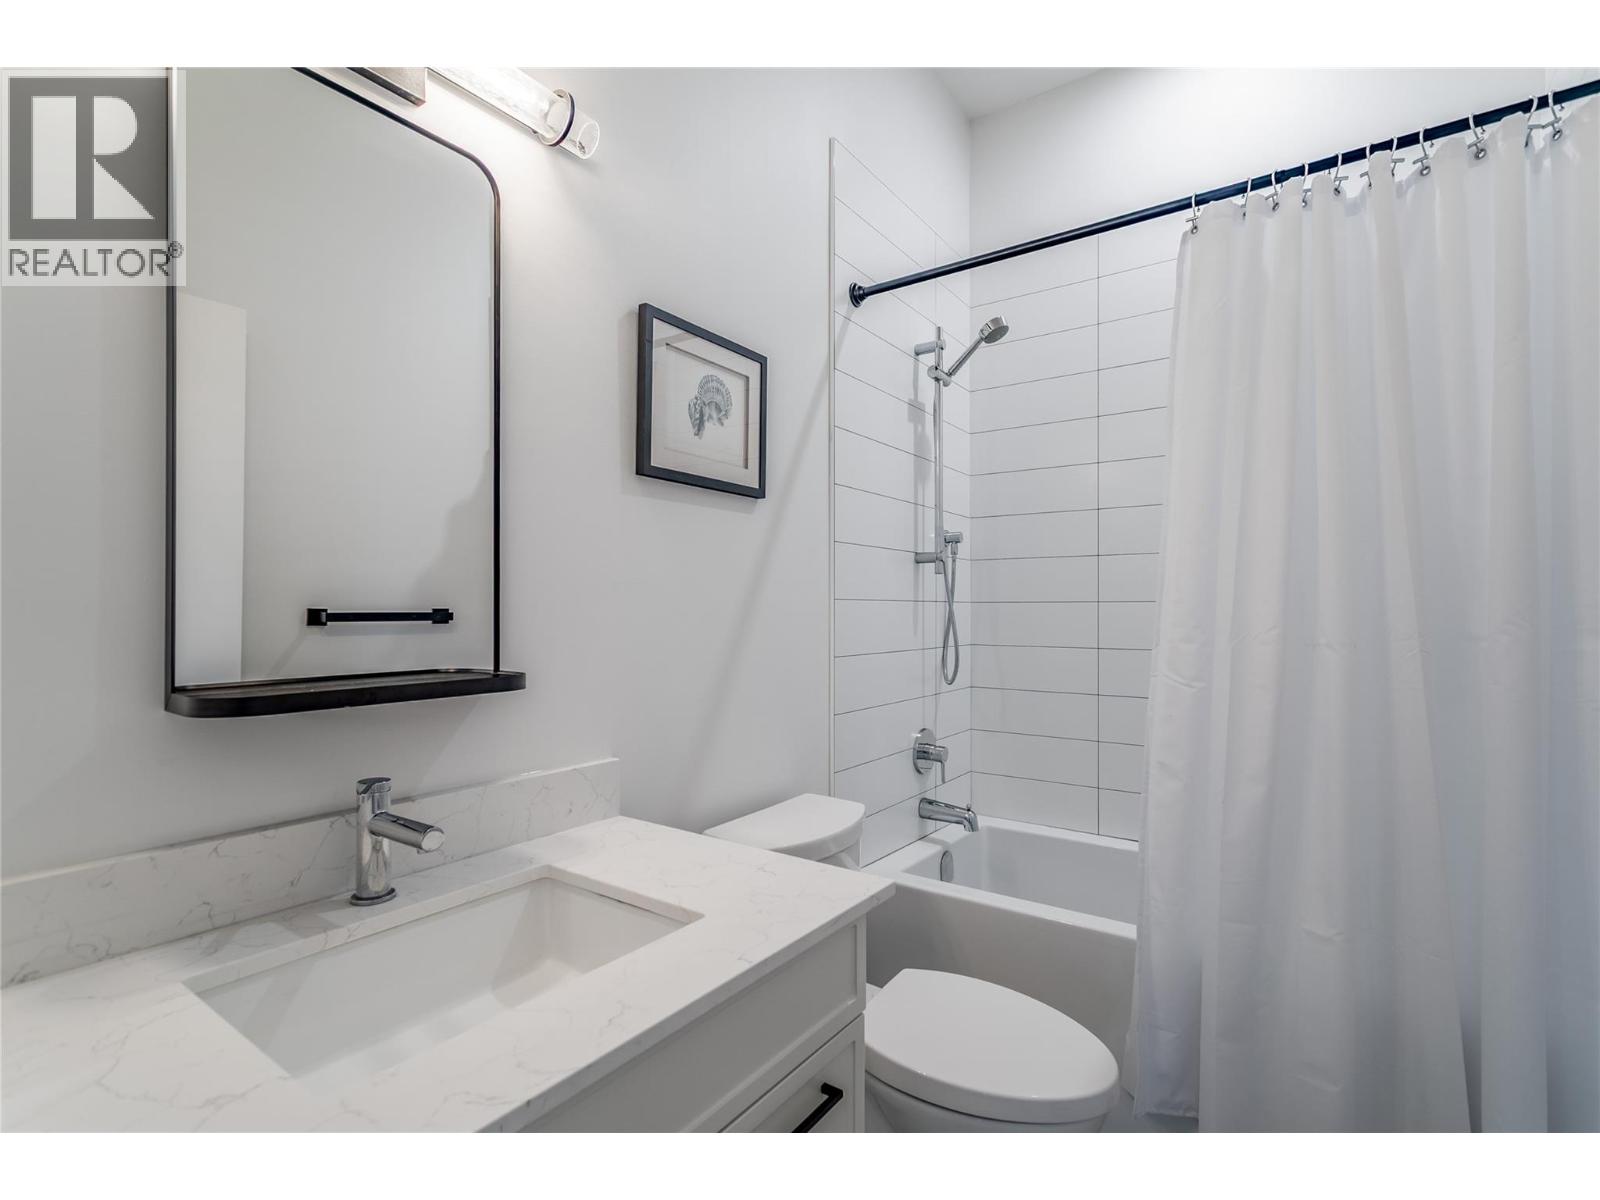
Photo 11
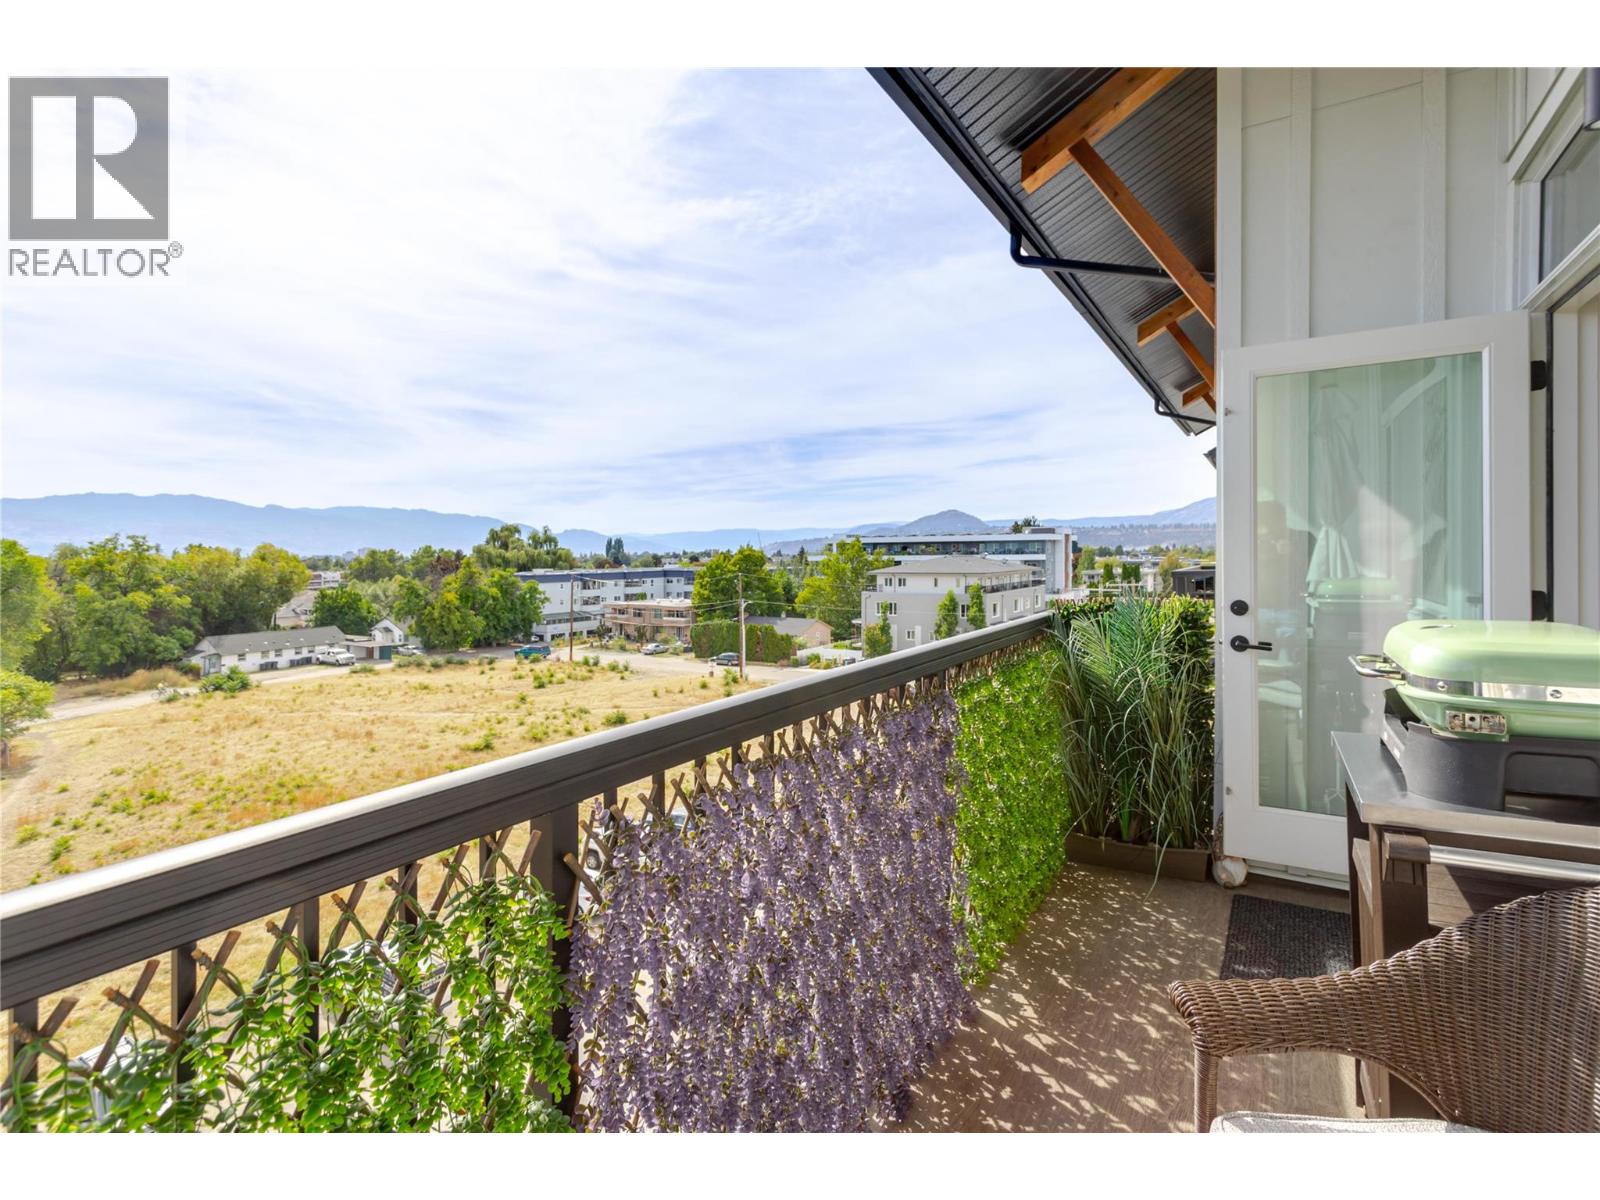
Photo 12
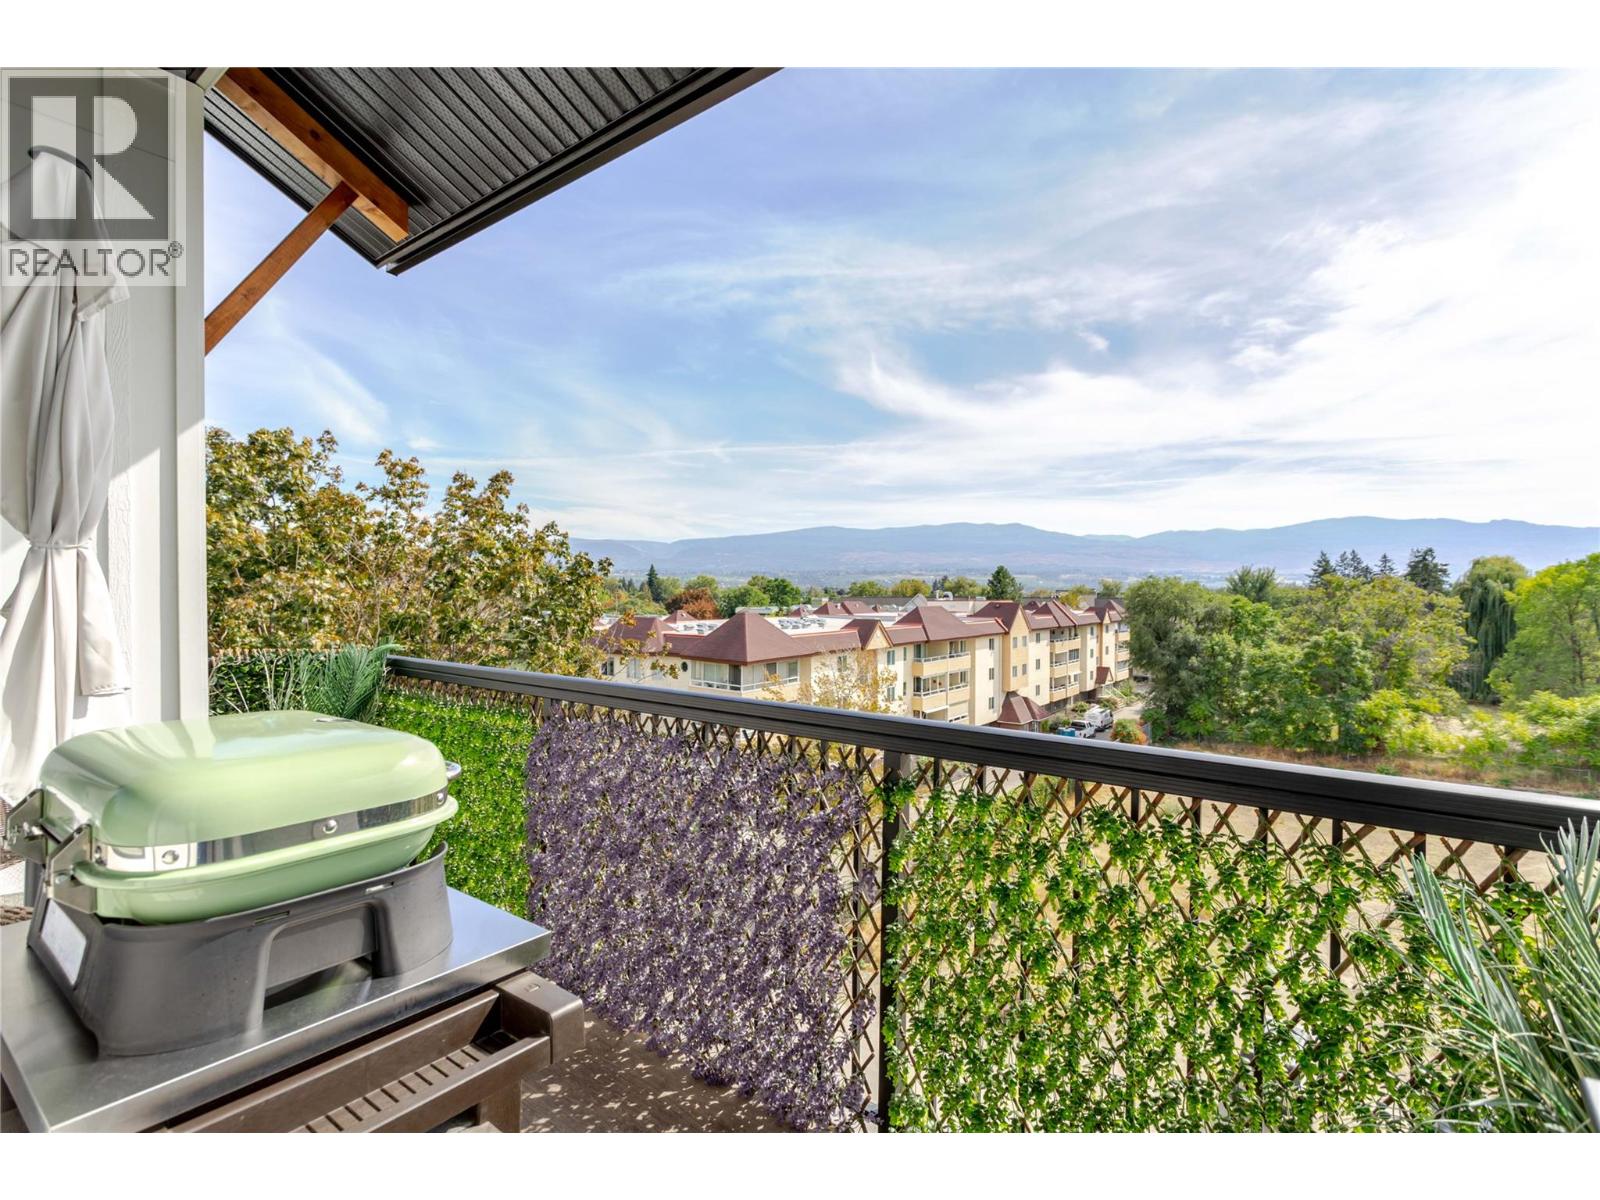
Photo 13
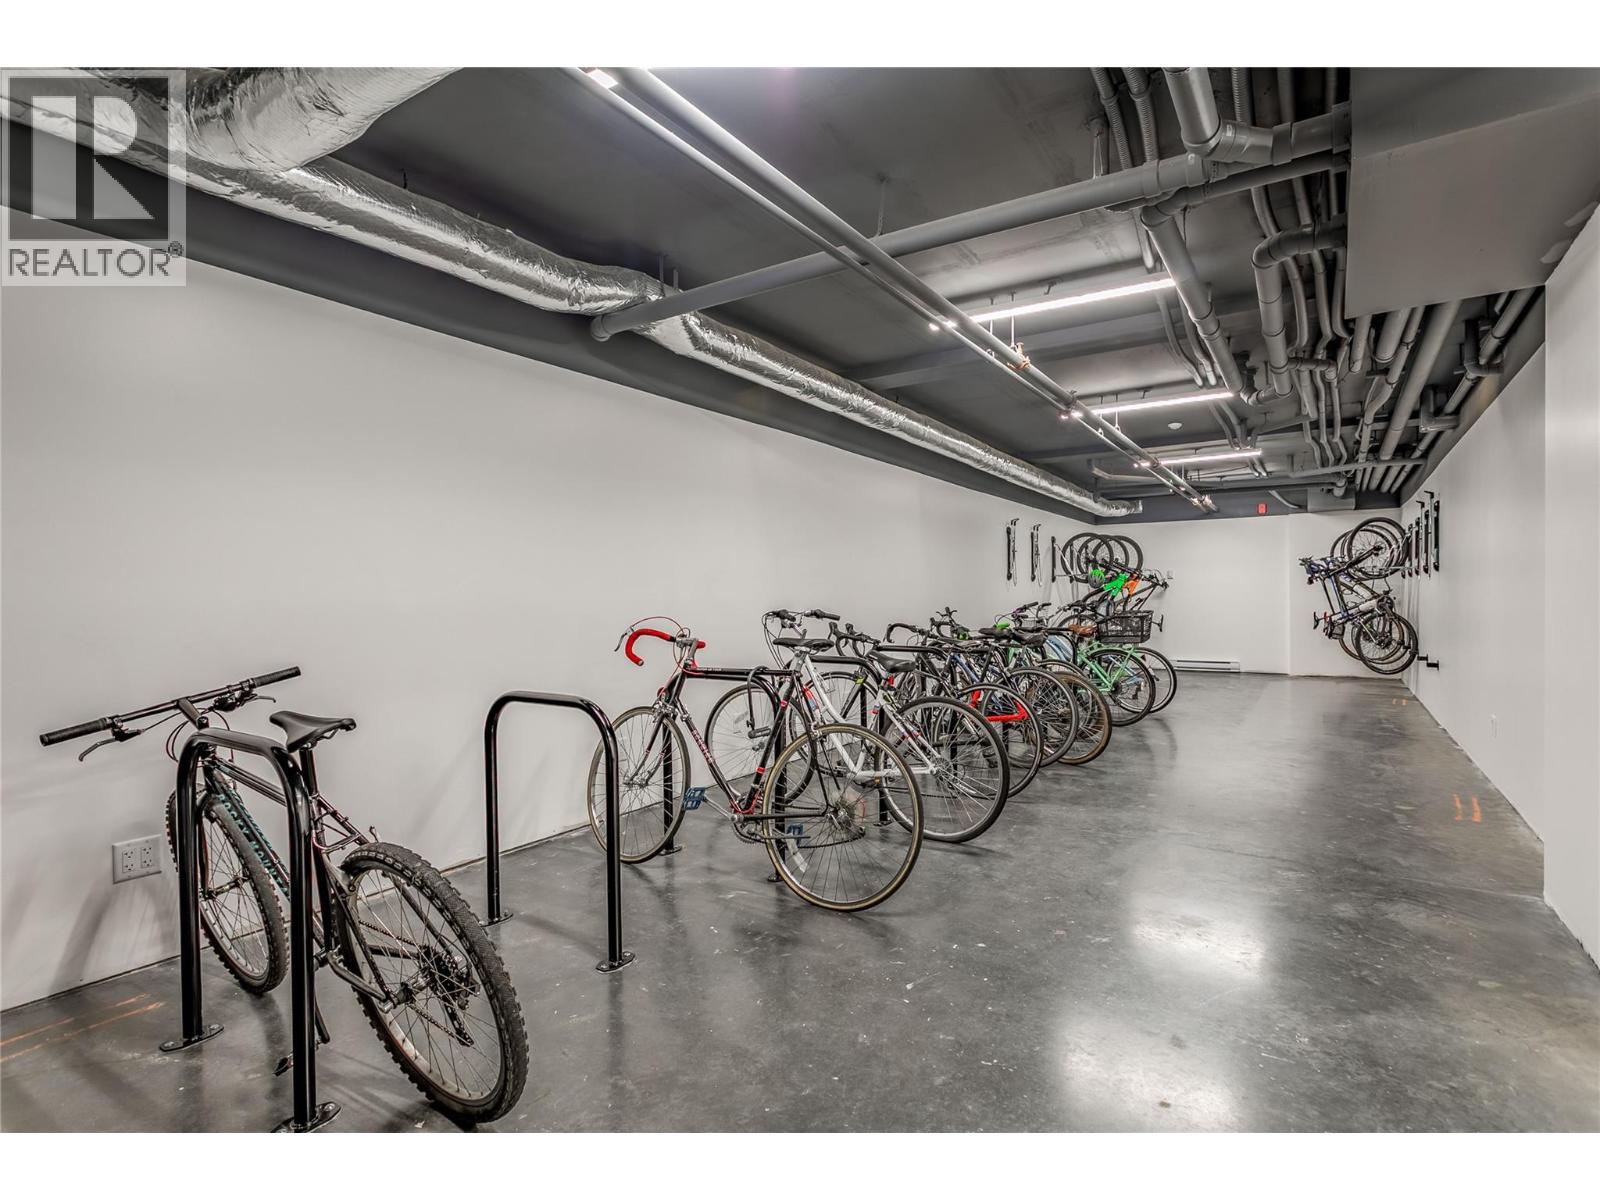
Photo 14
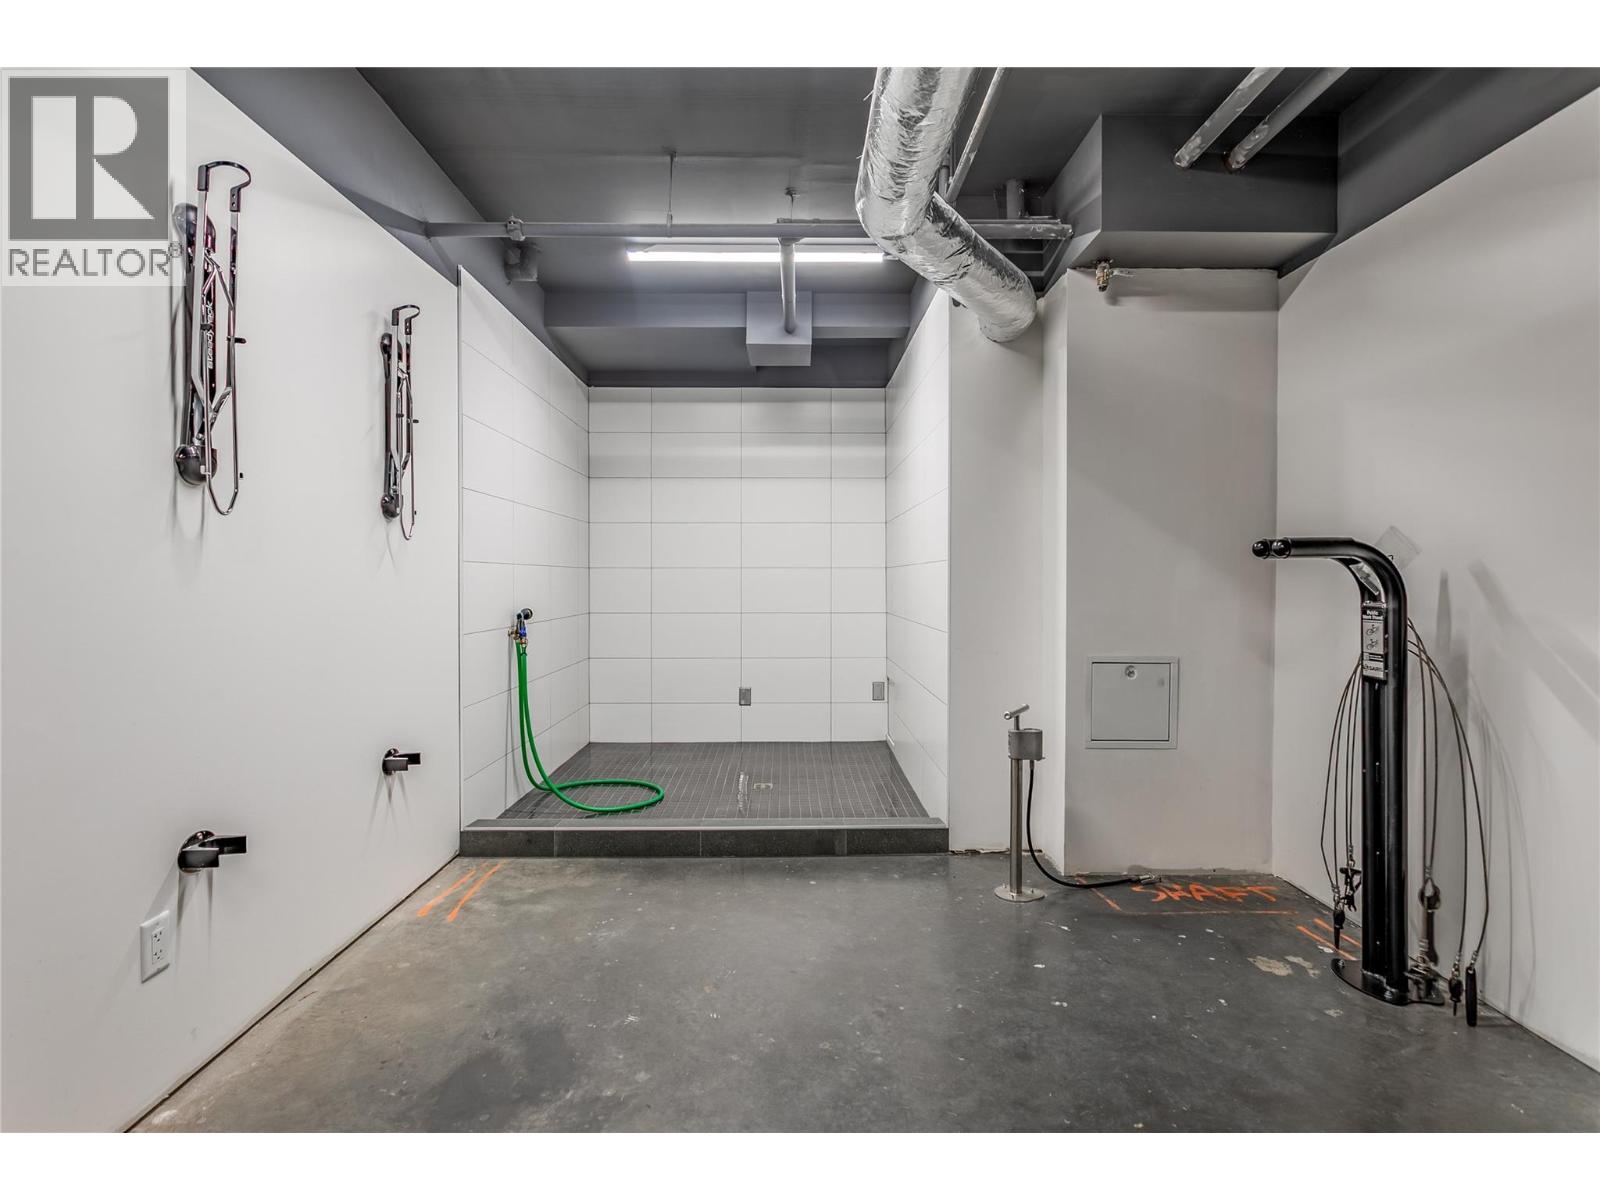
Photo 15
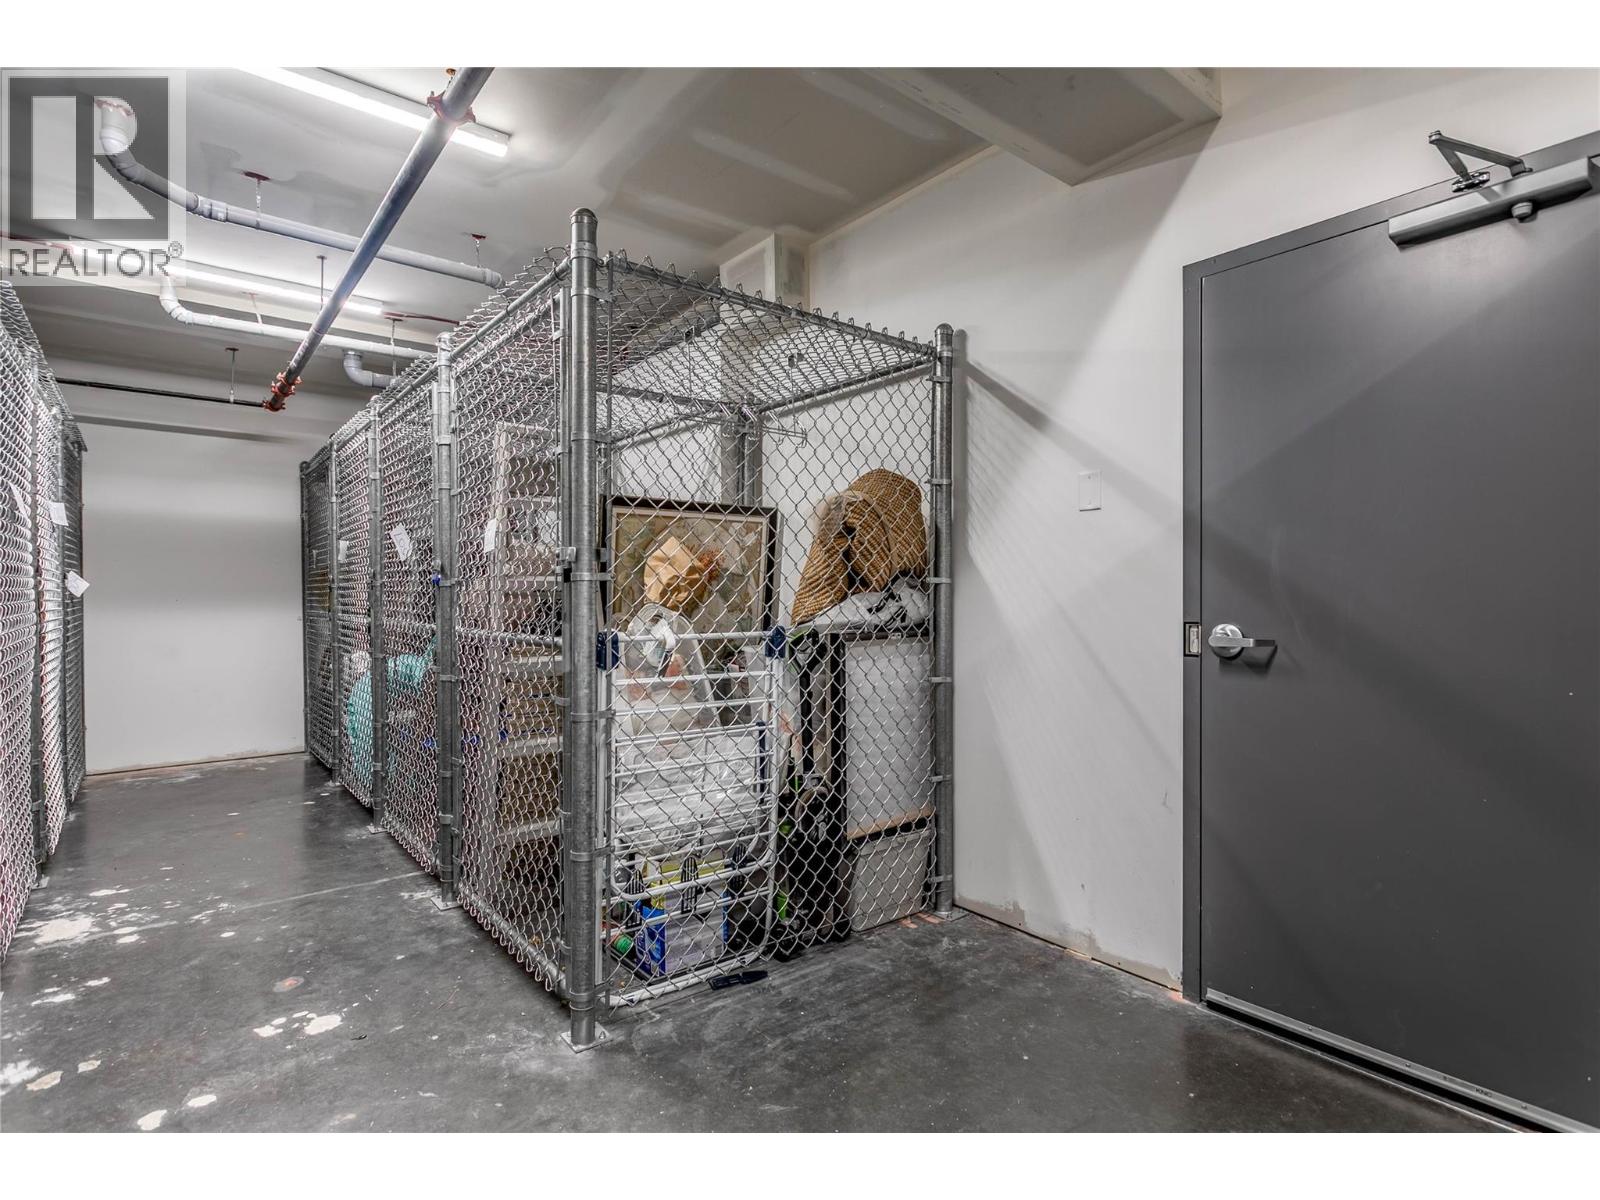
Photo 16
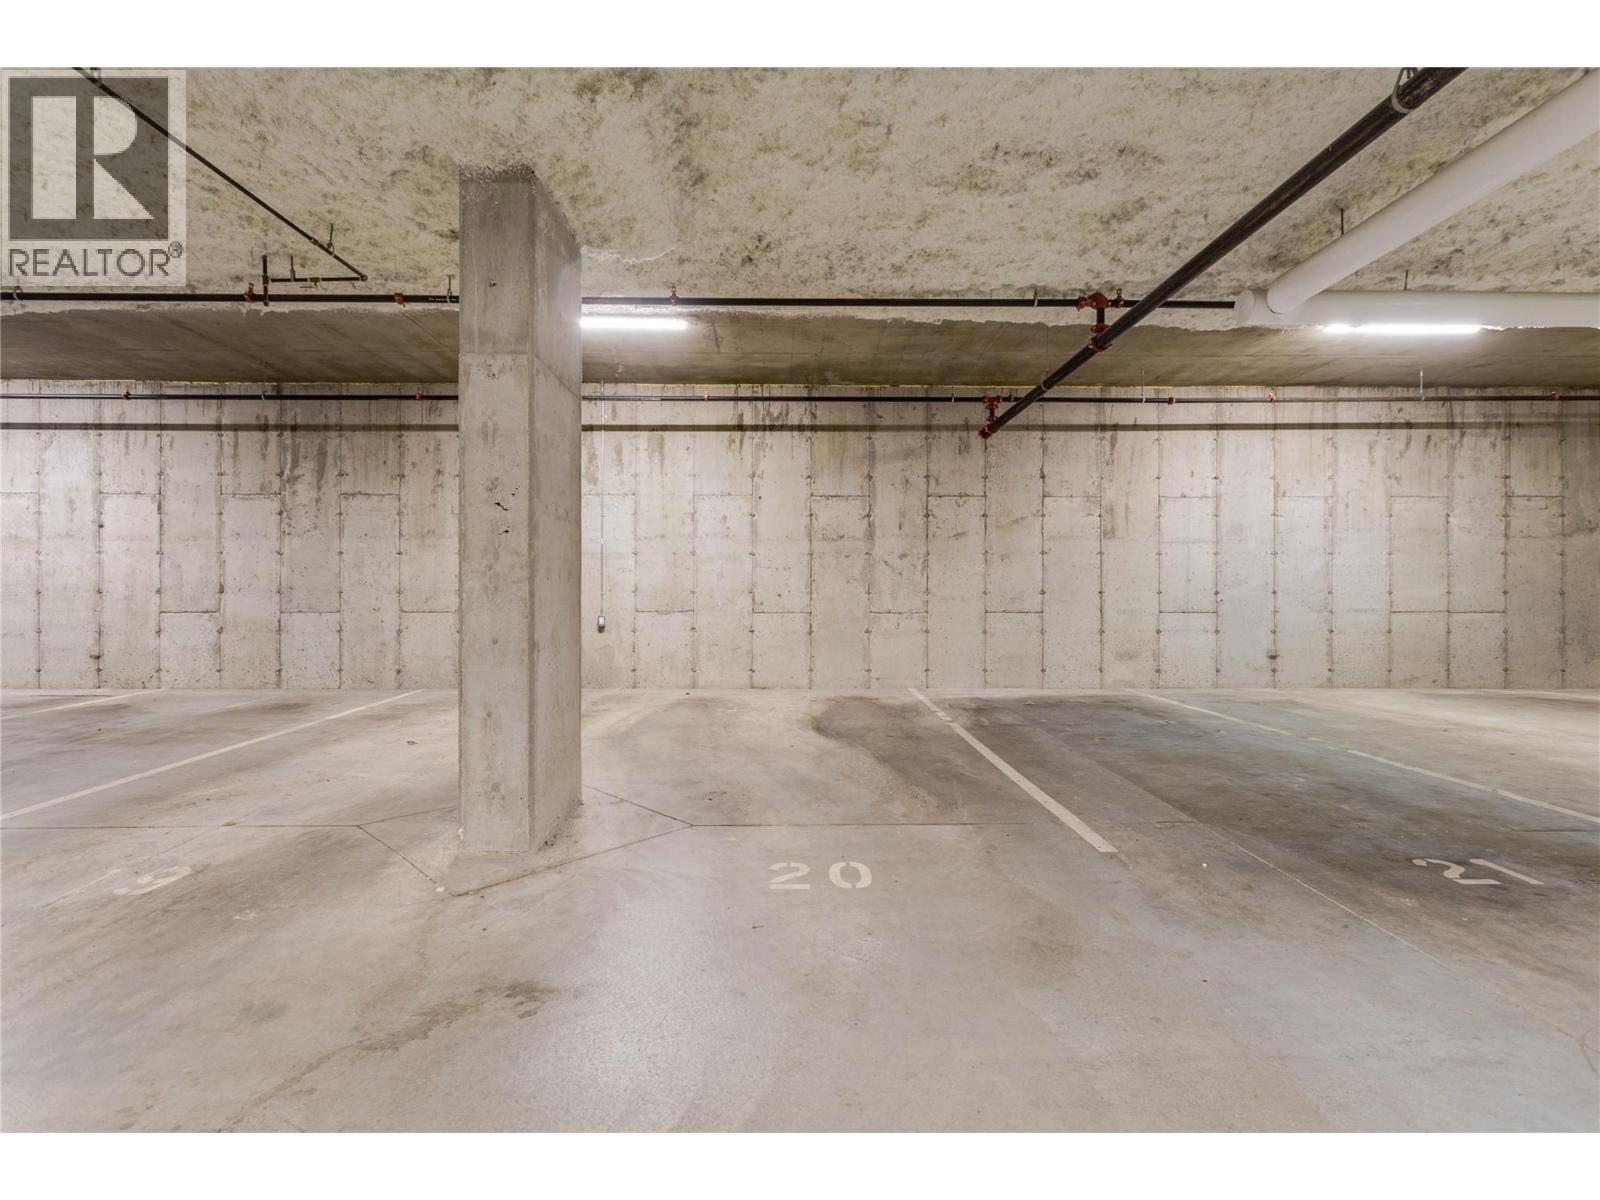
Photo 17
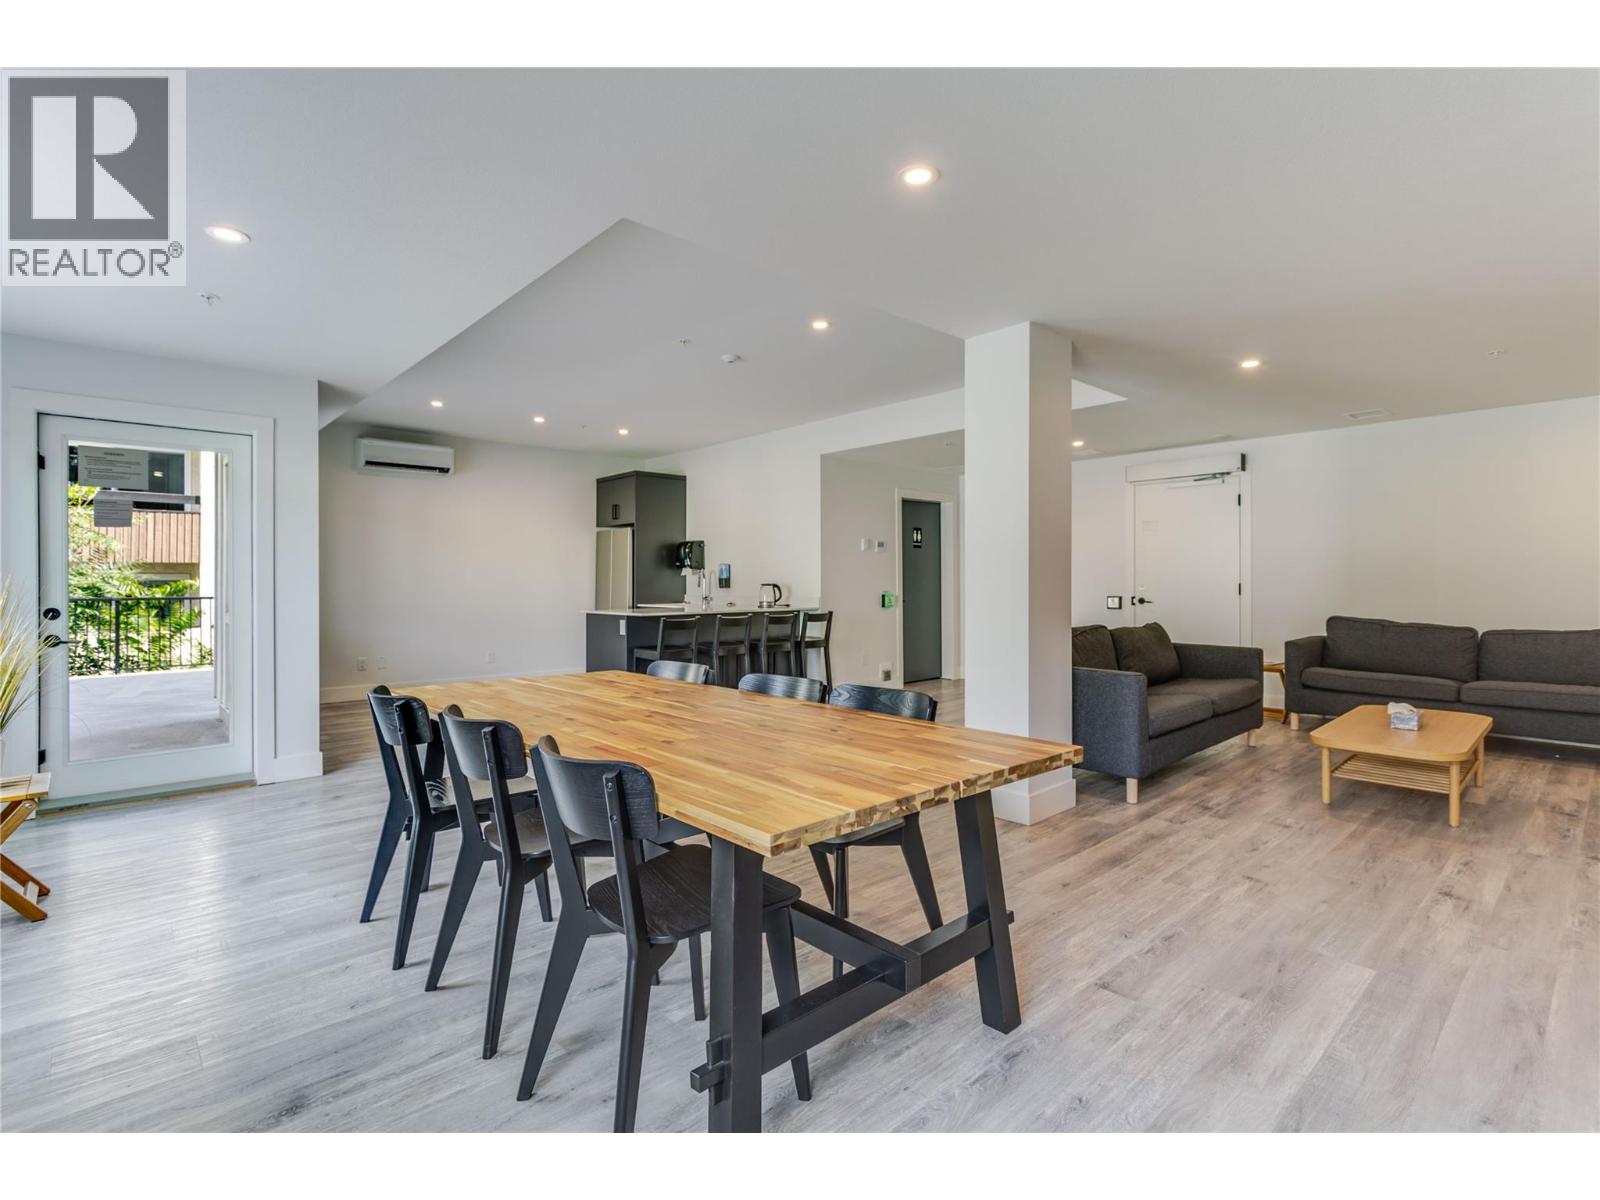
Photo 18
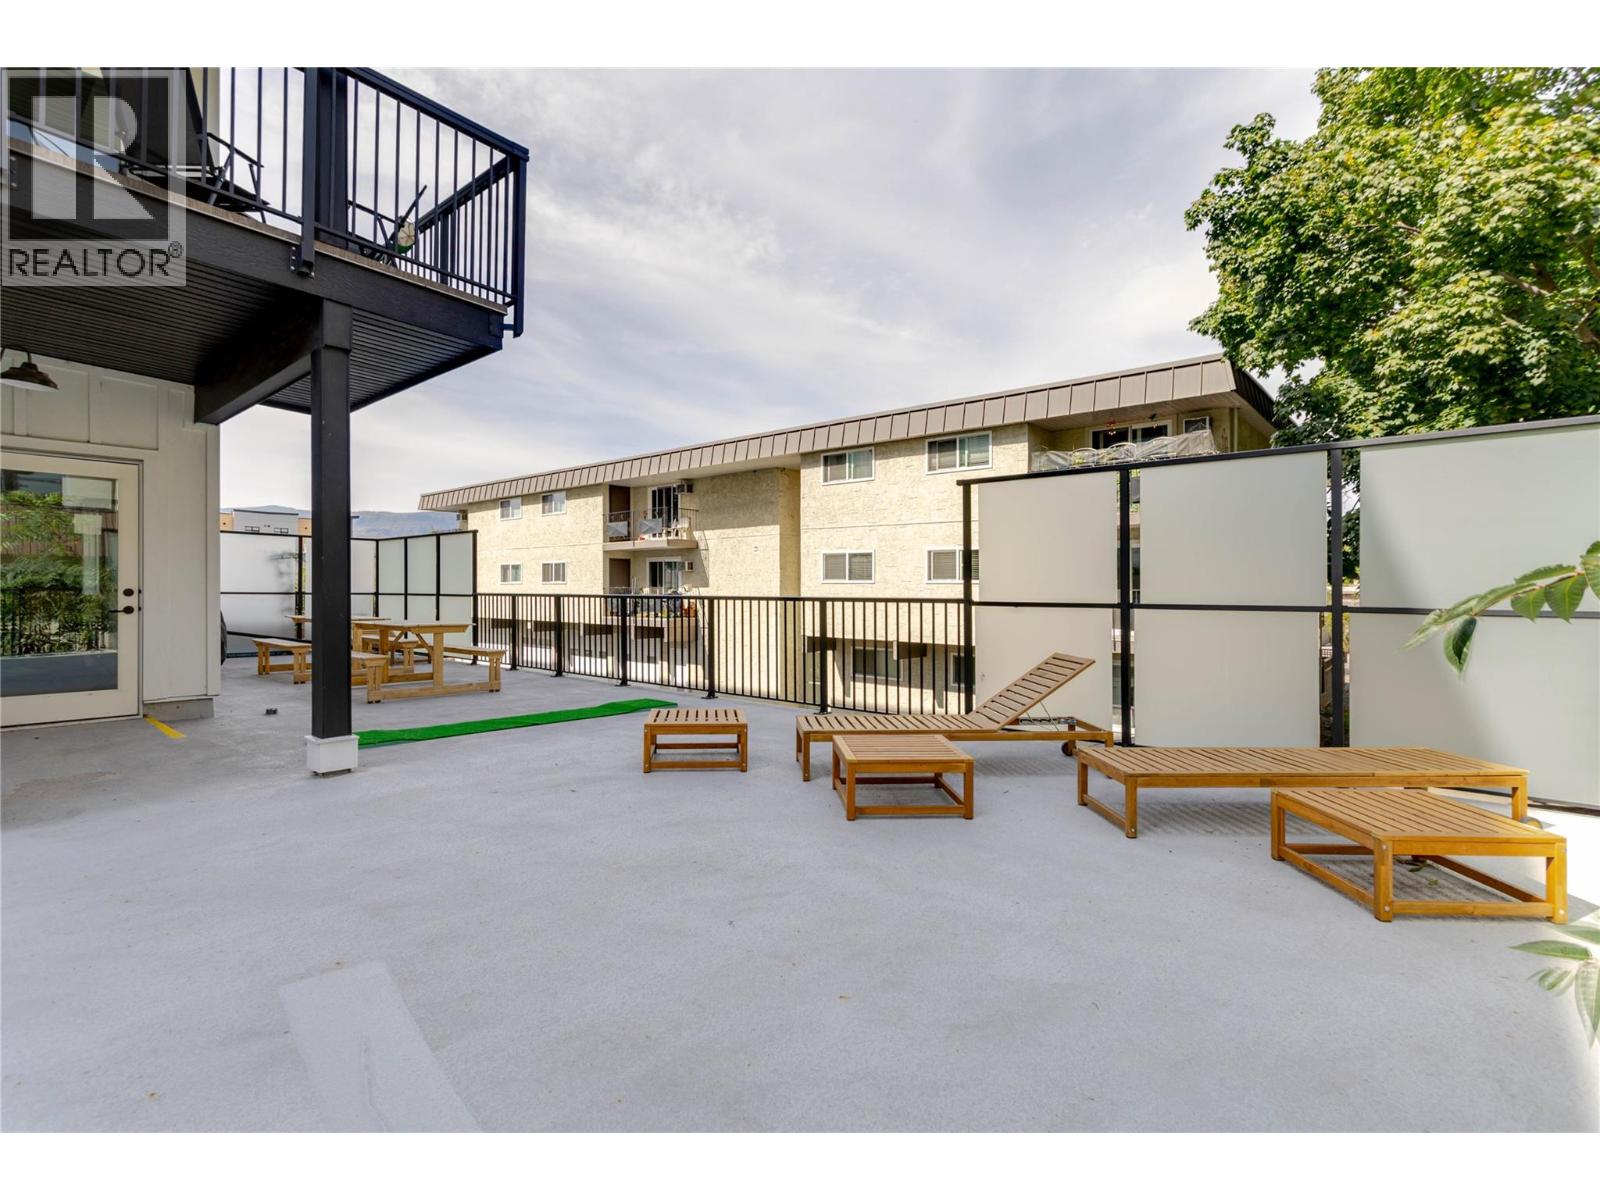
Photo 19
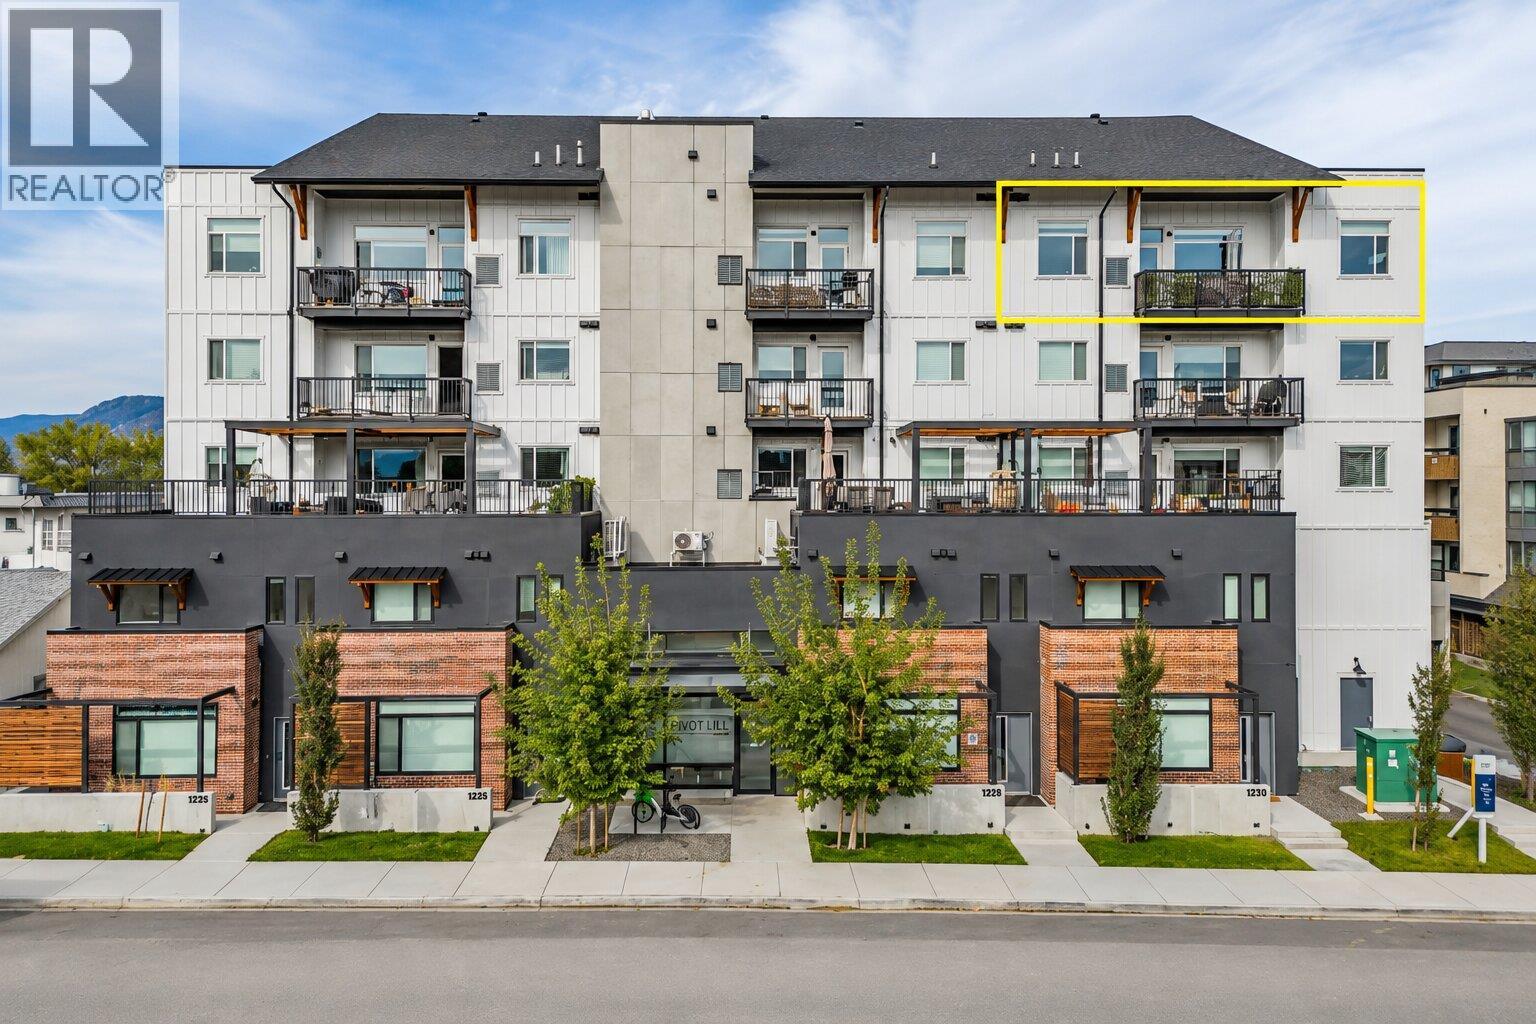
Photo 20
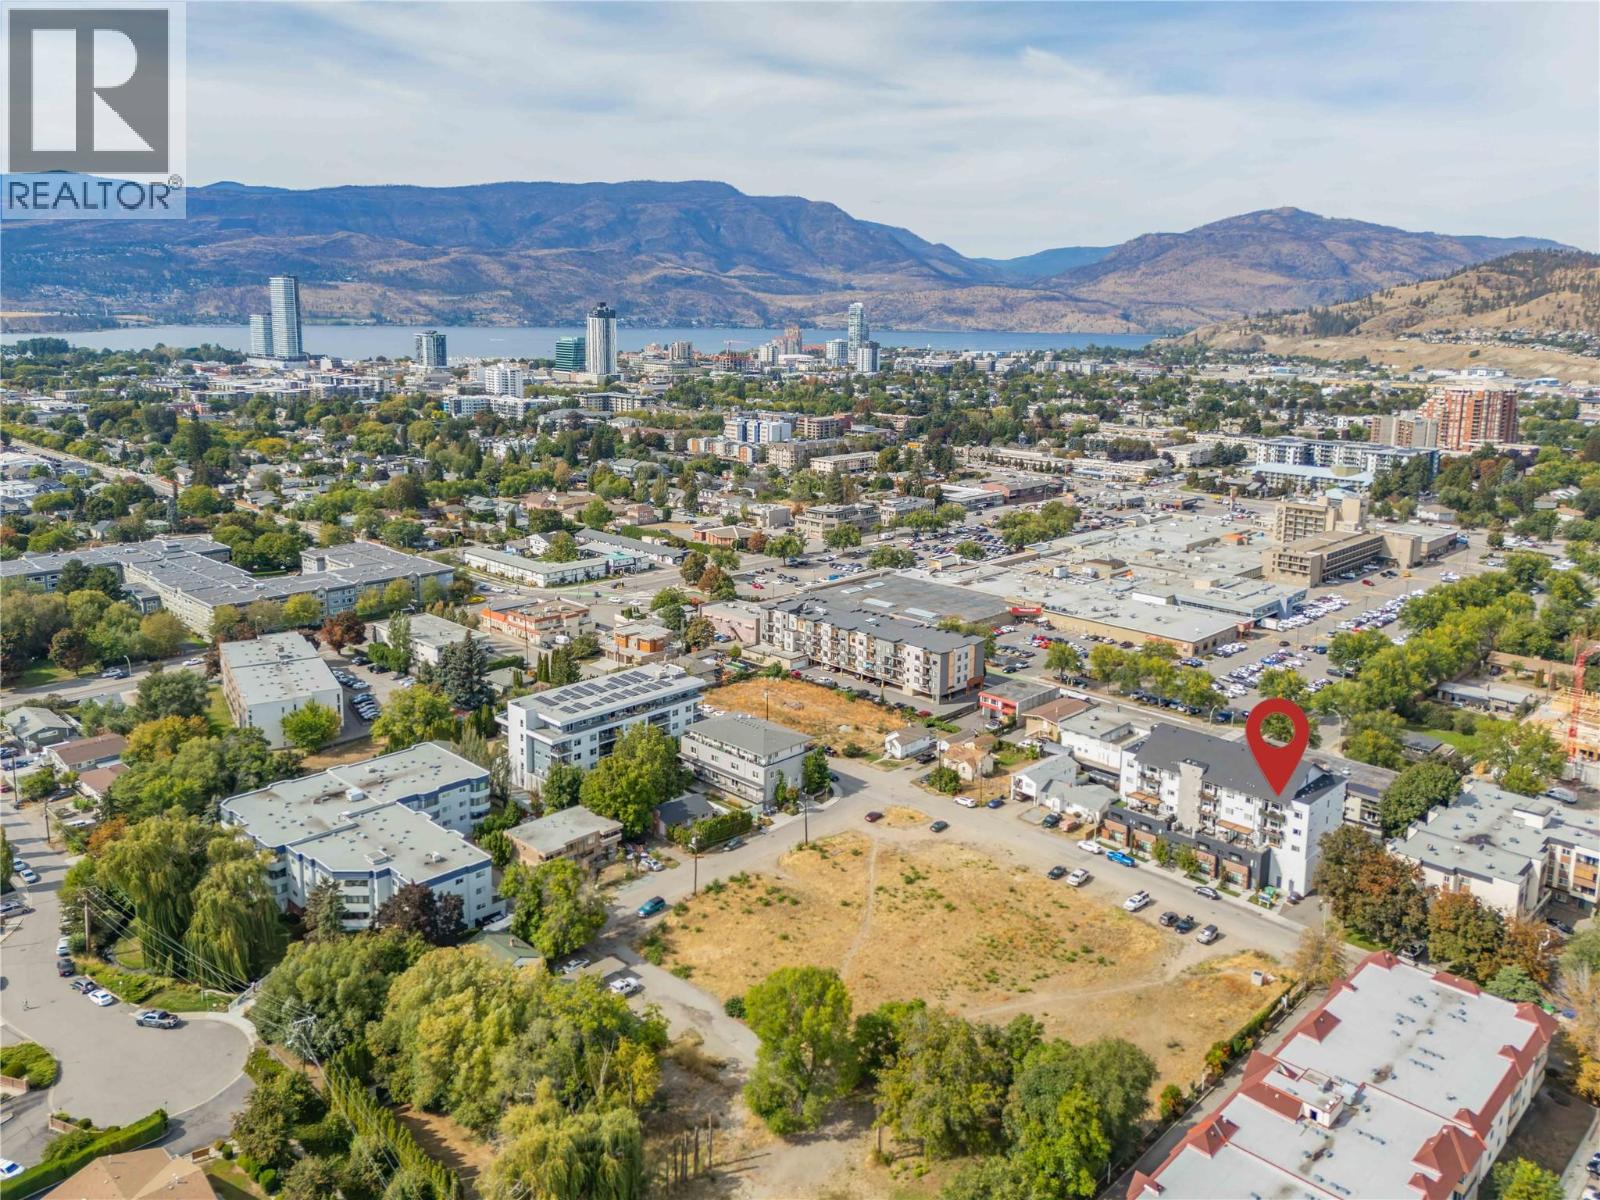
Photo 21
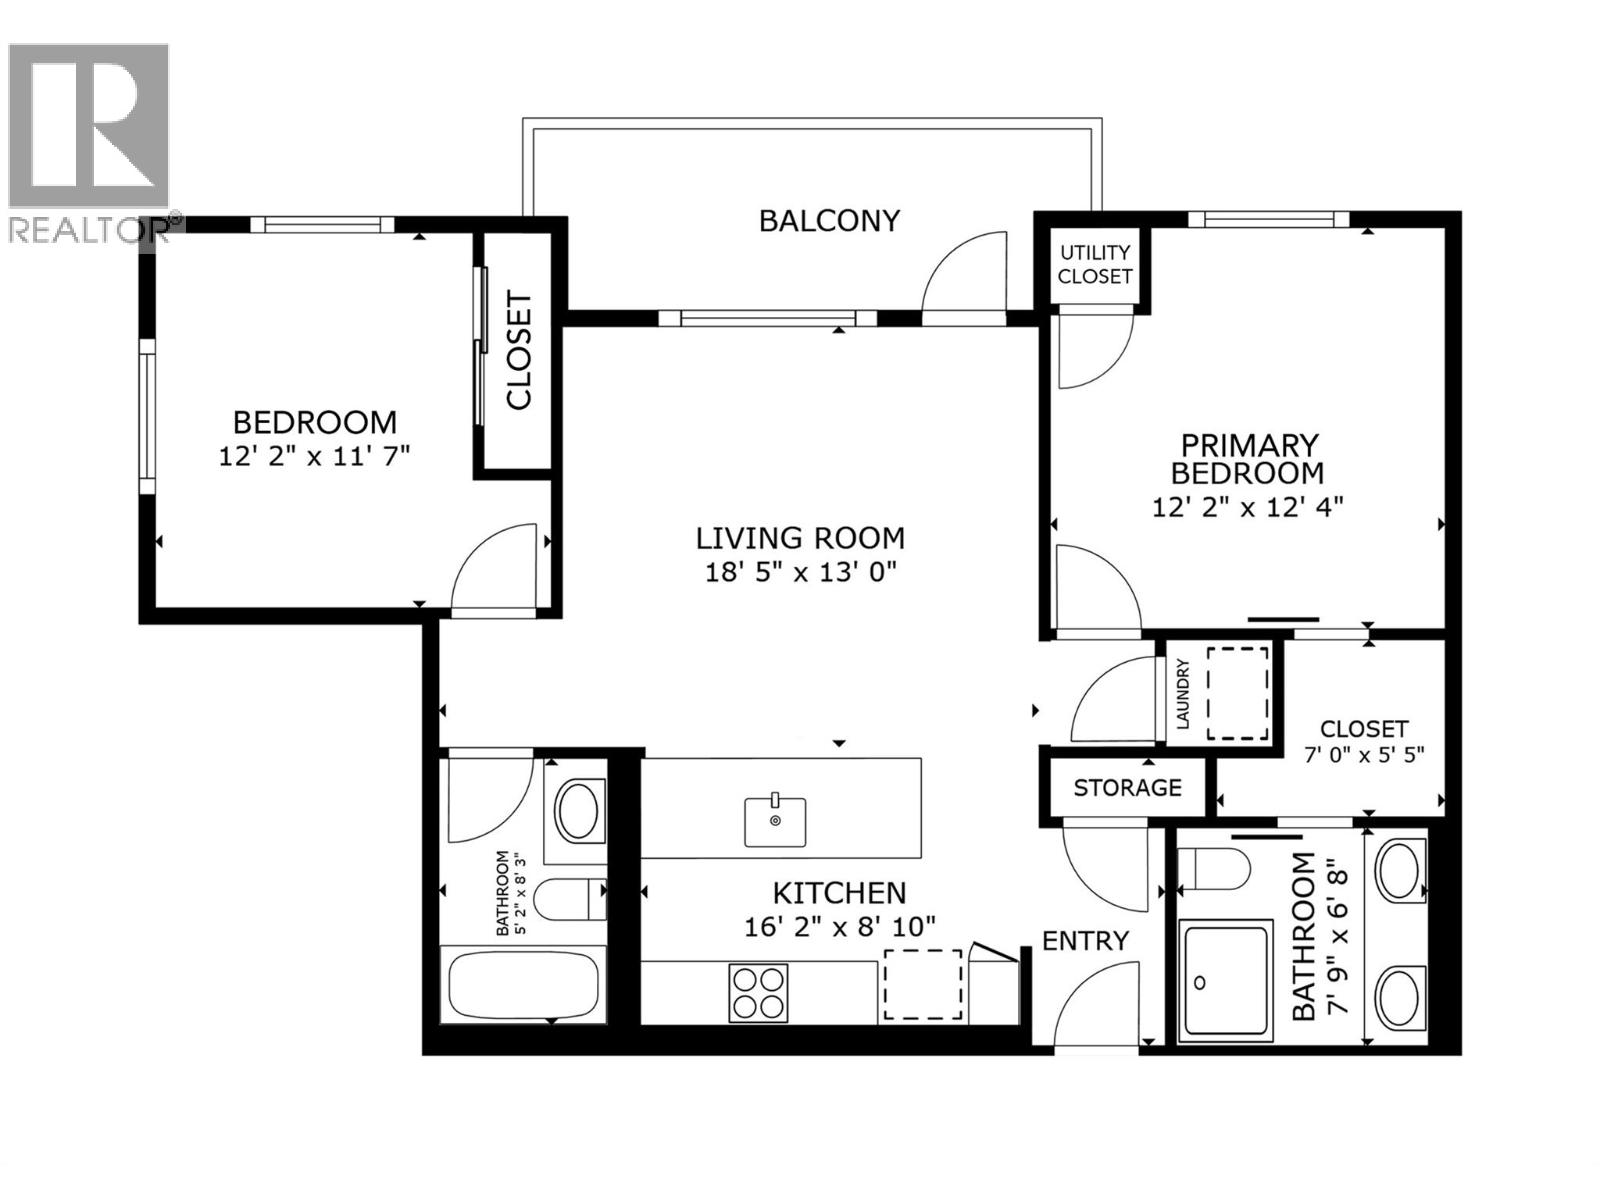
Photo 22