

1495 Cornwall Road
Rutland South, Kelowna

$799,000
Bedrooms: 2
Bathrooms: 2
Living Area: 953 sqft
About this House
in Rutland South, Kelowna
Are you looking for a big workshop with all the heat, power and size you need, but every home you find with all this has a huge expensive house you don't need? Problem solved! This is your DREAM workshop, and it comes with a really cute home and a third building, all on a massive lot with great upside for development potential in the future. Just a few years ago, developers would have paid much more than our asking price just for the home and lot! The house is a well-laid-out with updates completed by the current owners to make it a move-in ready property you can be proud to call home! The floor plan is very functional with a good flow, although with a shop like THIS, you may not spend much time in the house! Call for full details or to book a showing. This is a truly unique offering. Don't miss it! (id:14735)
Listed by Coldwell Banker Executives Realty.
 Brought to you by your friendly REALTORS® through the MLS® System and OMREB (Okanagan Mainland Real Estate Board), courtesy of Stuart McFadden for your convenience.
The information contained on this site is based in whole or in part on information that is provided by members of The Canadian Real Estate Association, who are responsible for its accuracy. CREA reproduces and distributes this information as a service for its members and assumes no responsibility for its accuracy.
Photo 1
Photo 2
Photo 3
Photo 4
Photo 5
Photo 6
Photo 7
Photo 8
Photo 9
Photo 10
Photo 11
Photo 12
Photo 13
Photo 14
Photo 15
Photo 16
Photo 17
Photo 18
Photo 19
Photo 20
Photo 21
Photo 22
Photo 23
Photo 24
Photo 25
Photo 26
Photo 27
Photo 28
Photo 29
Photo 30
Photo 31
Photo 32
Photo 33
Photo 34
Photo 35
Photo 36
Photo 37
Photo 38
Photo 39
Photo 40
Photo 41
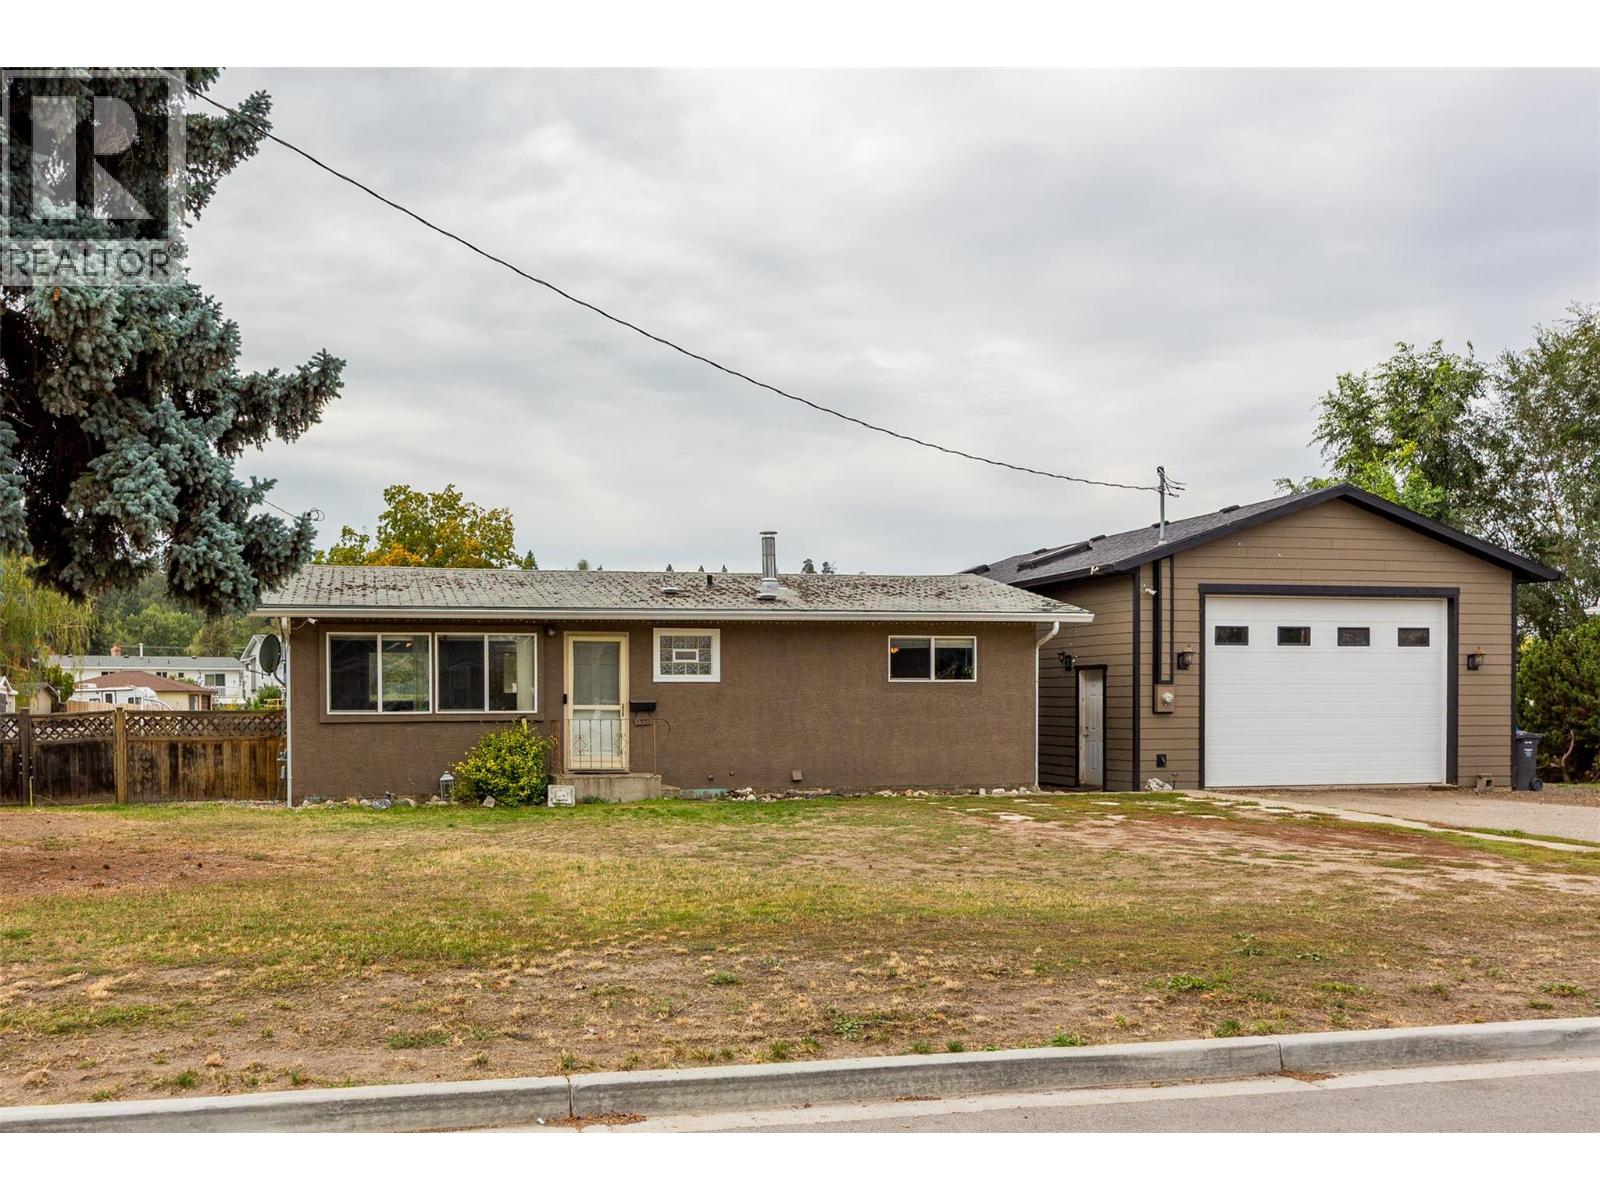
Photo 1
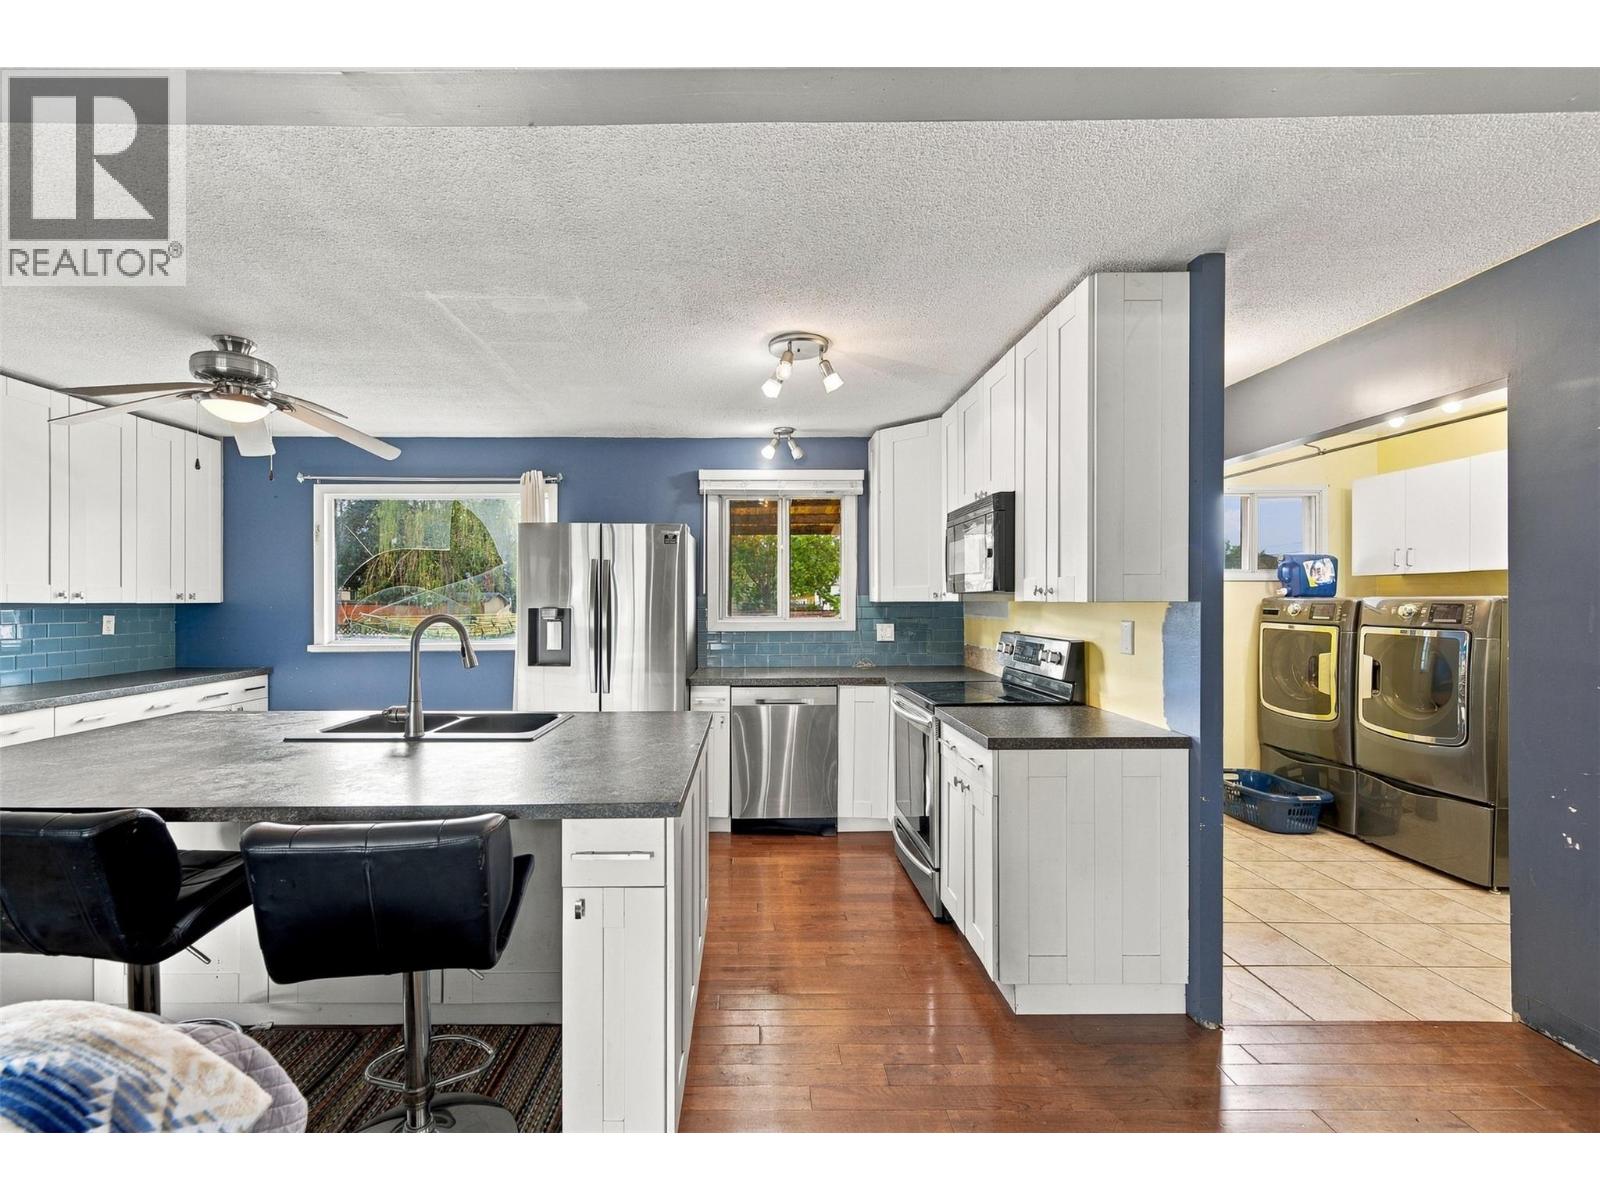
Photo 2
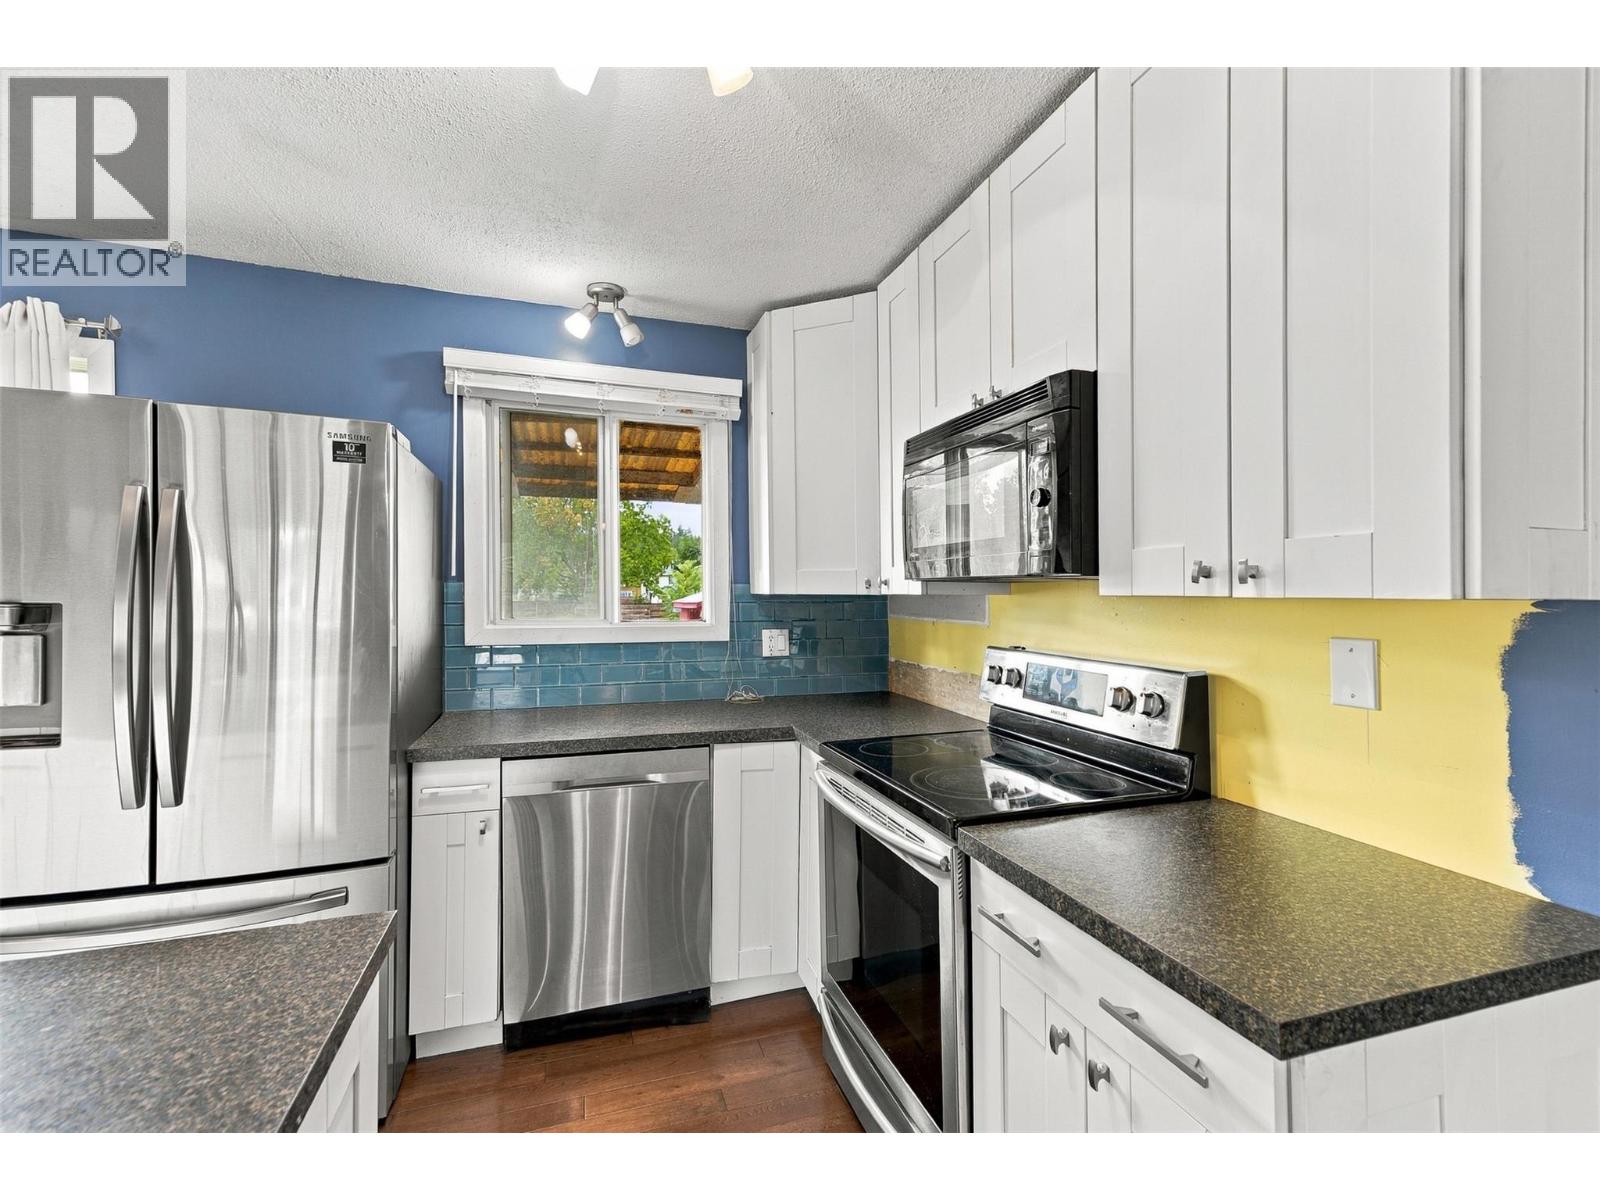
Photo 3
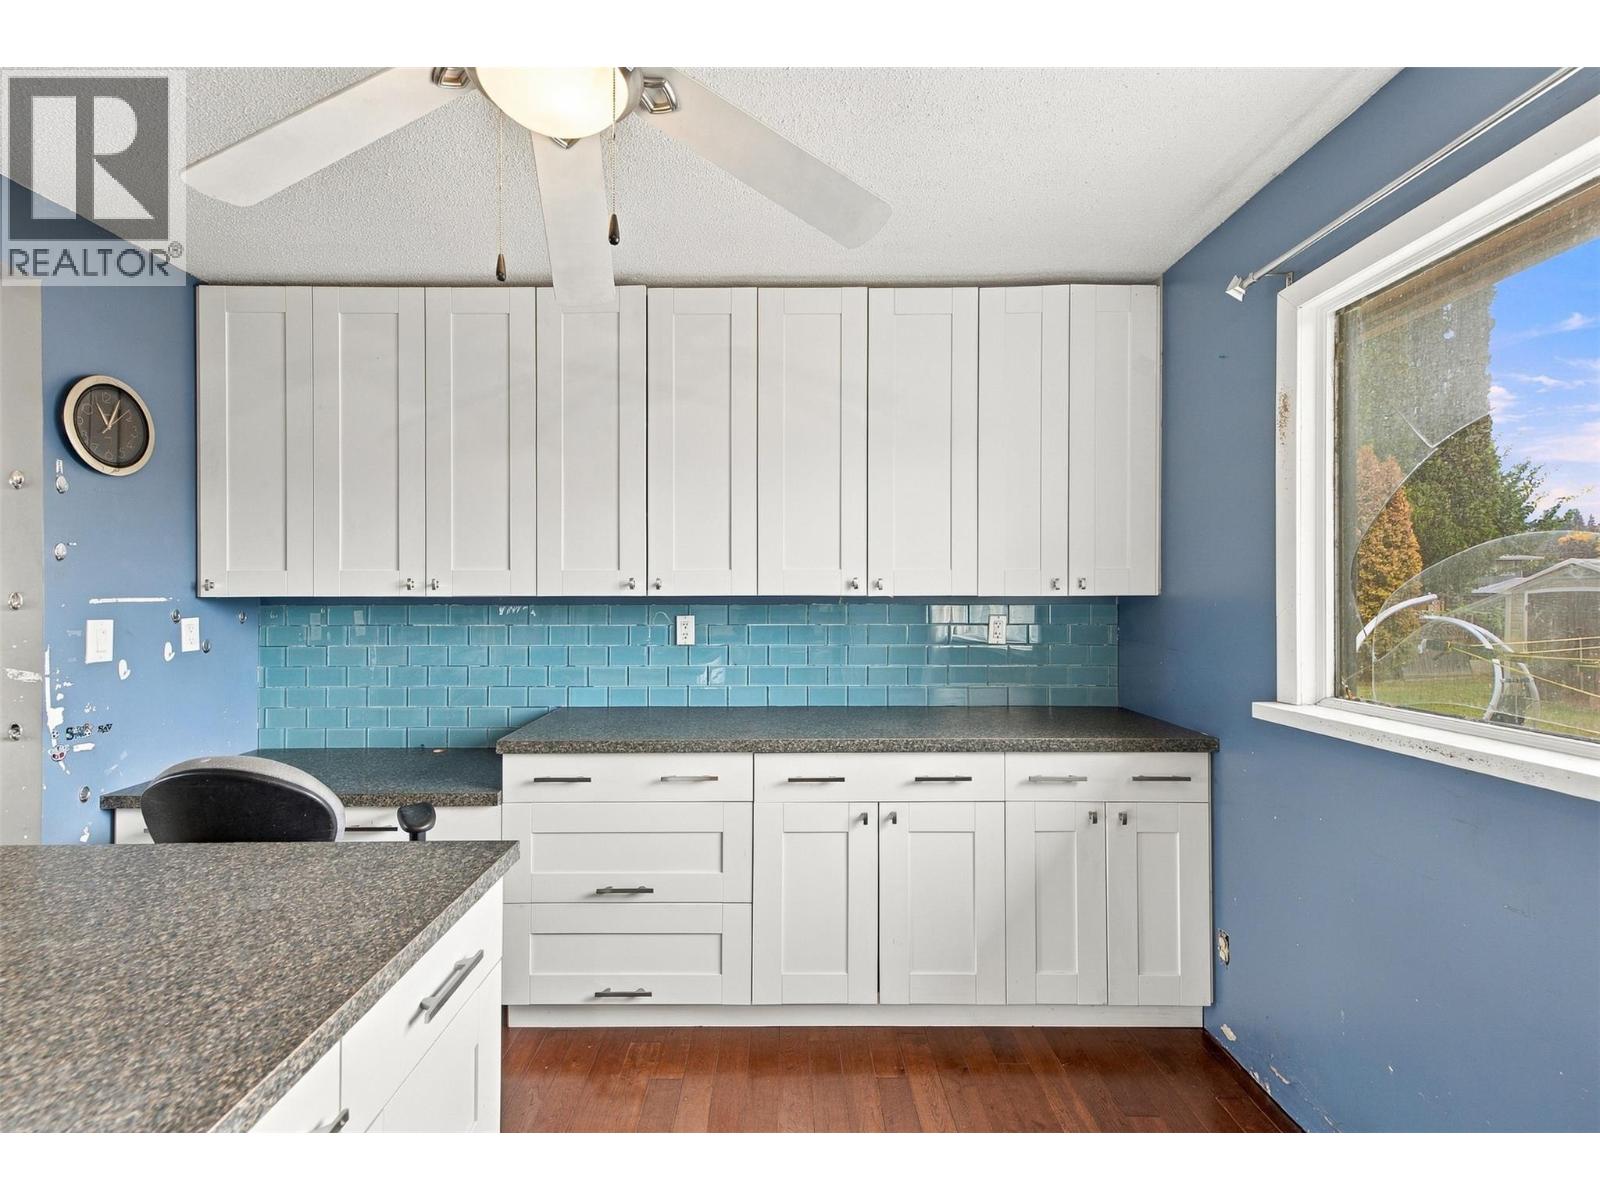
Photo 4
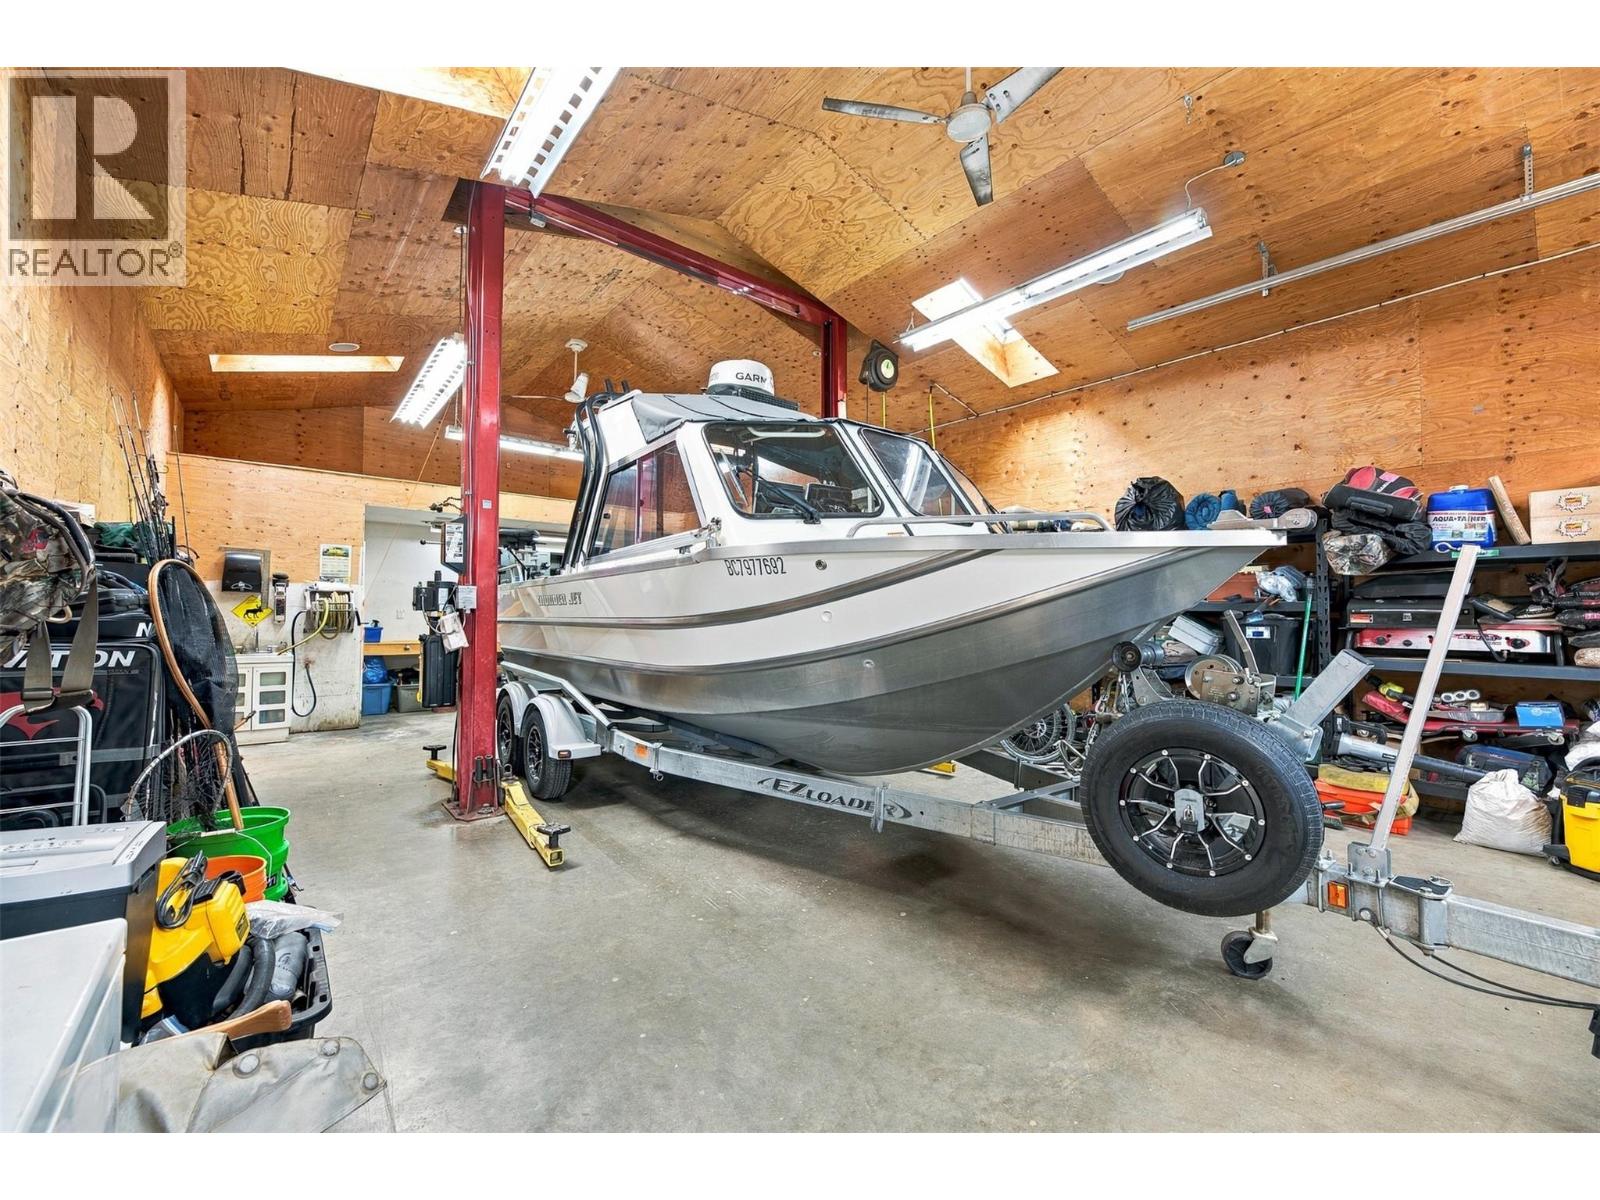
Photo 5
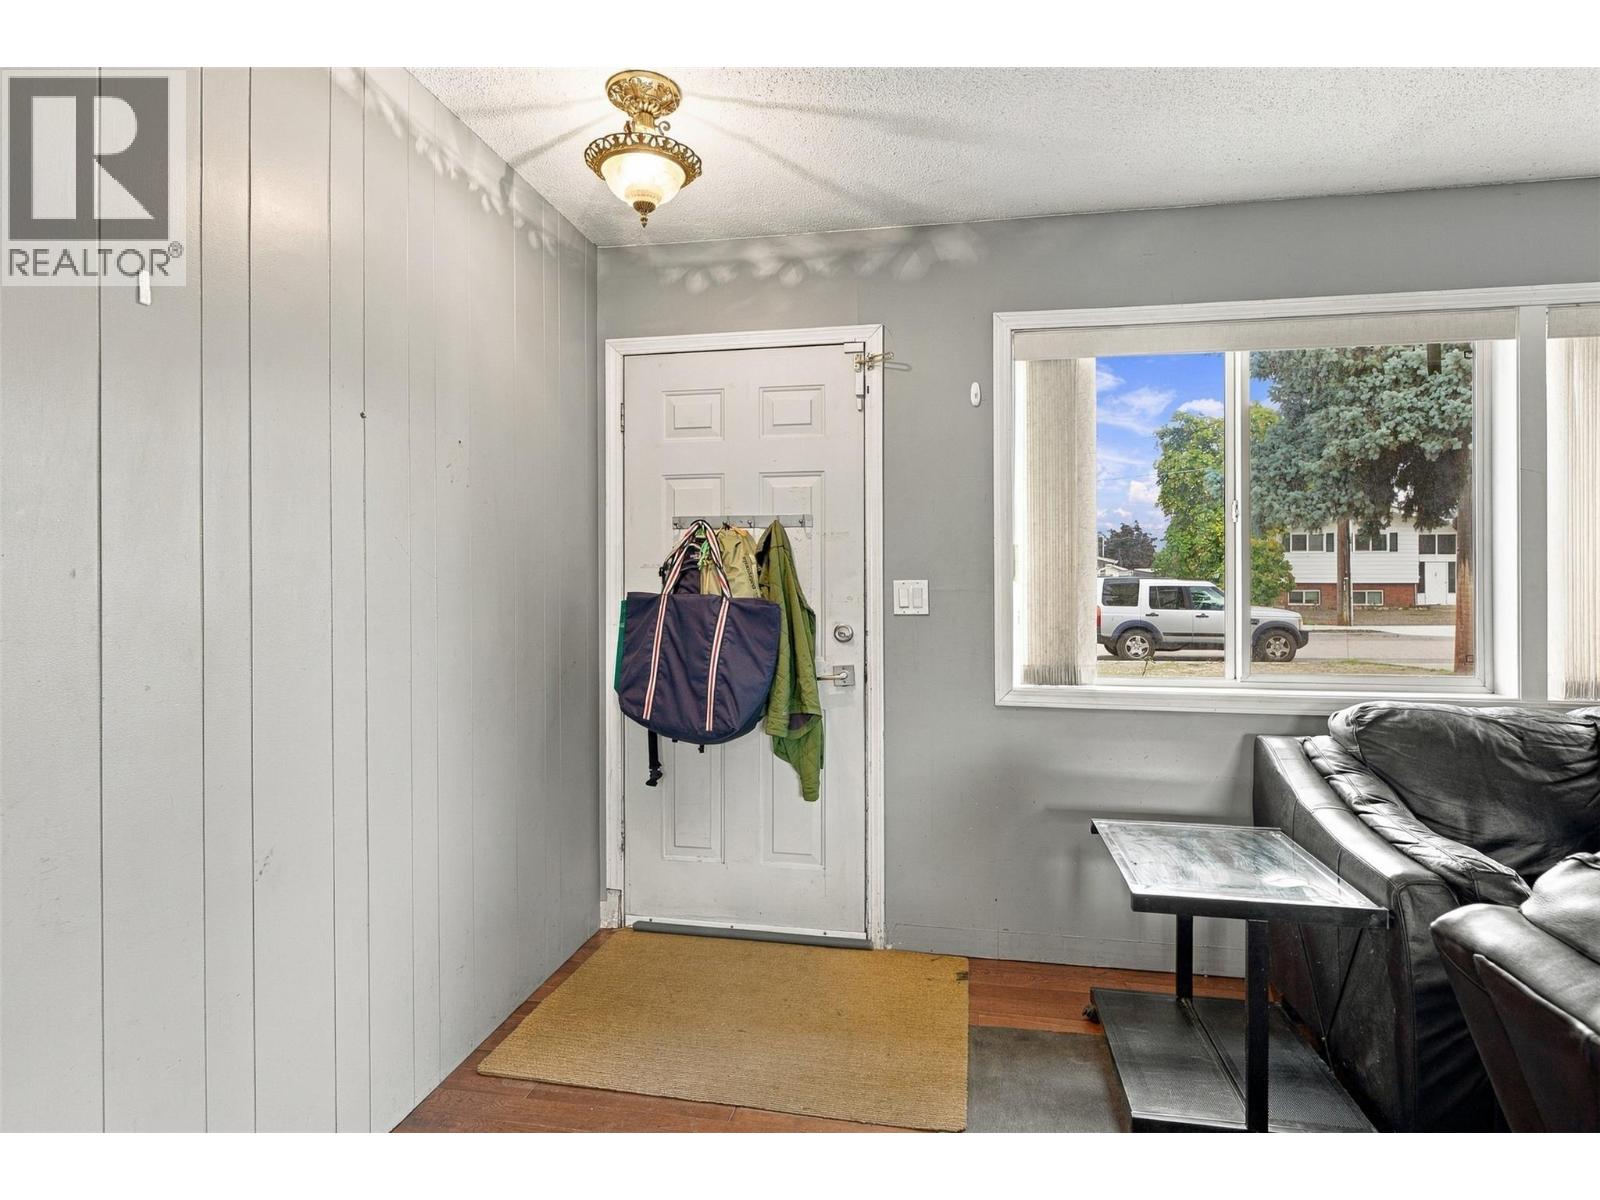
Photo 6
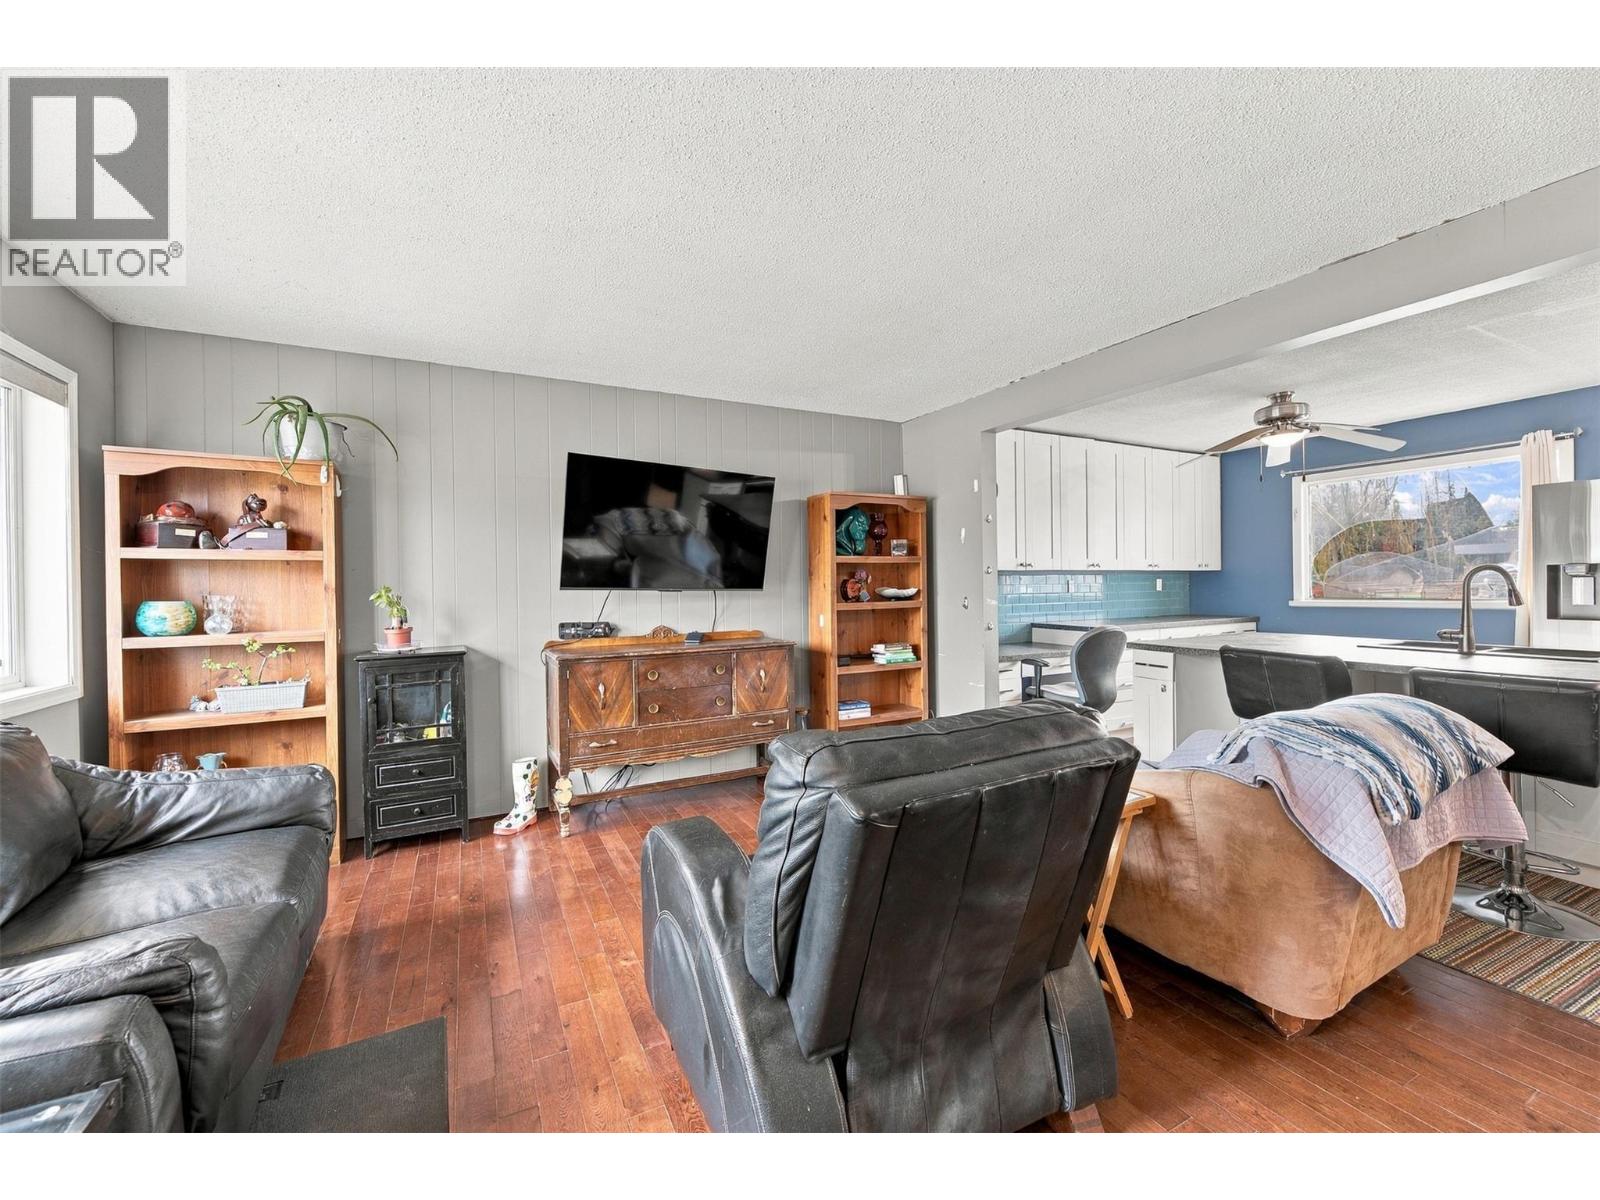
Photo 7
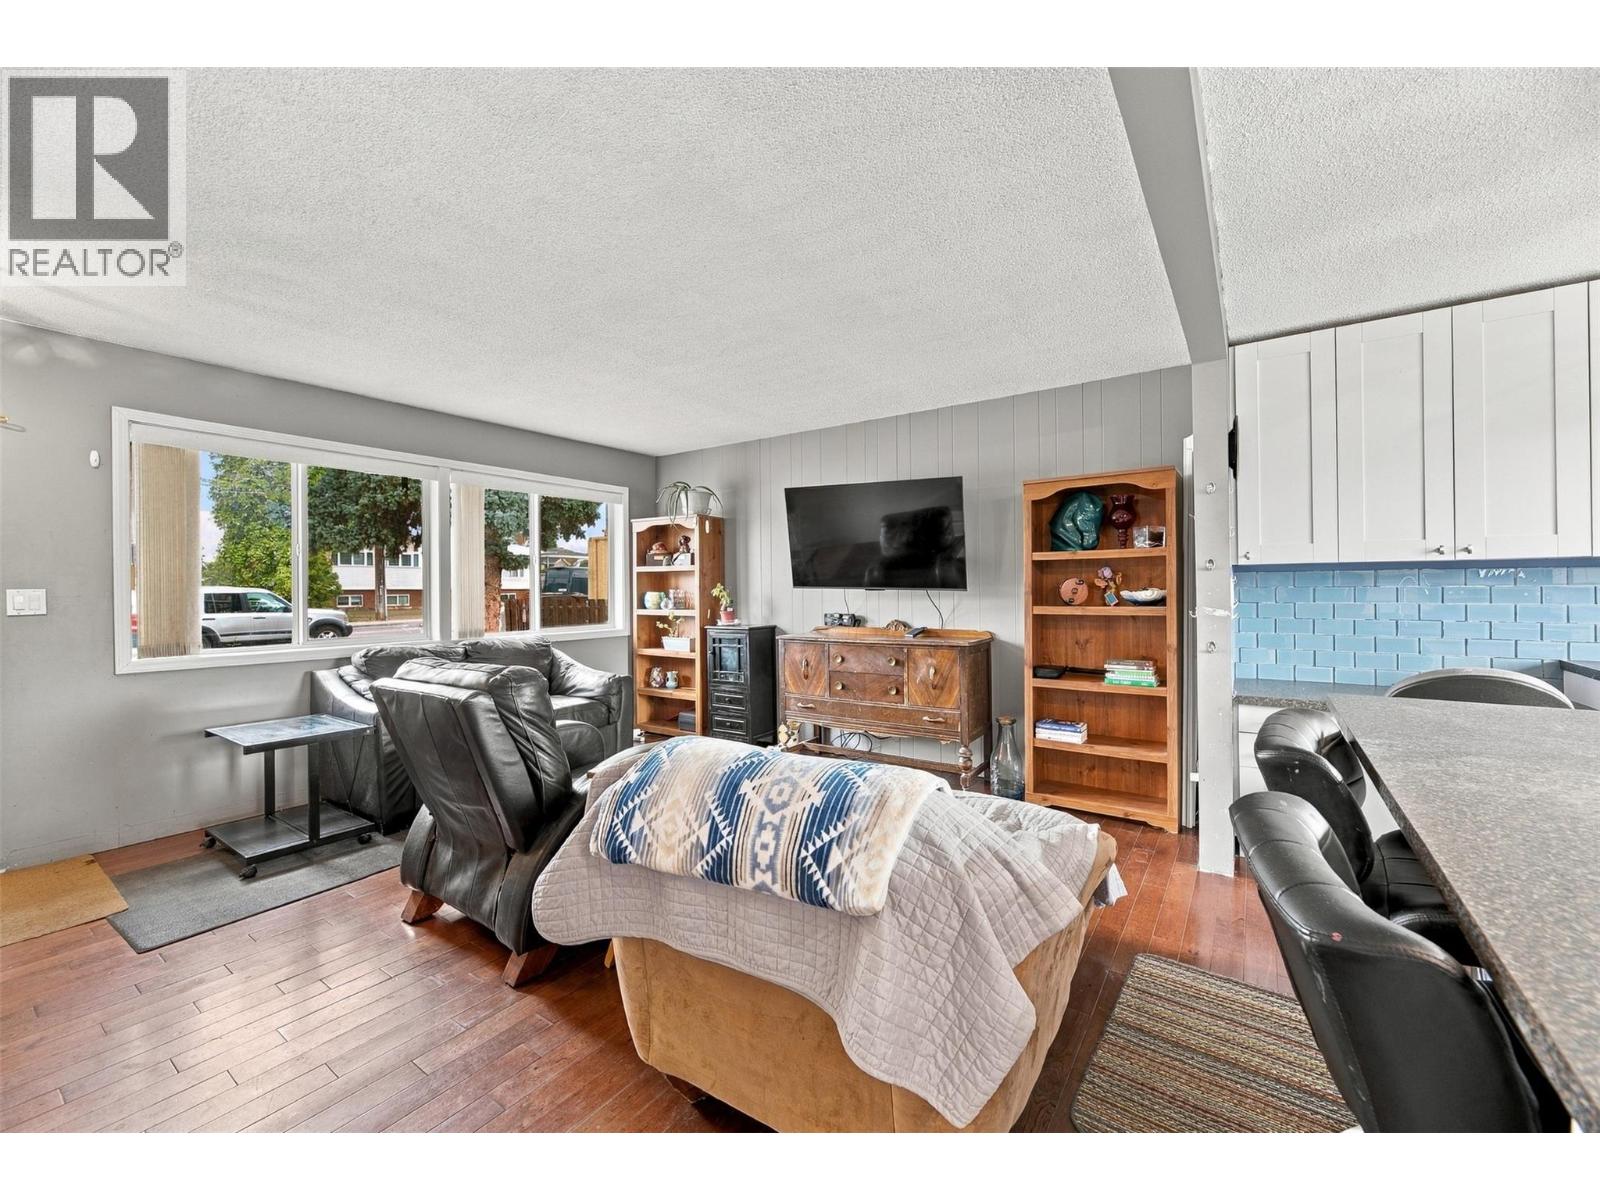
Photo 8
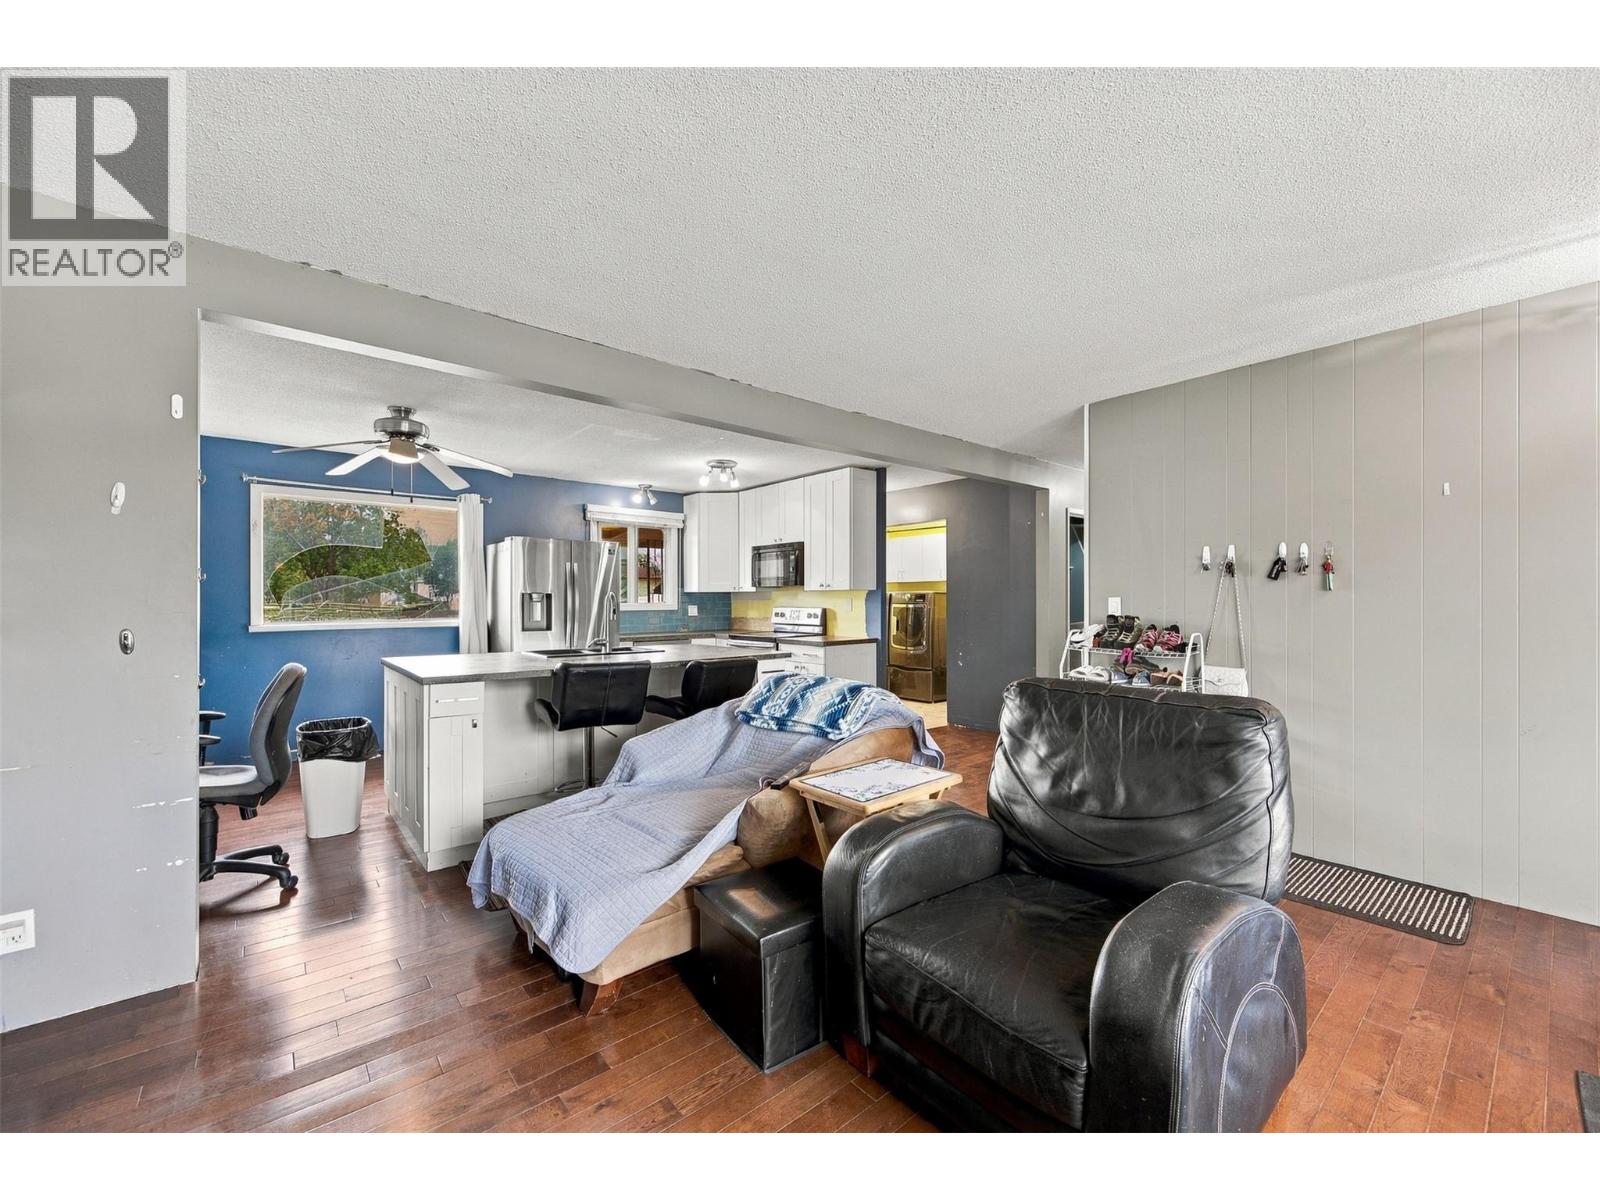
Photo 9
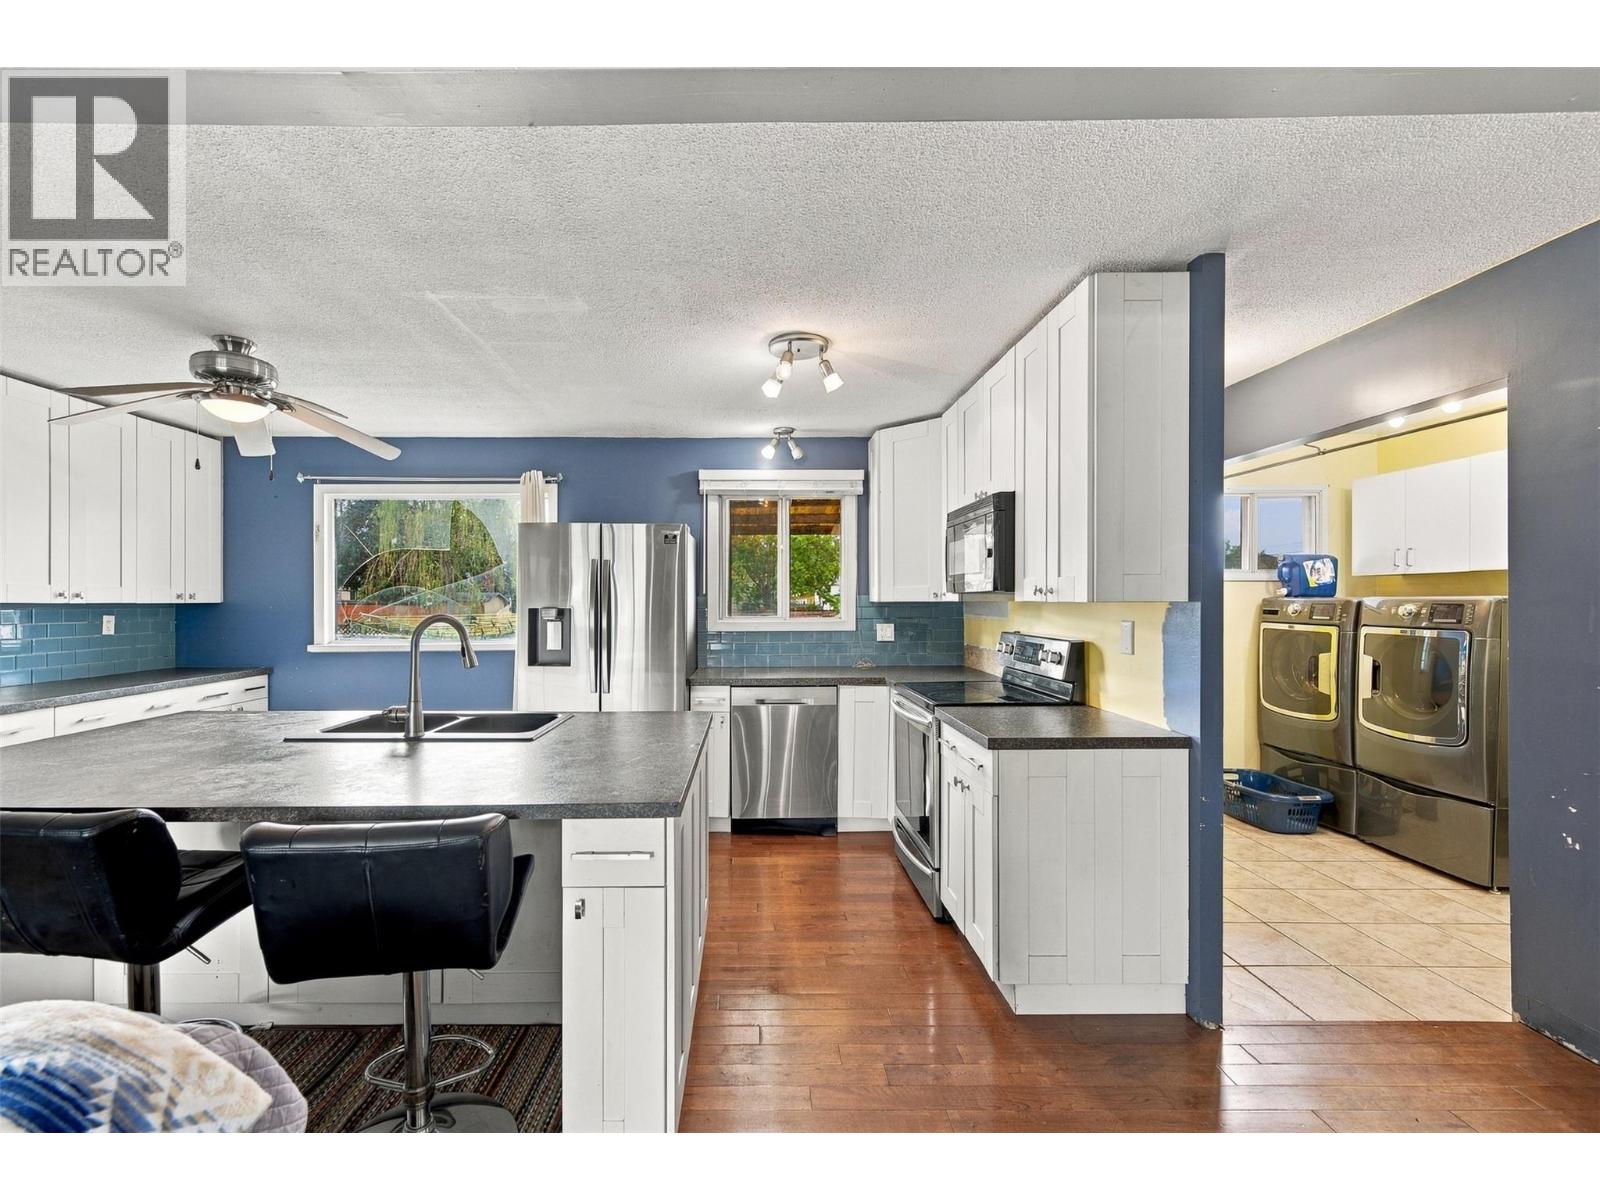
Photo 10
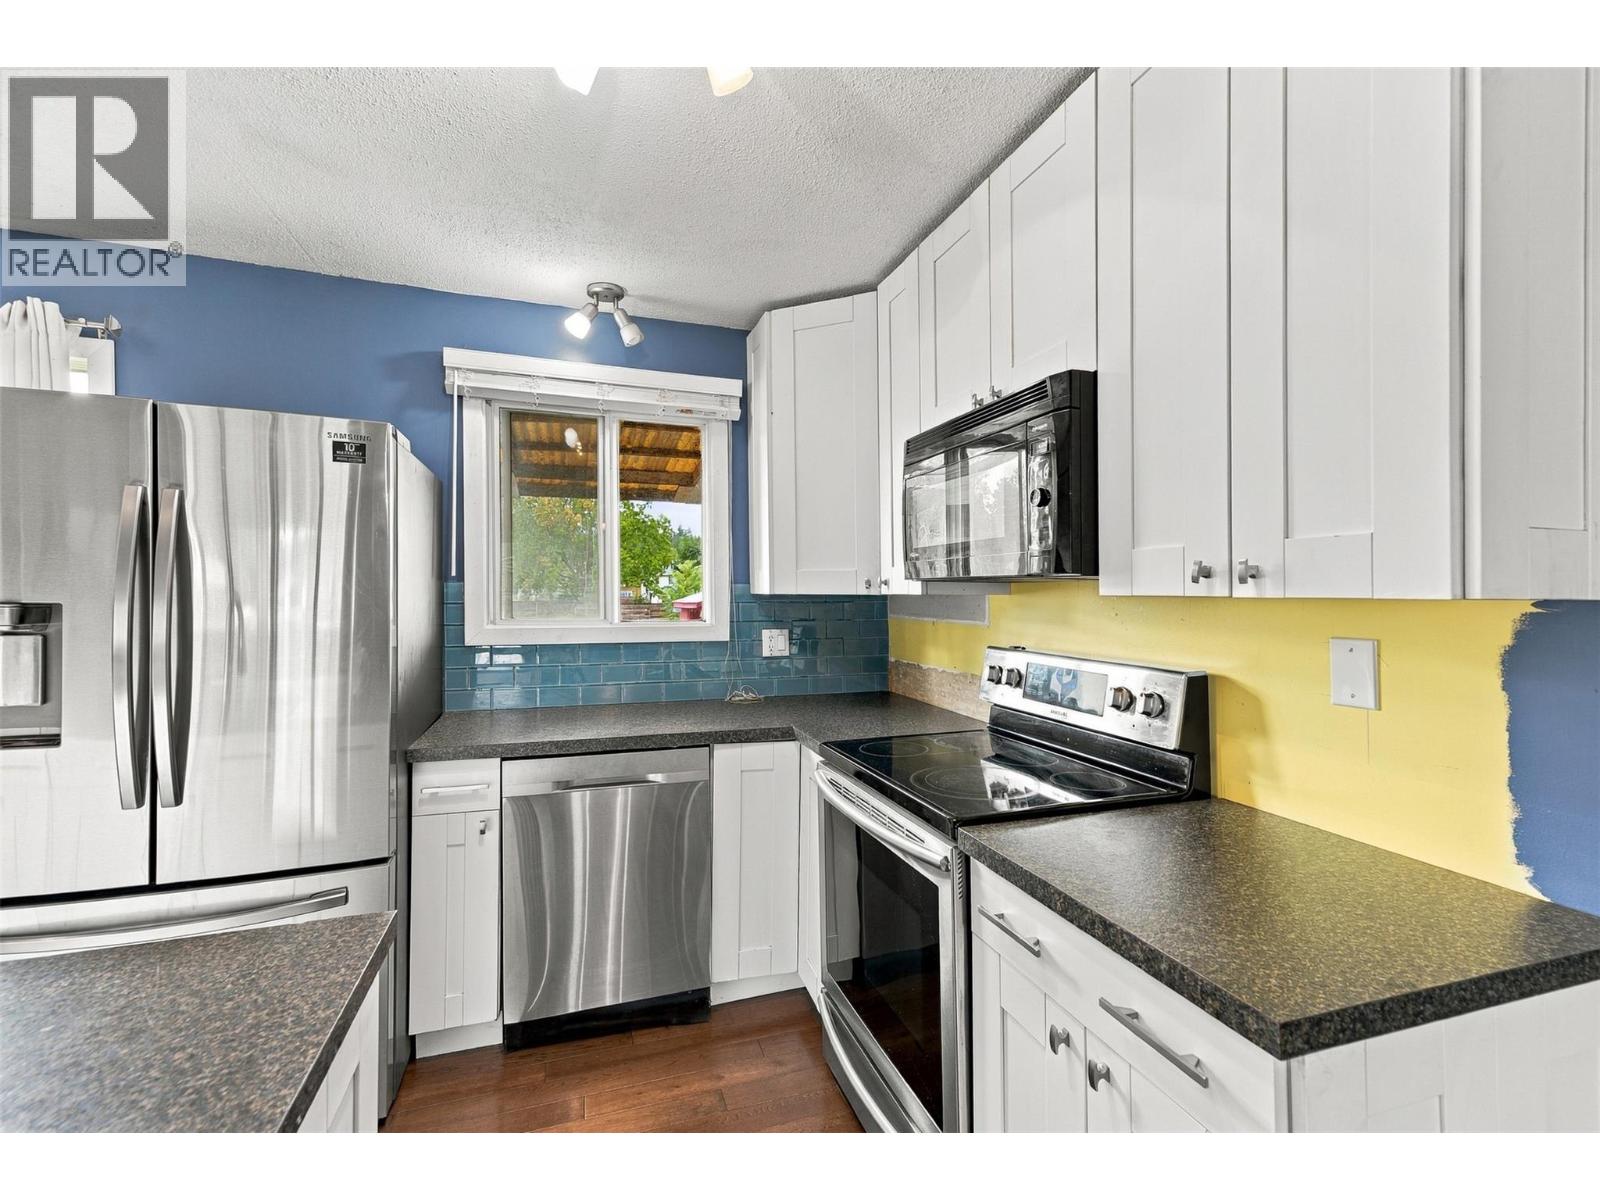
Photo 11
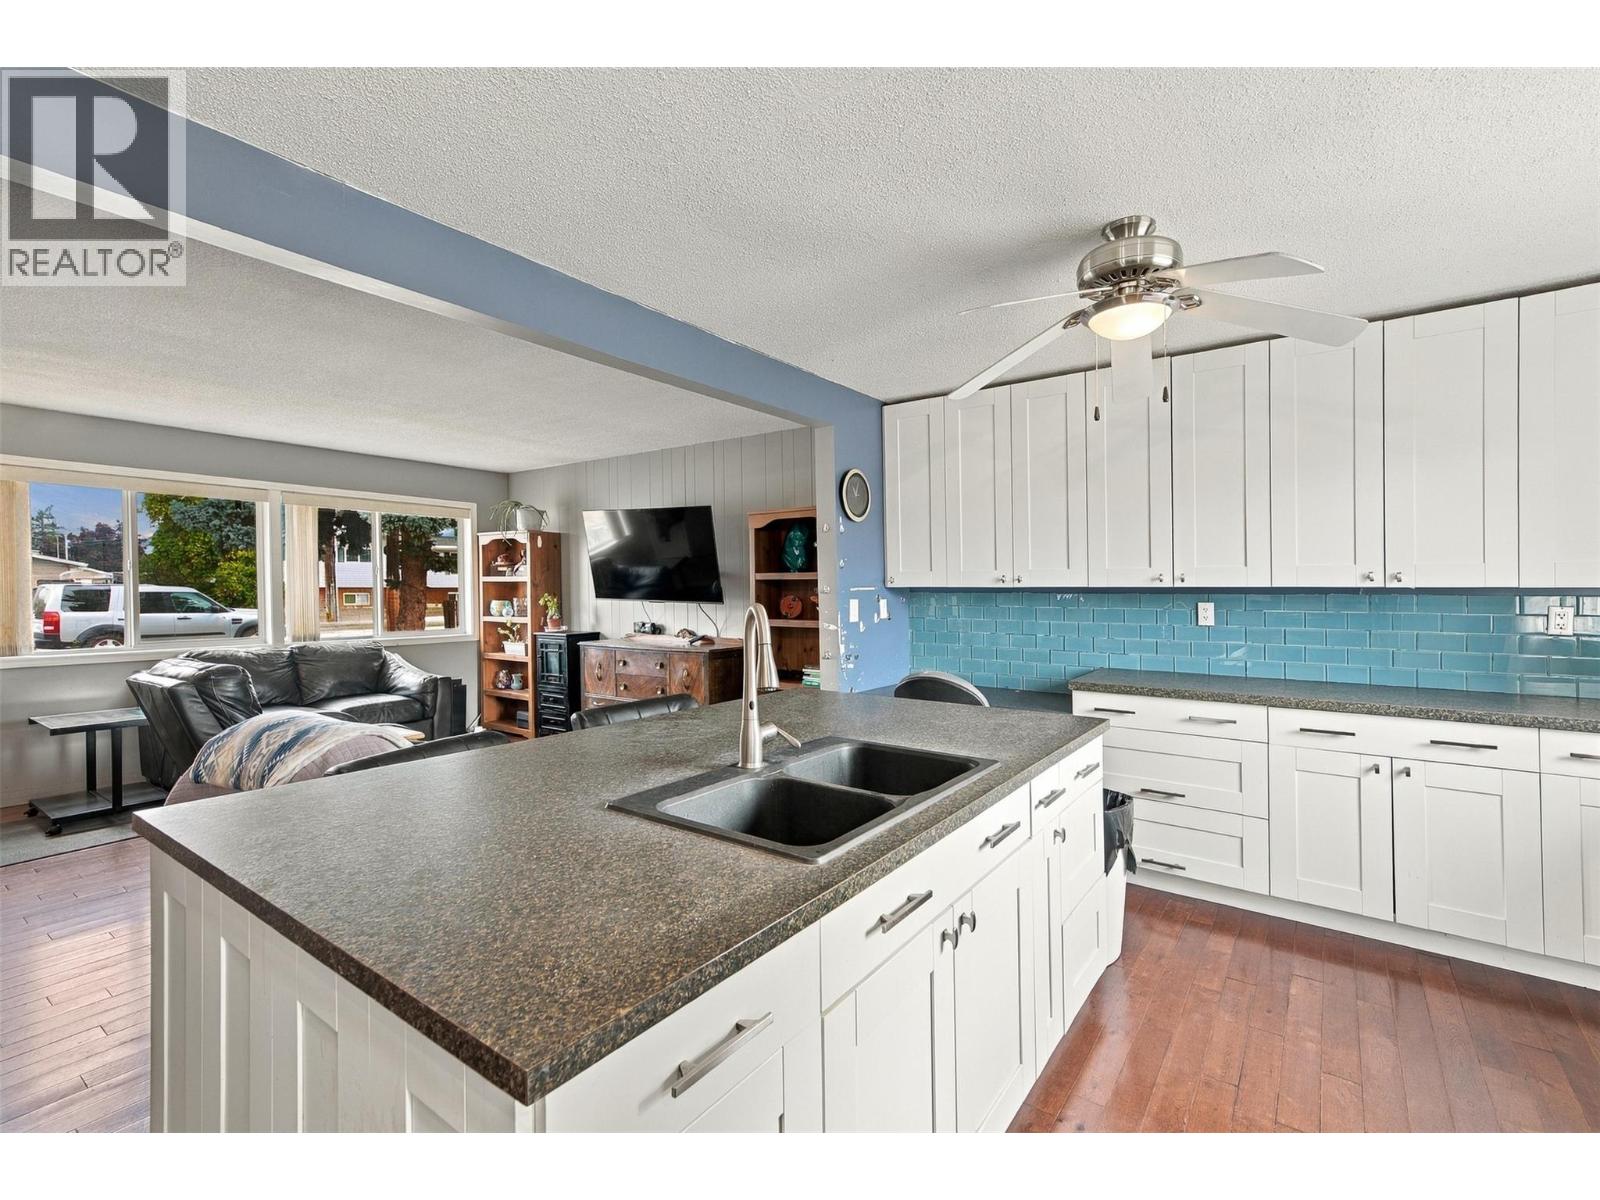
Photo 12
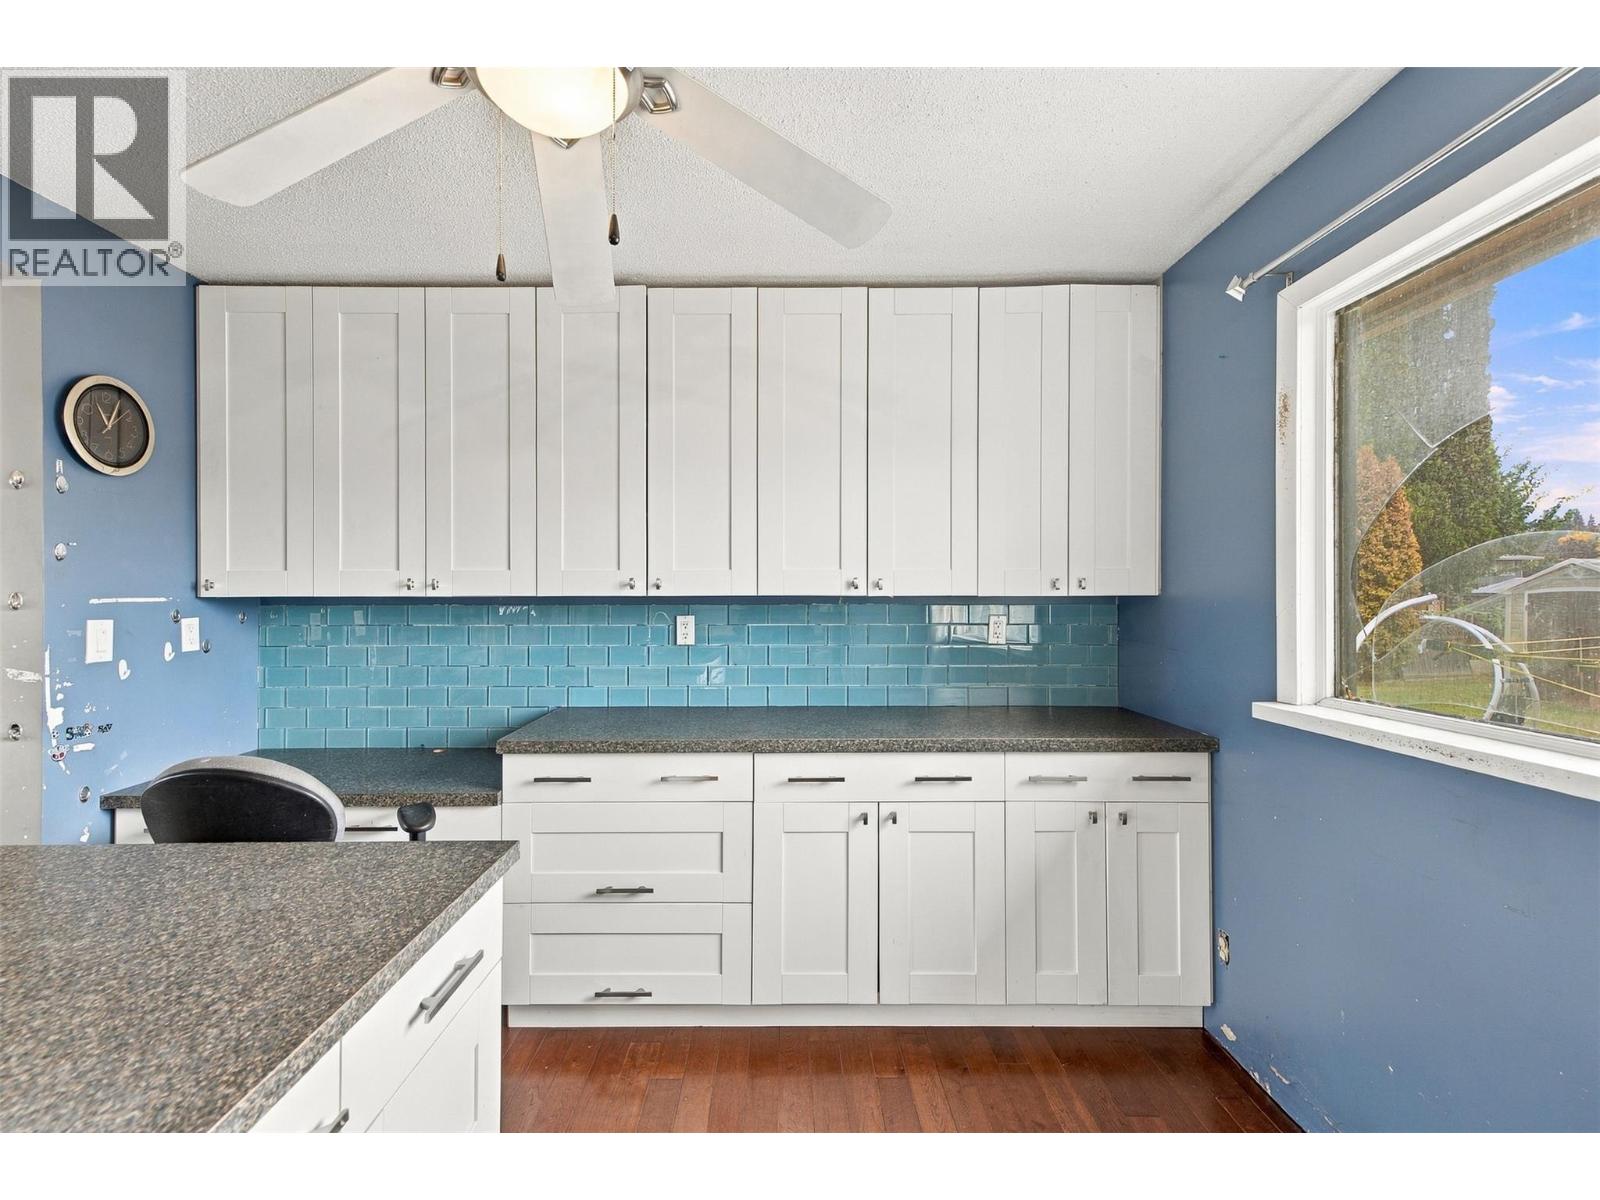
Photo 13
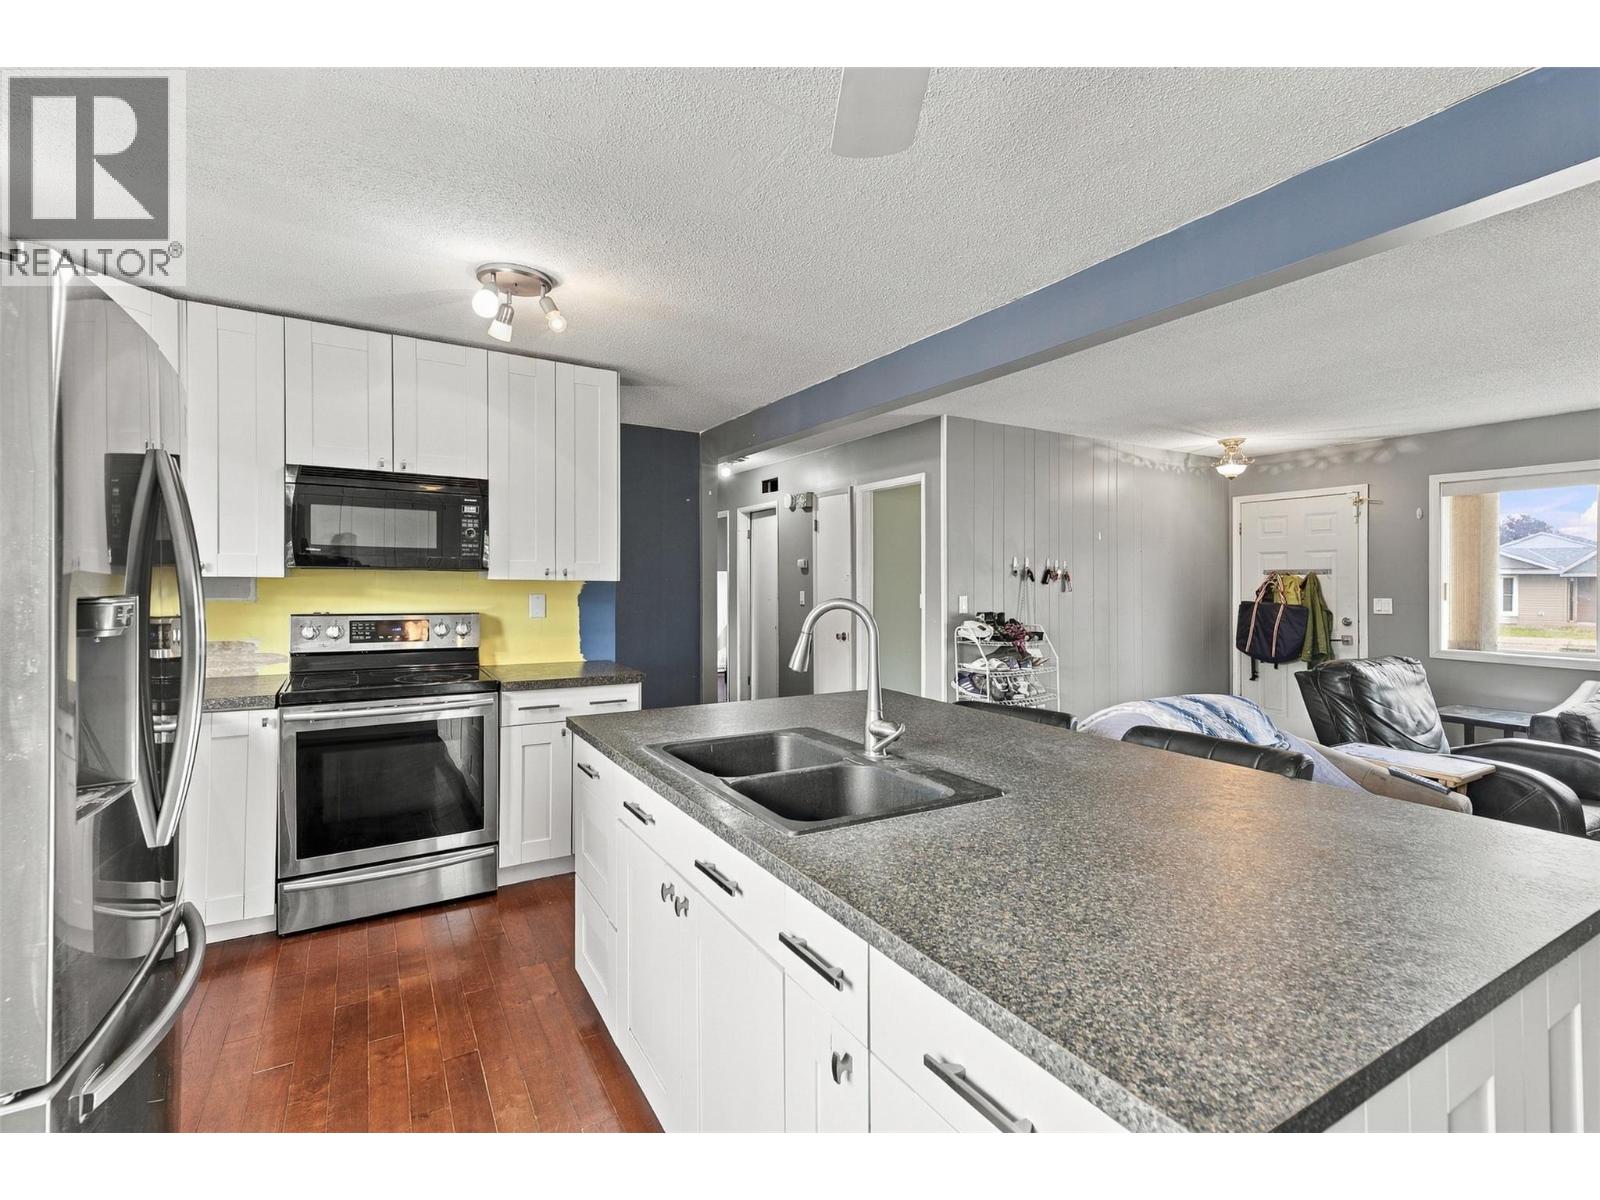
Photo 14
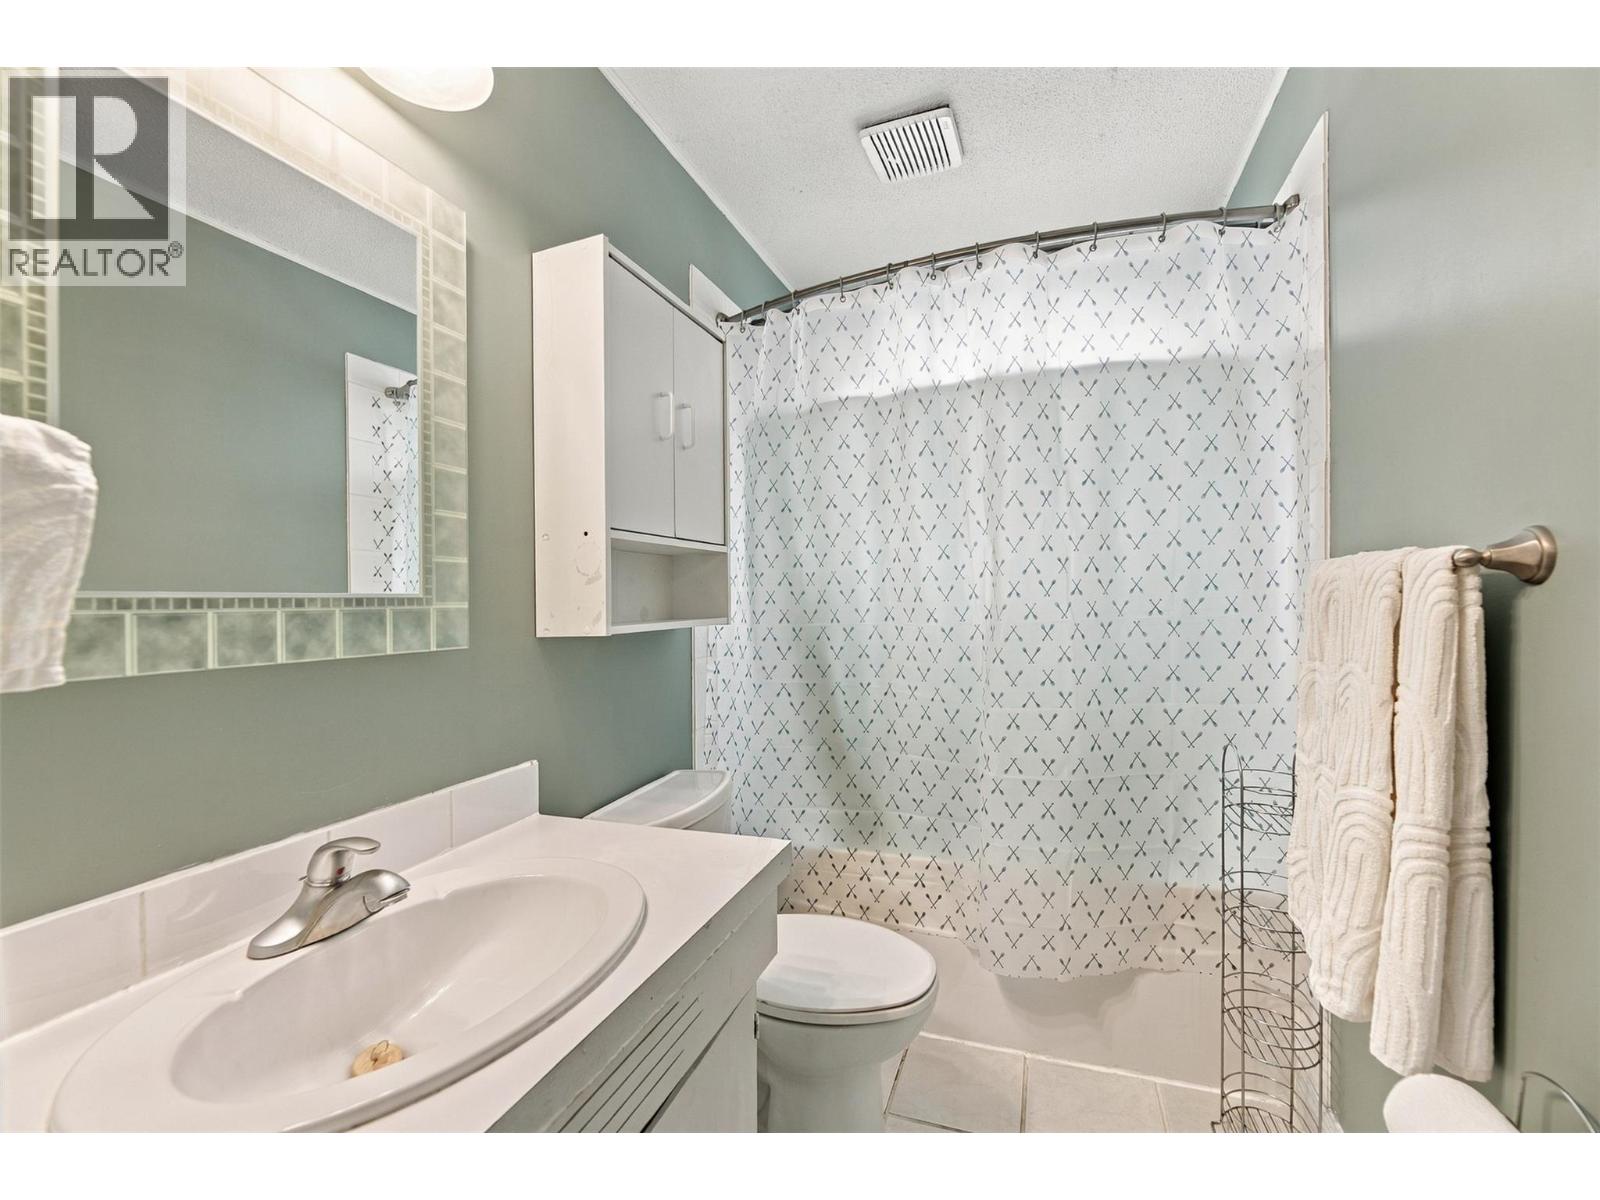
Photo 15
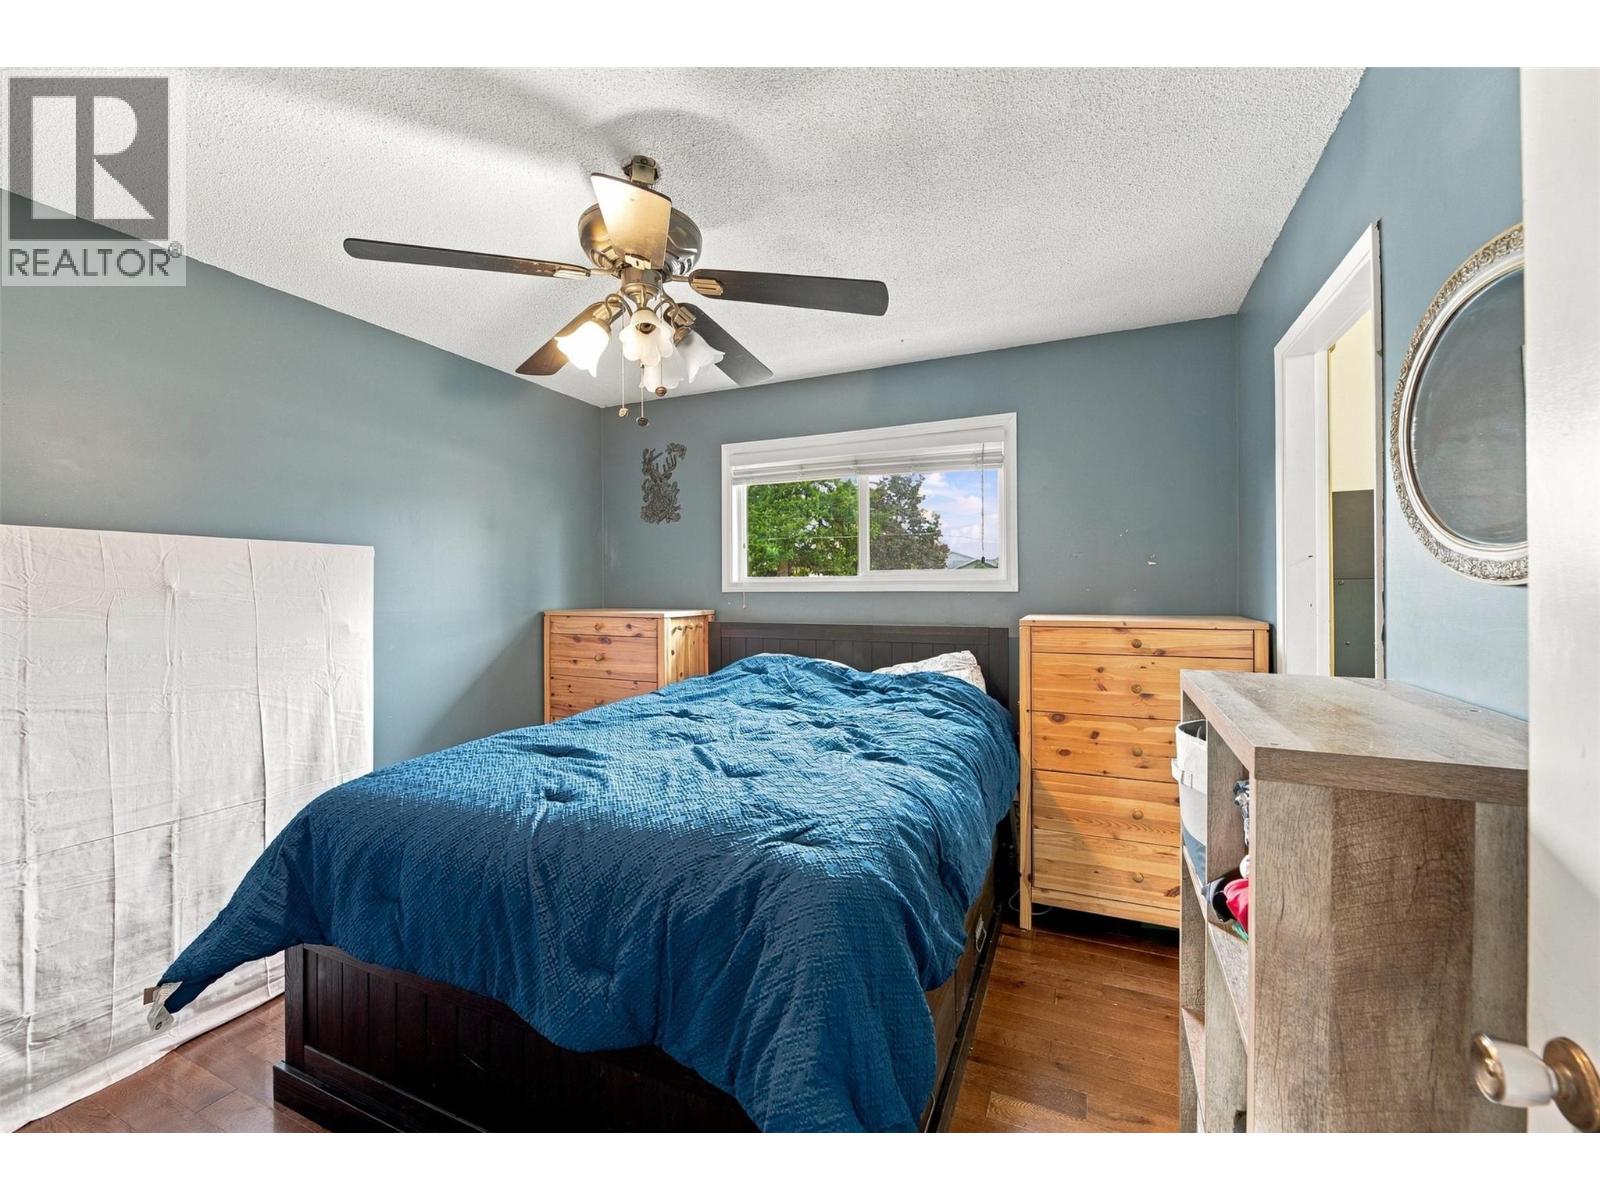
Photo 16
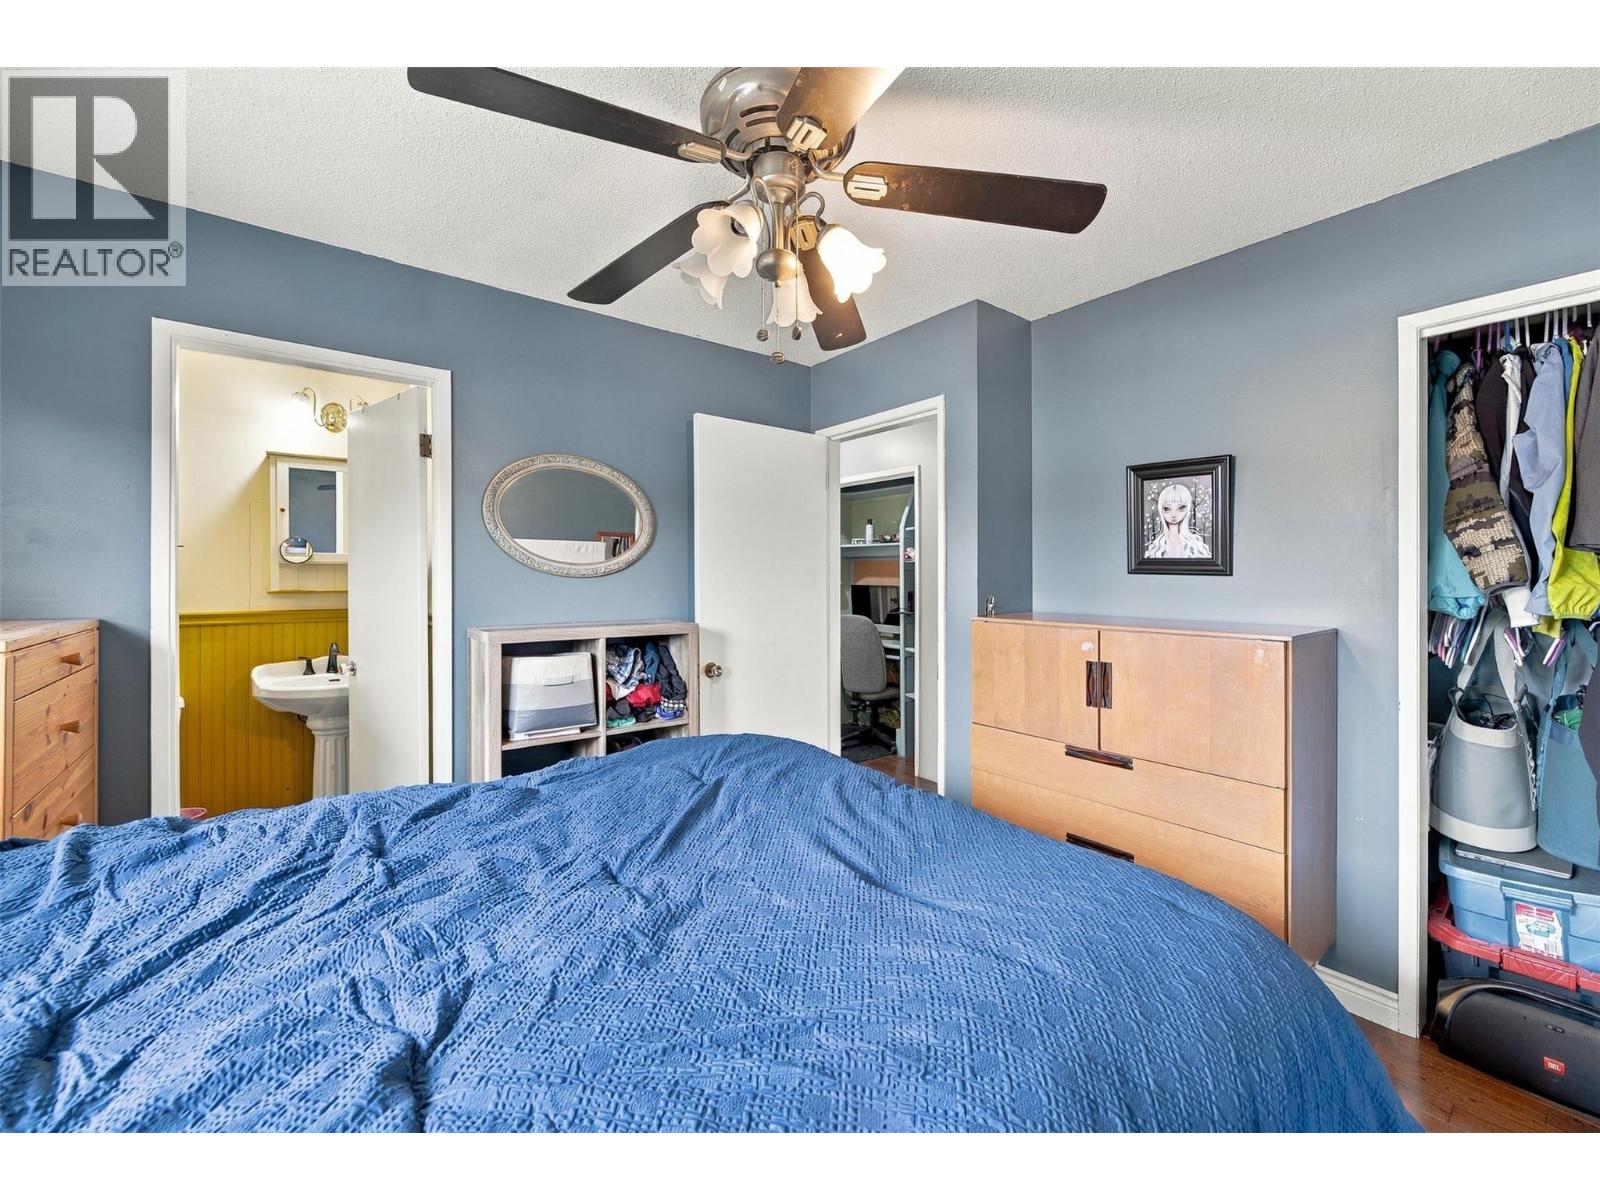
Photo 17
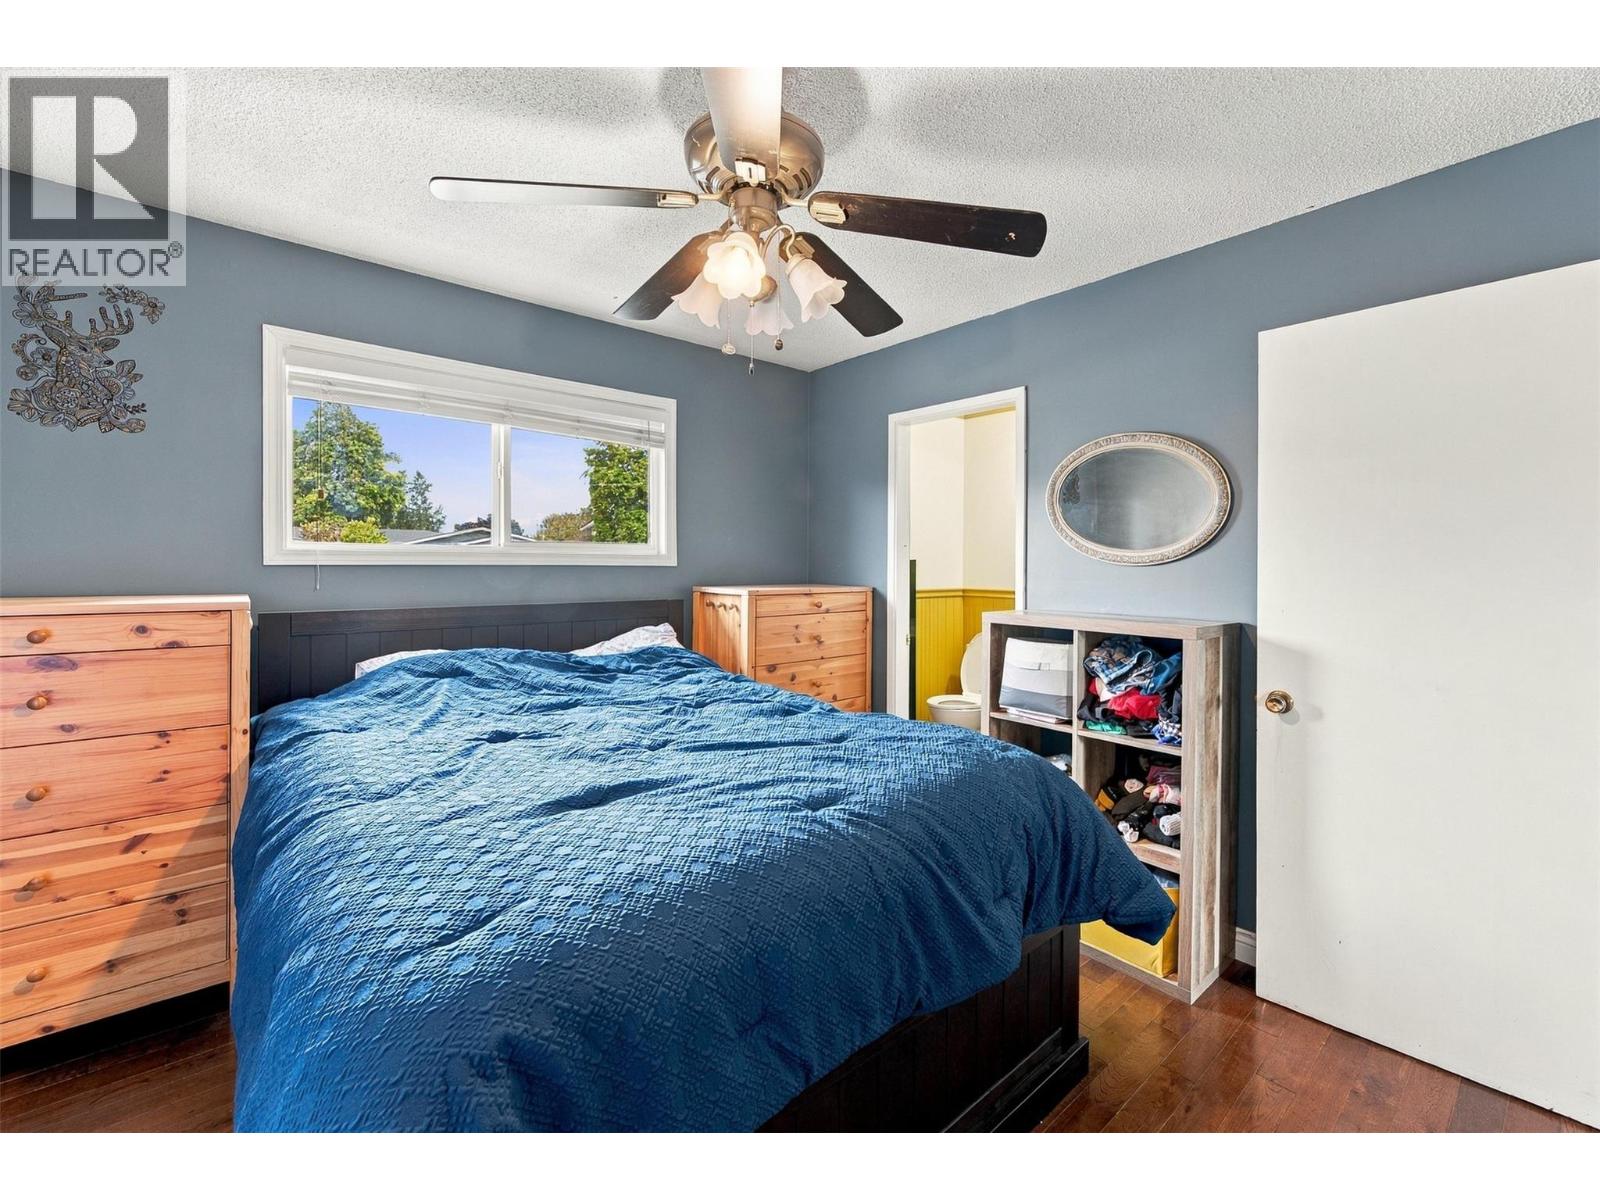
Photo 18
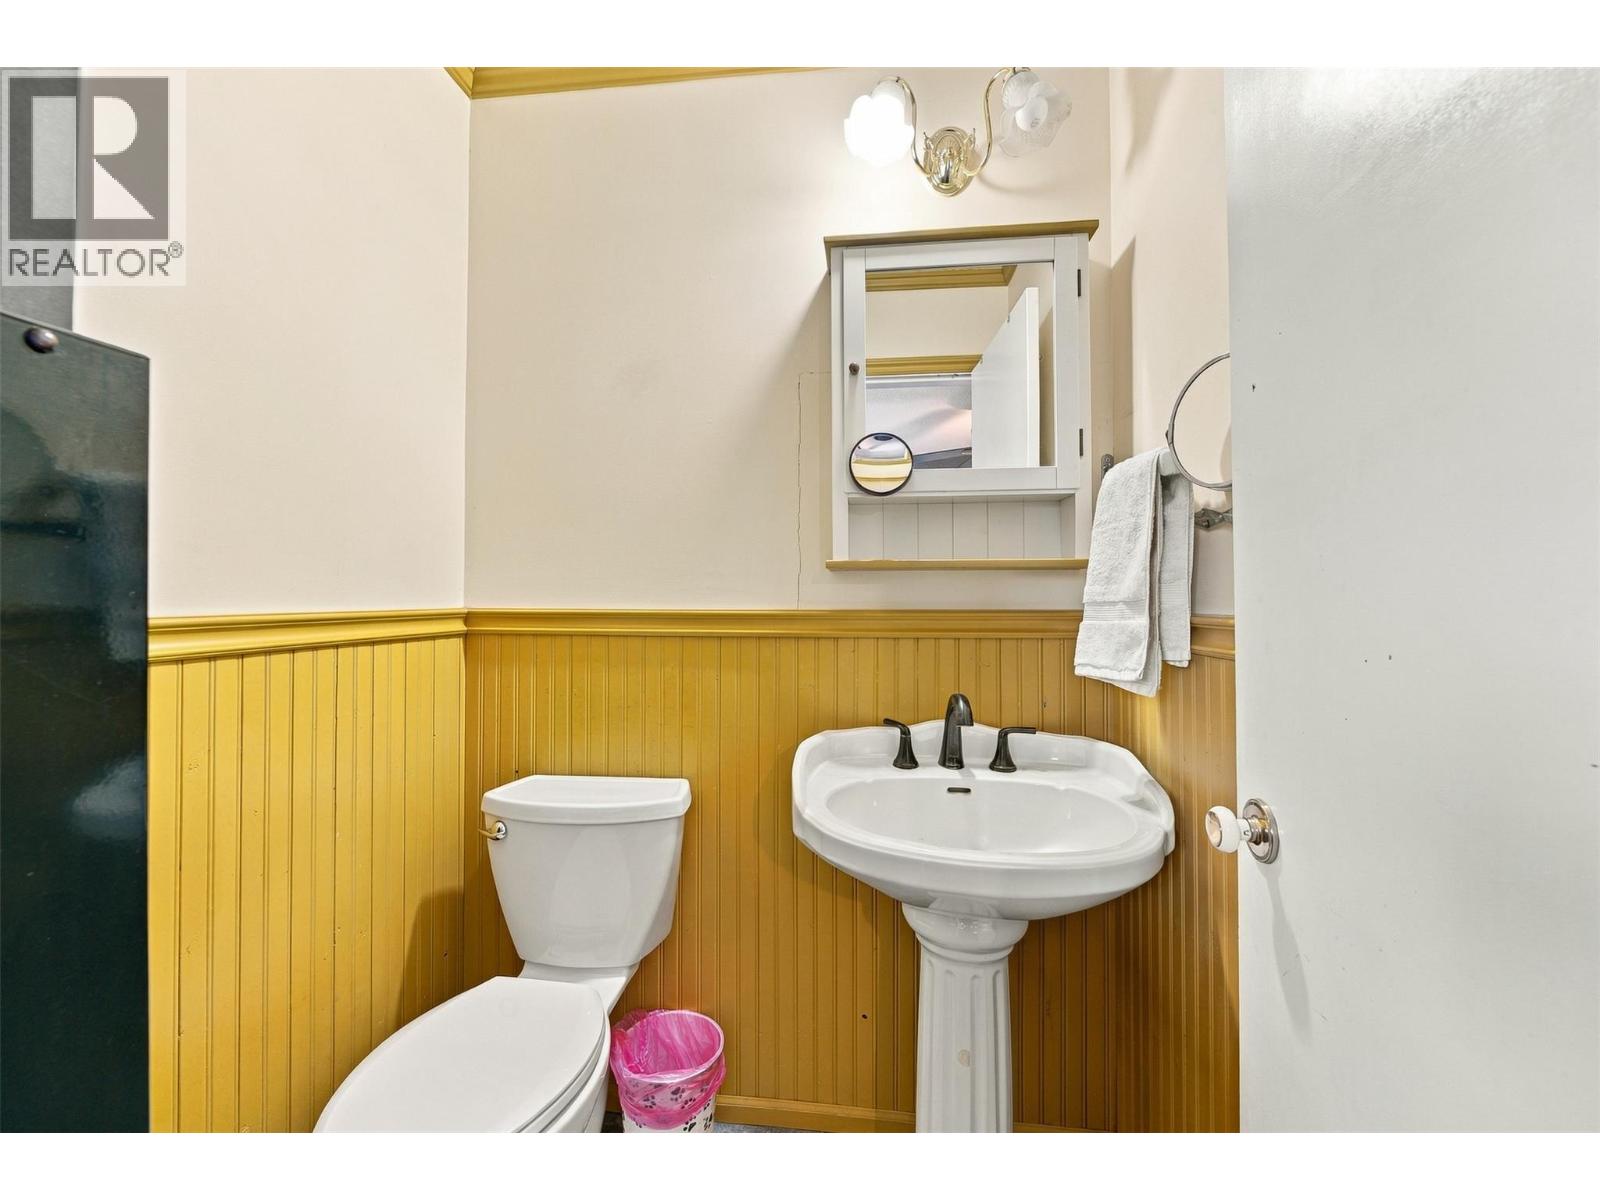
Photo 19
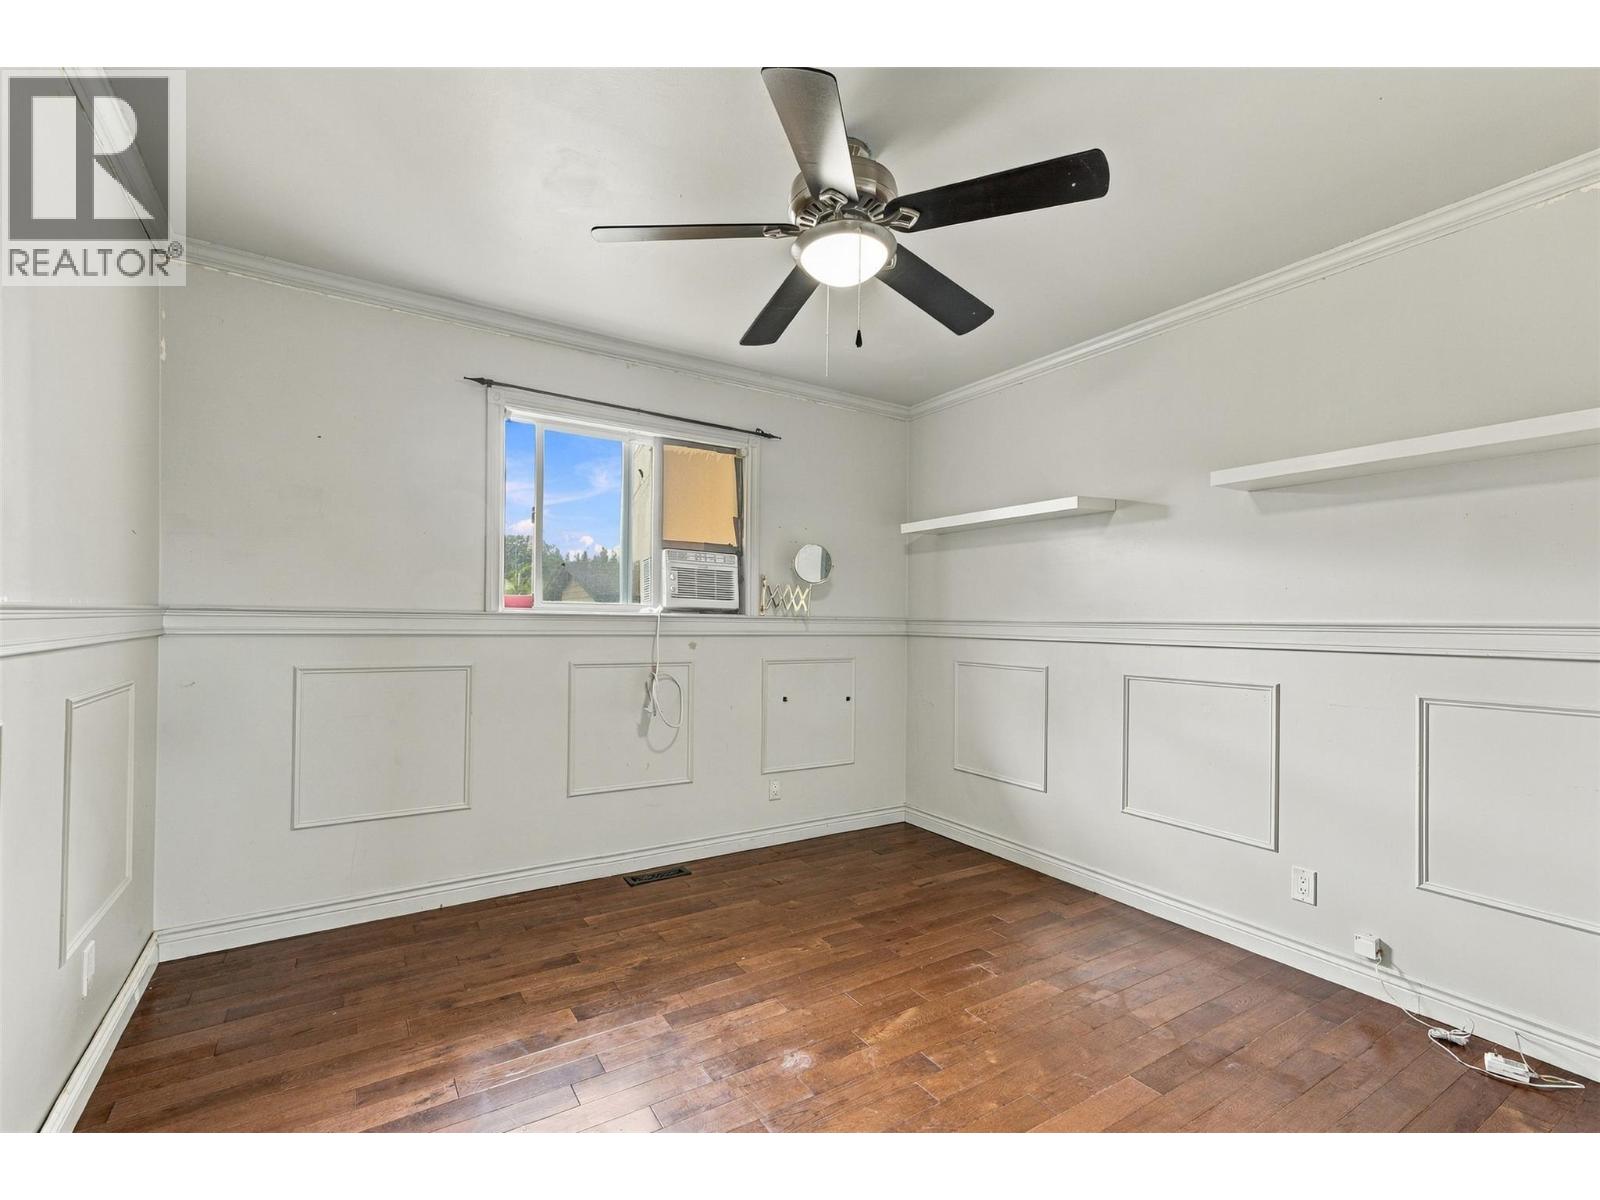
Photo 20
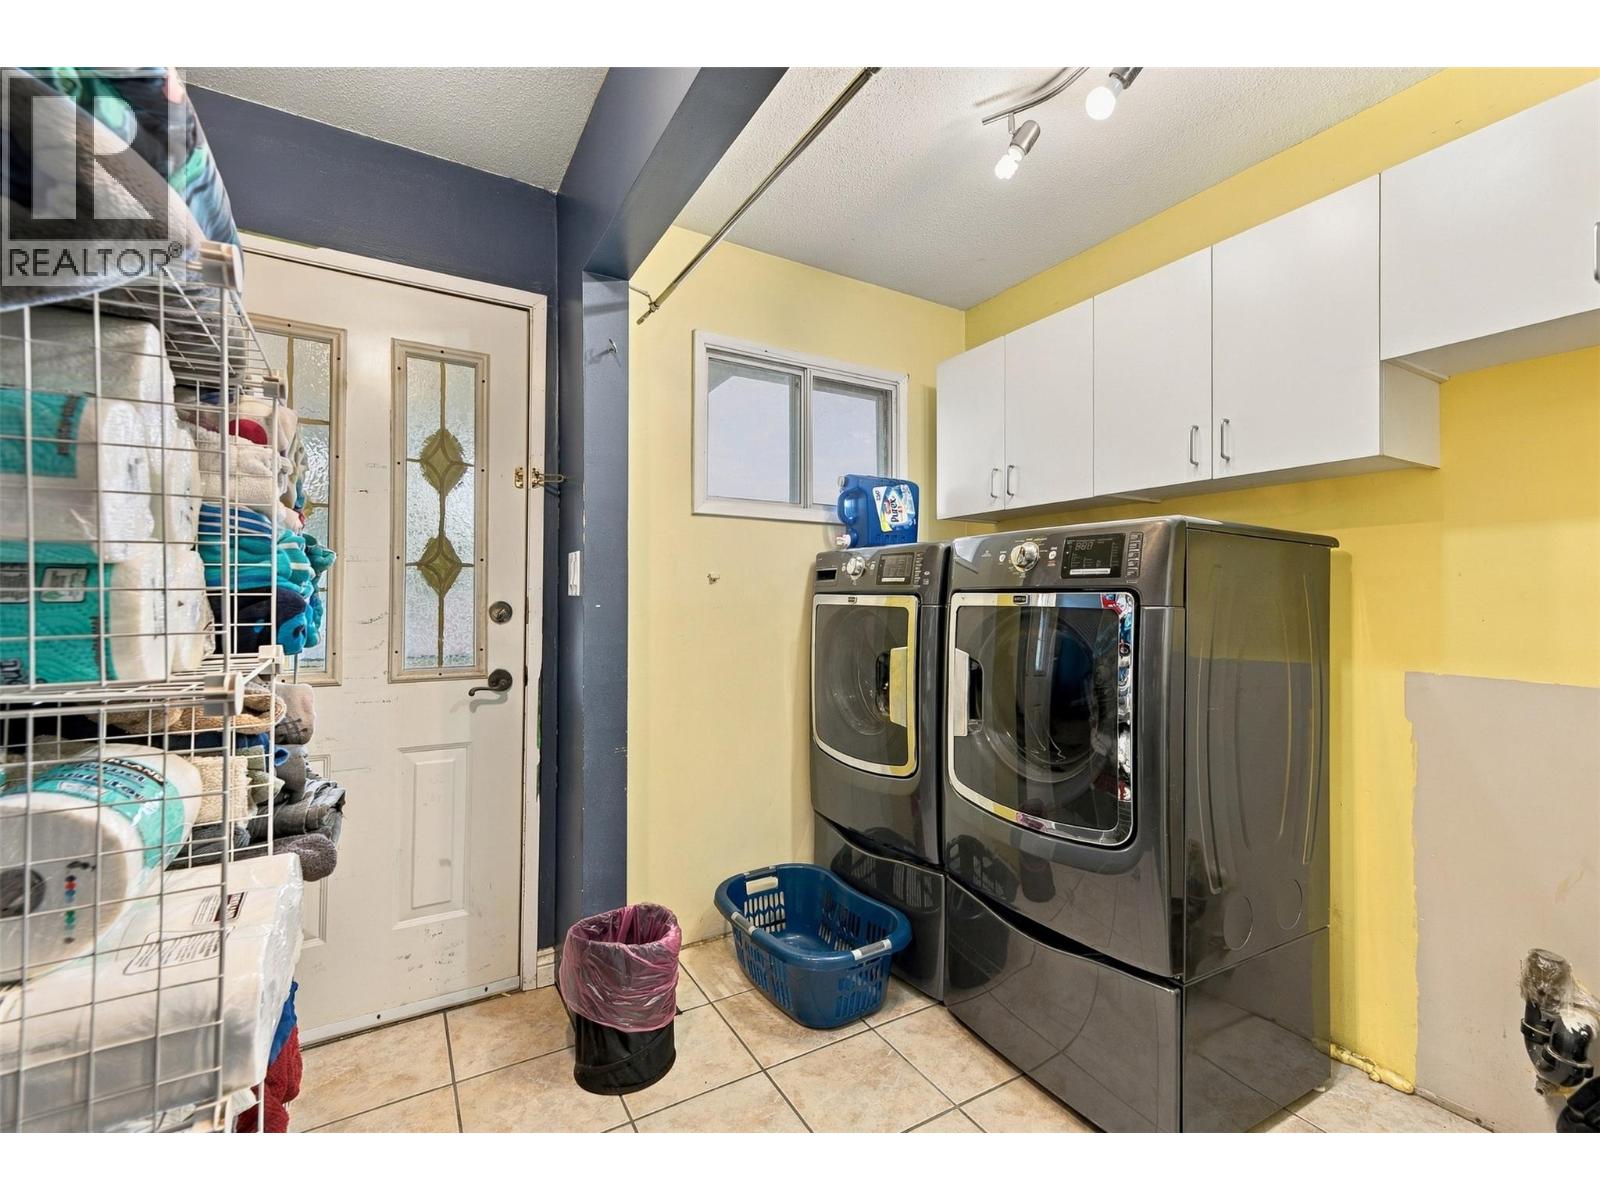
Photo 21
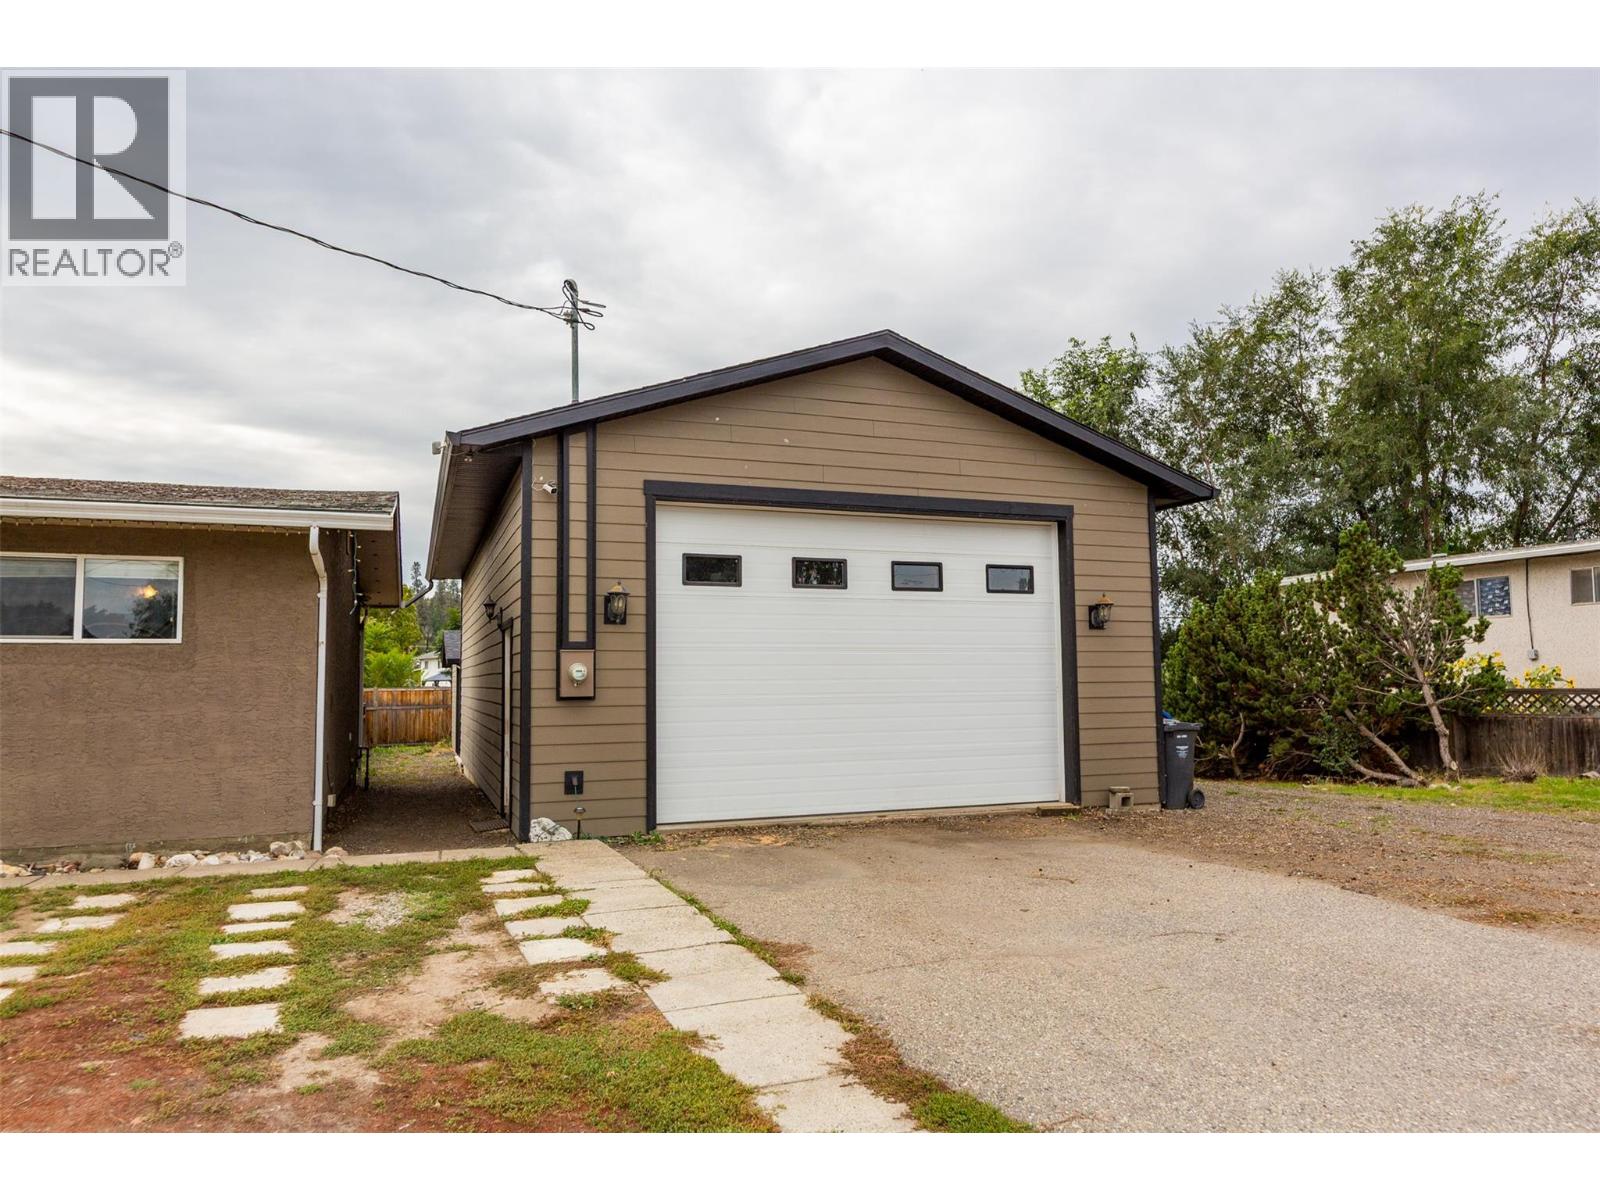
Photo 22
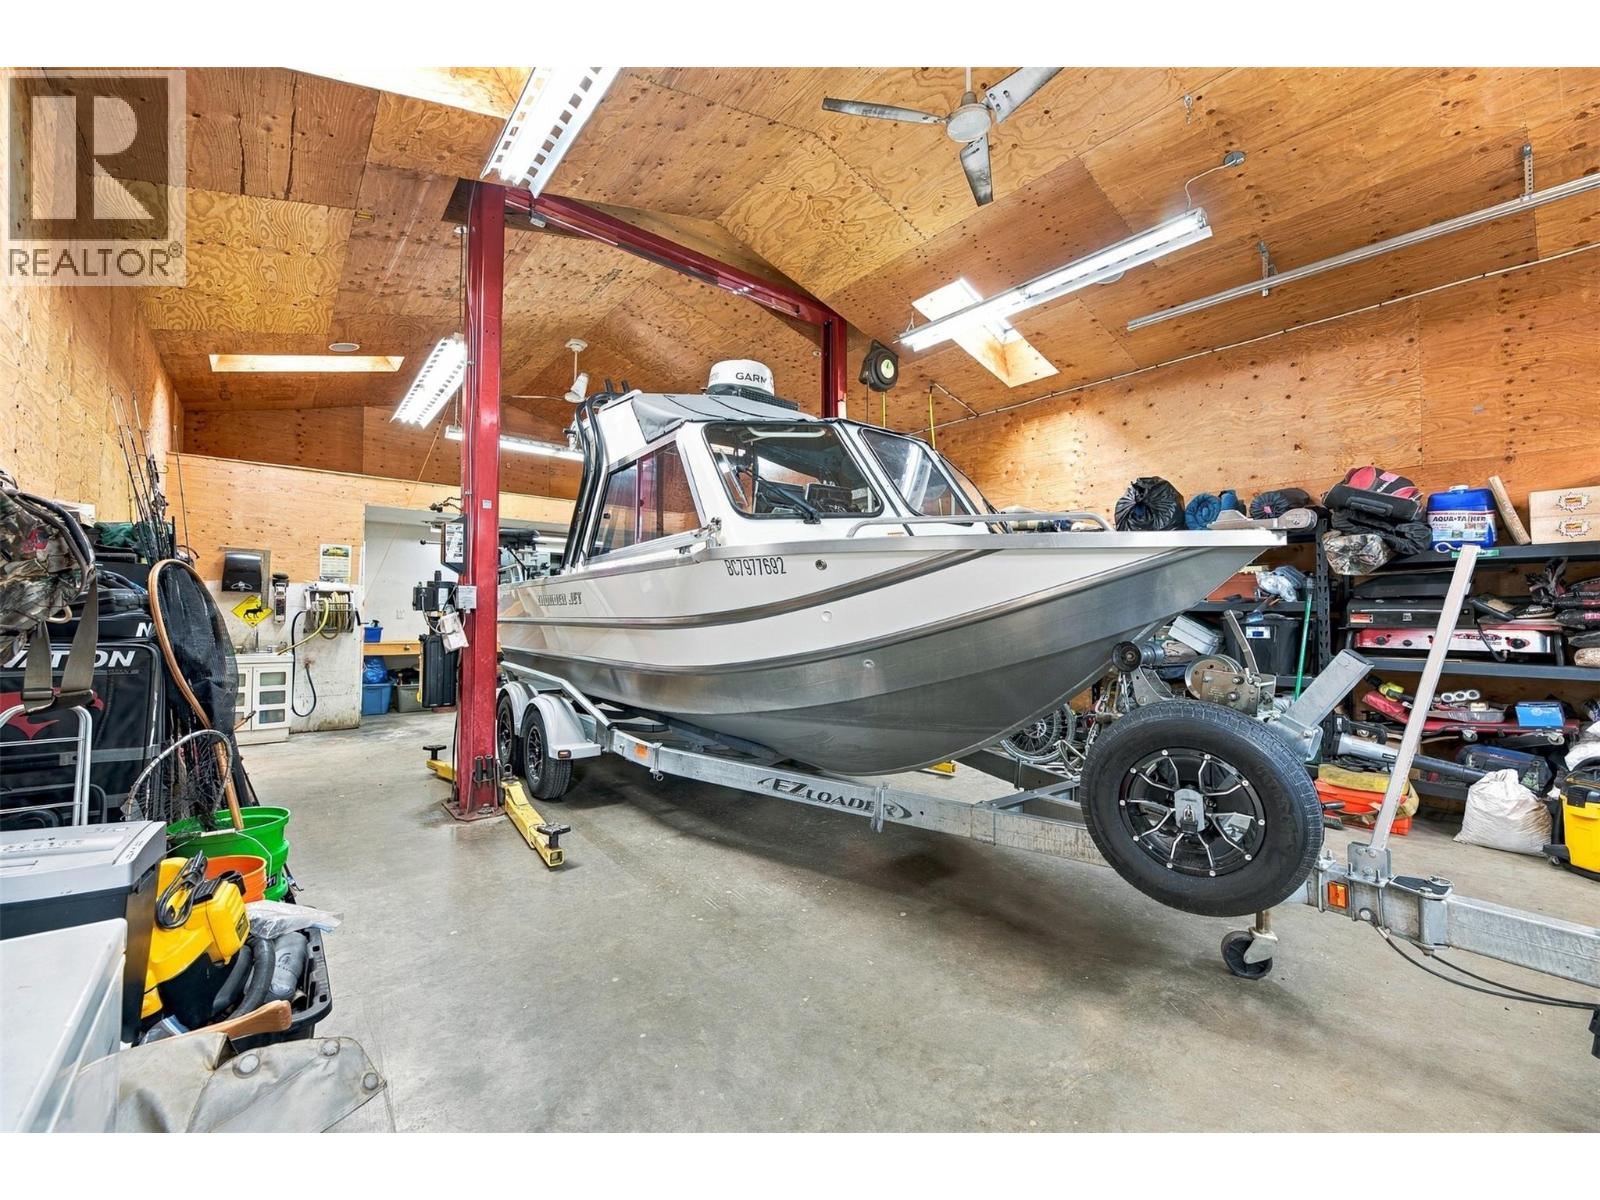
Photo 23
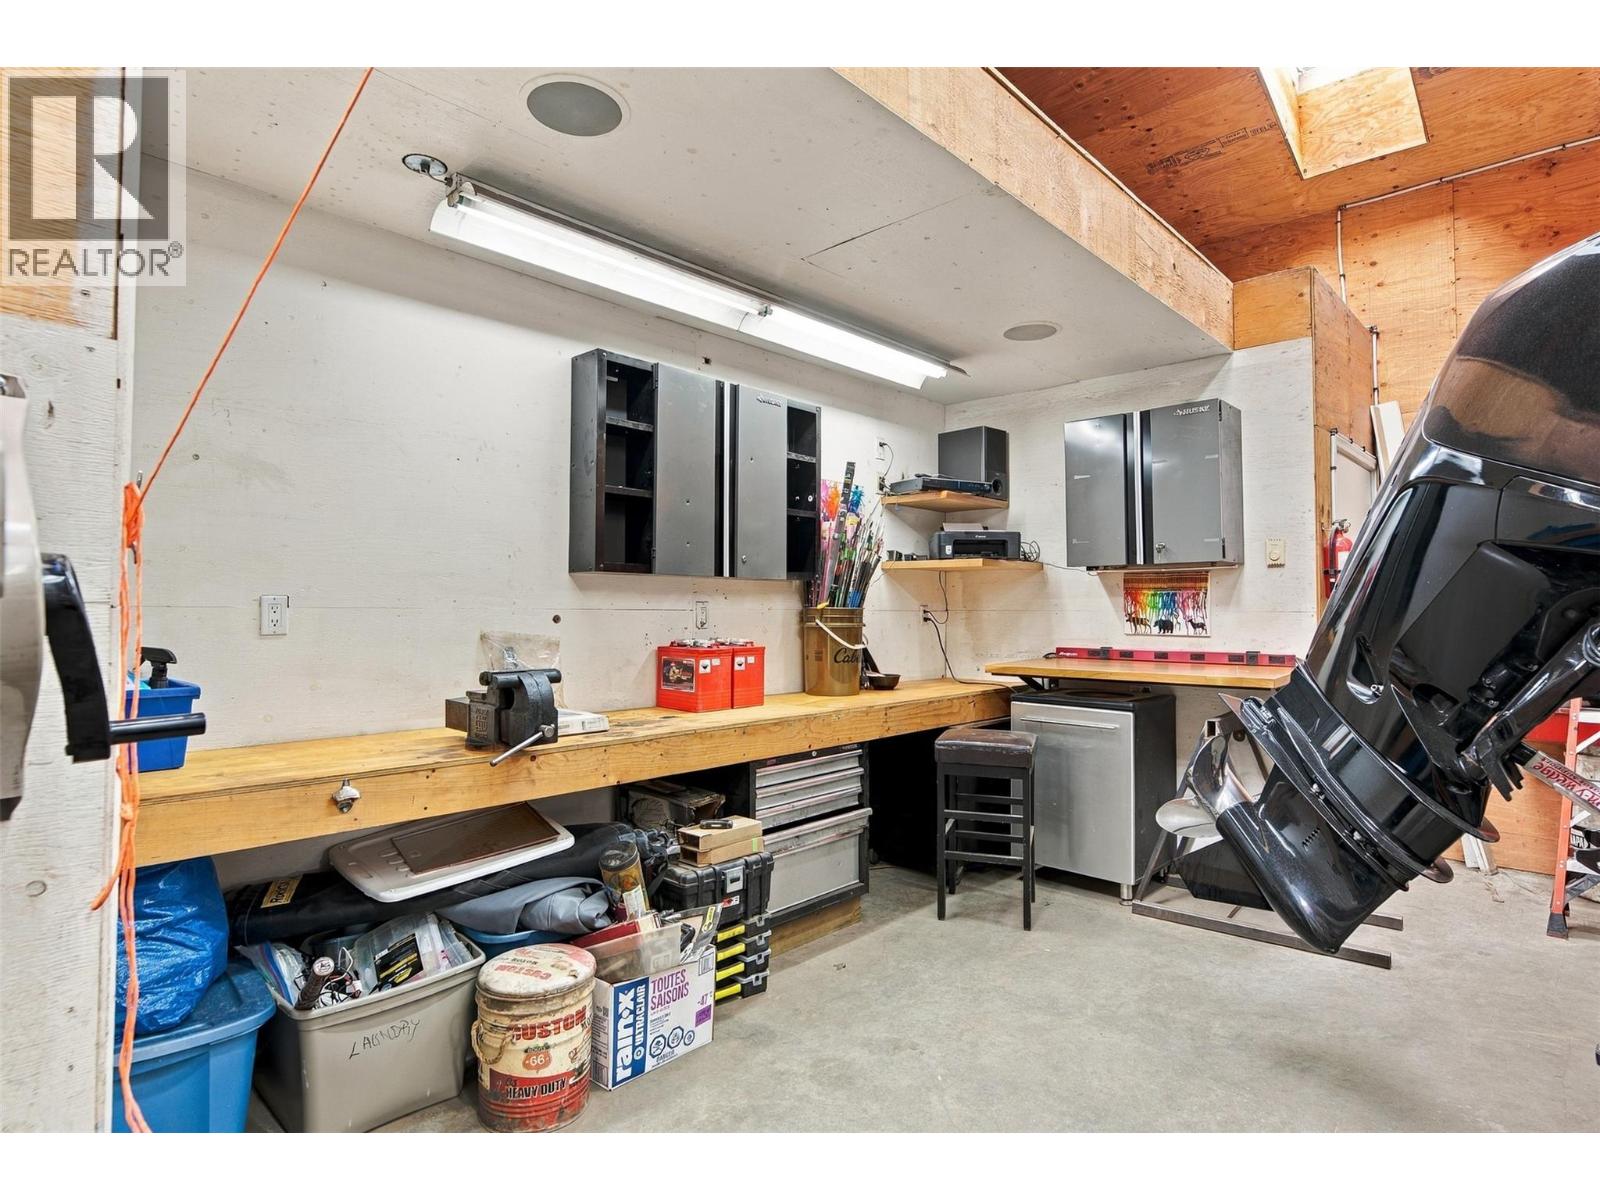
Photo 24
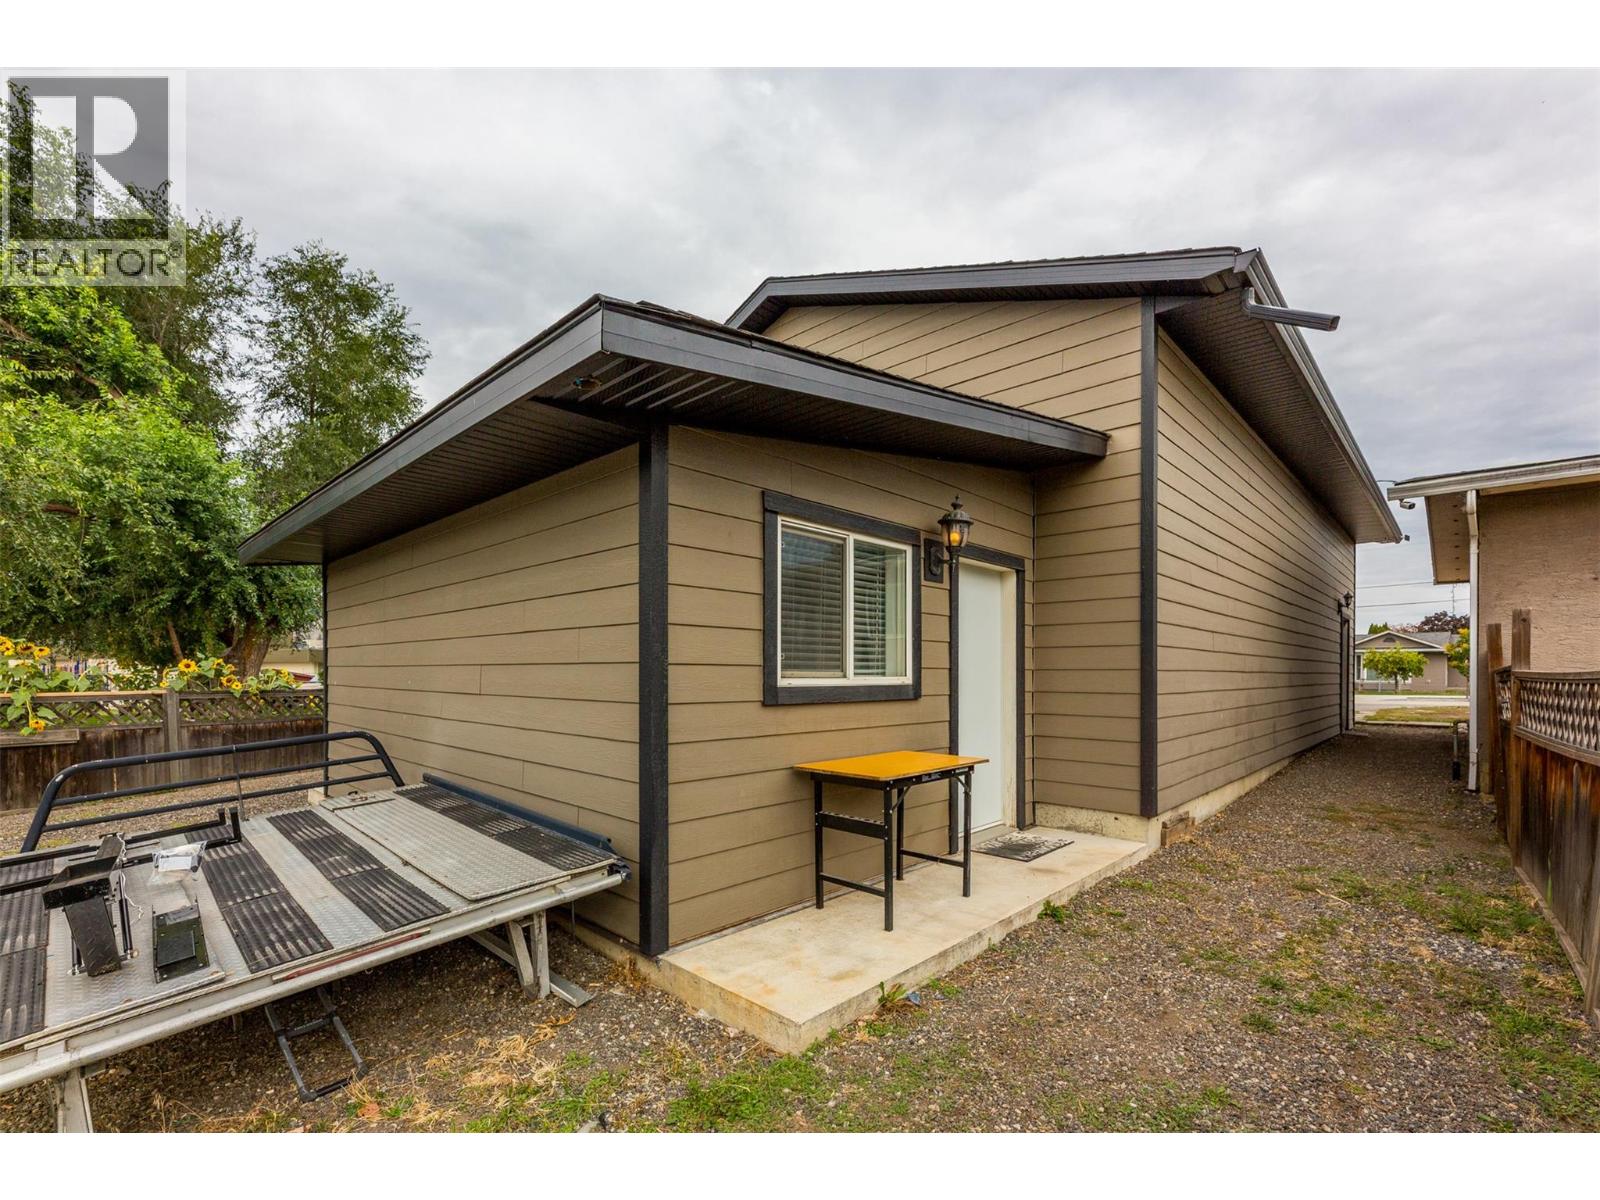
Photo 25
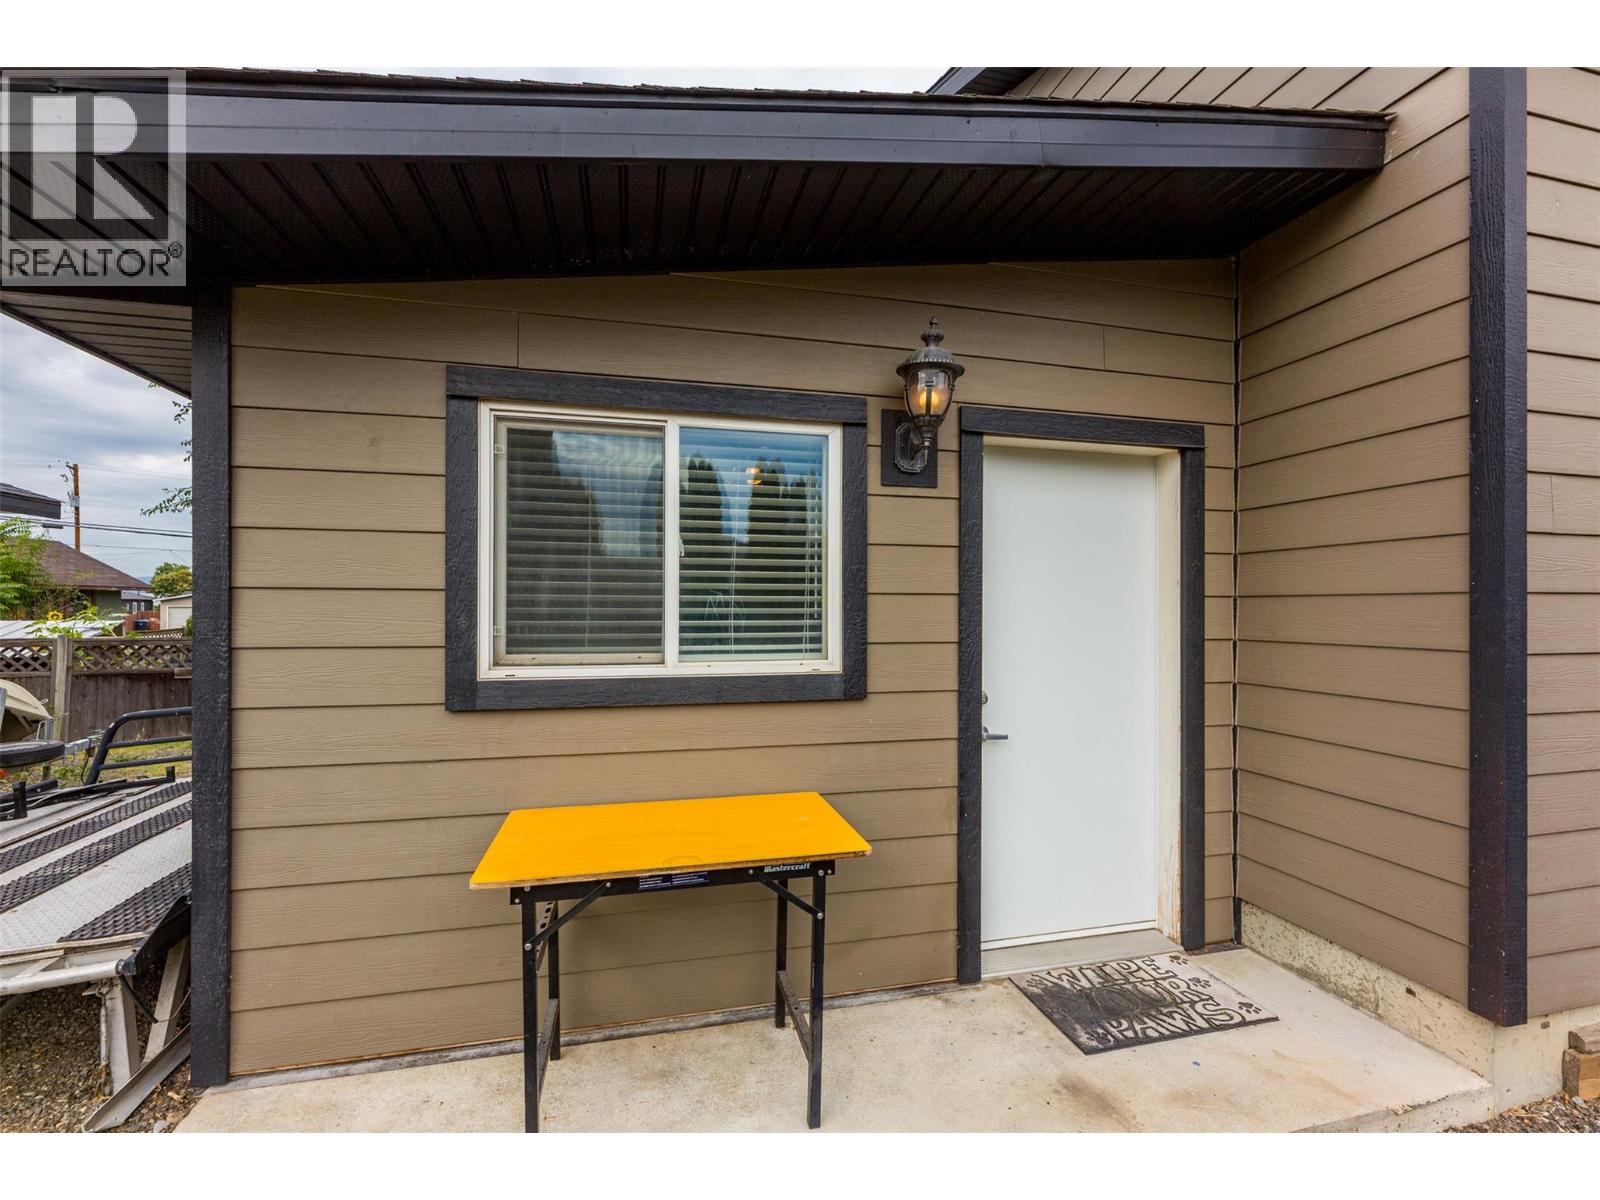
Photo 26
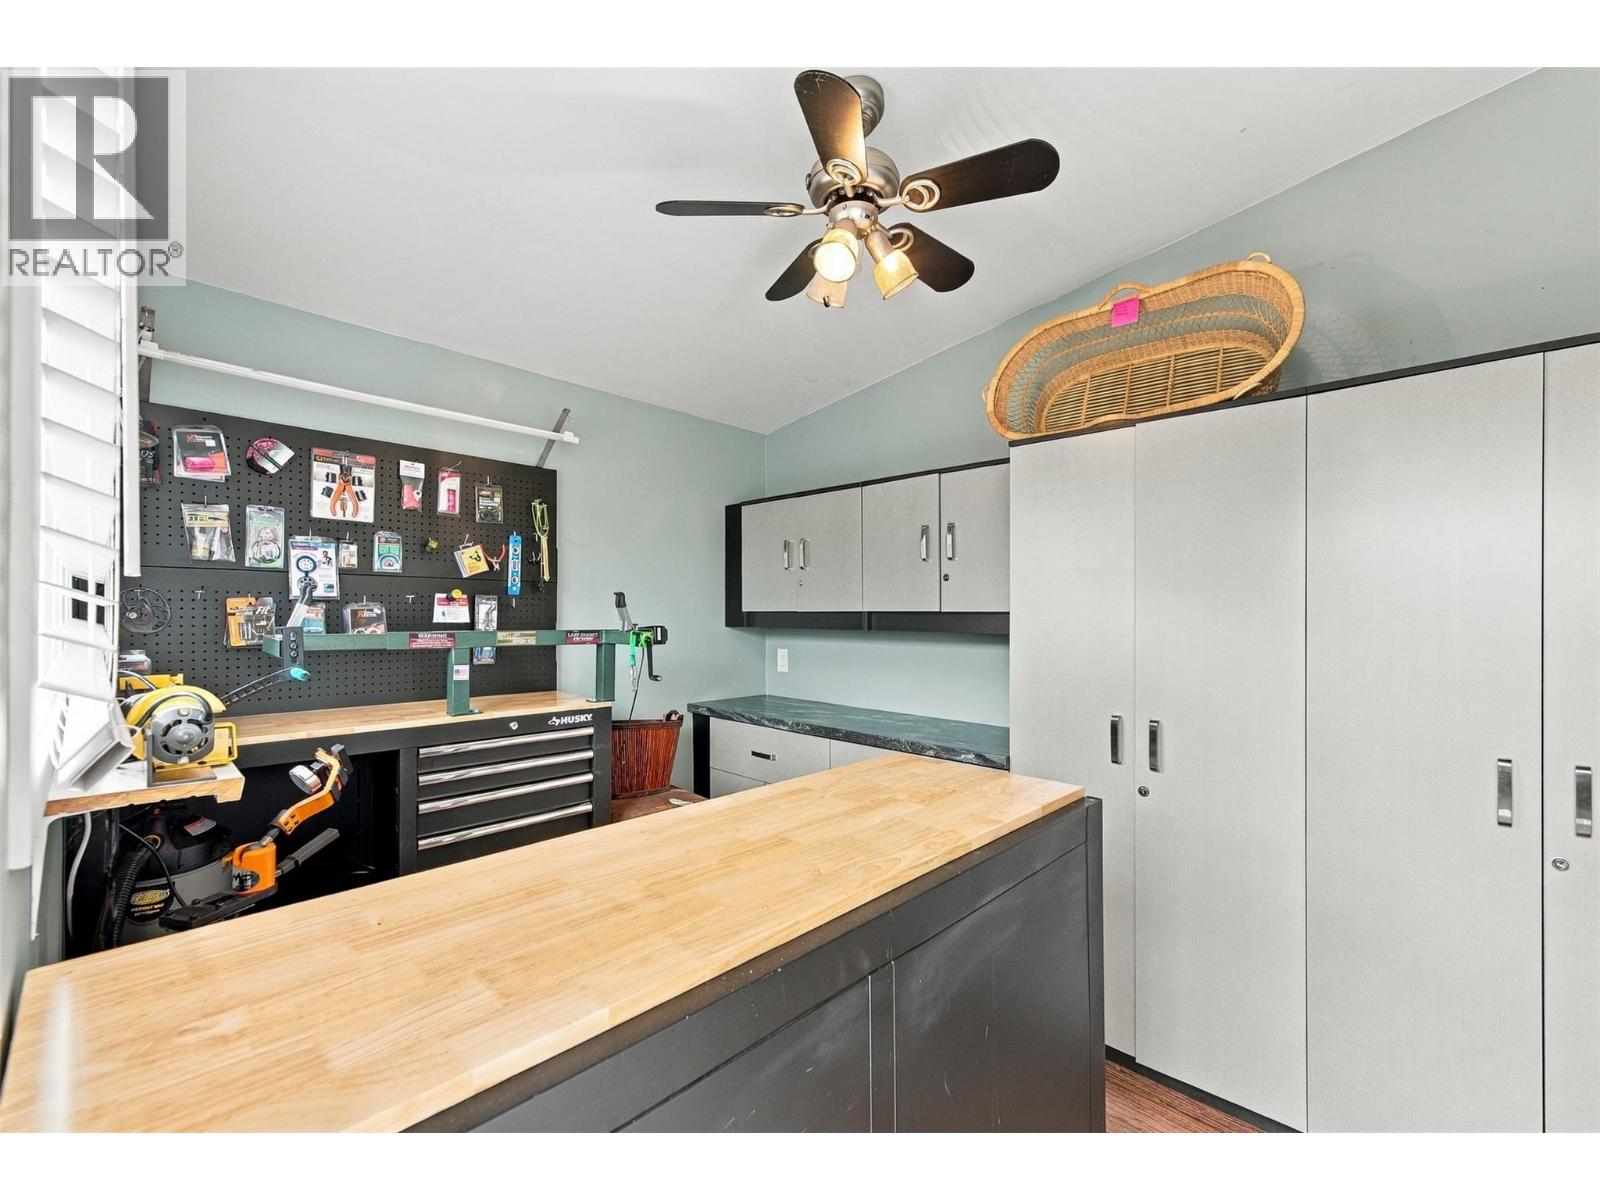
Photo 27
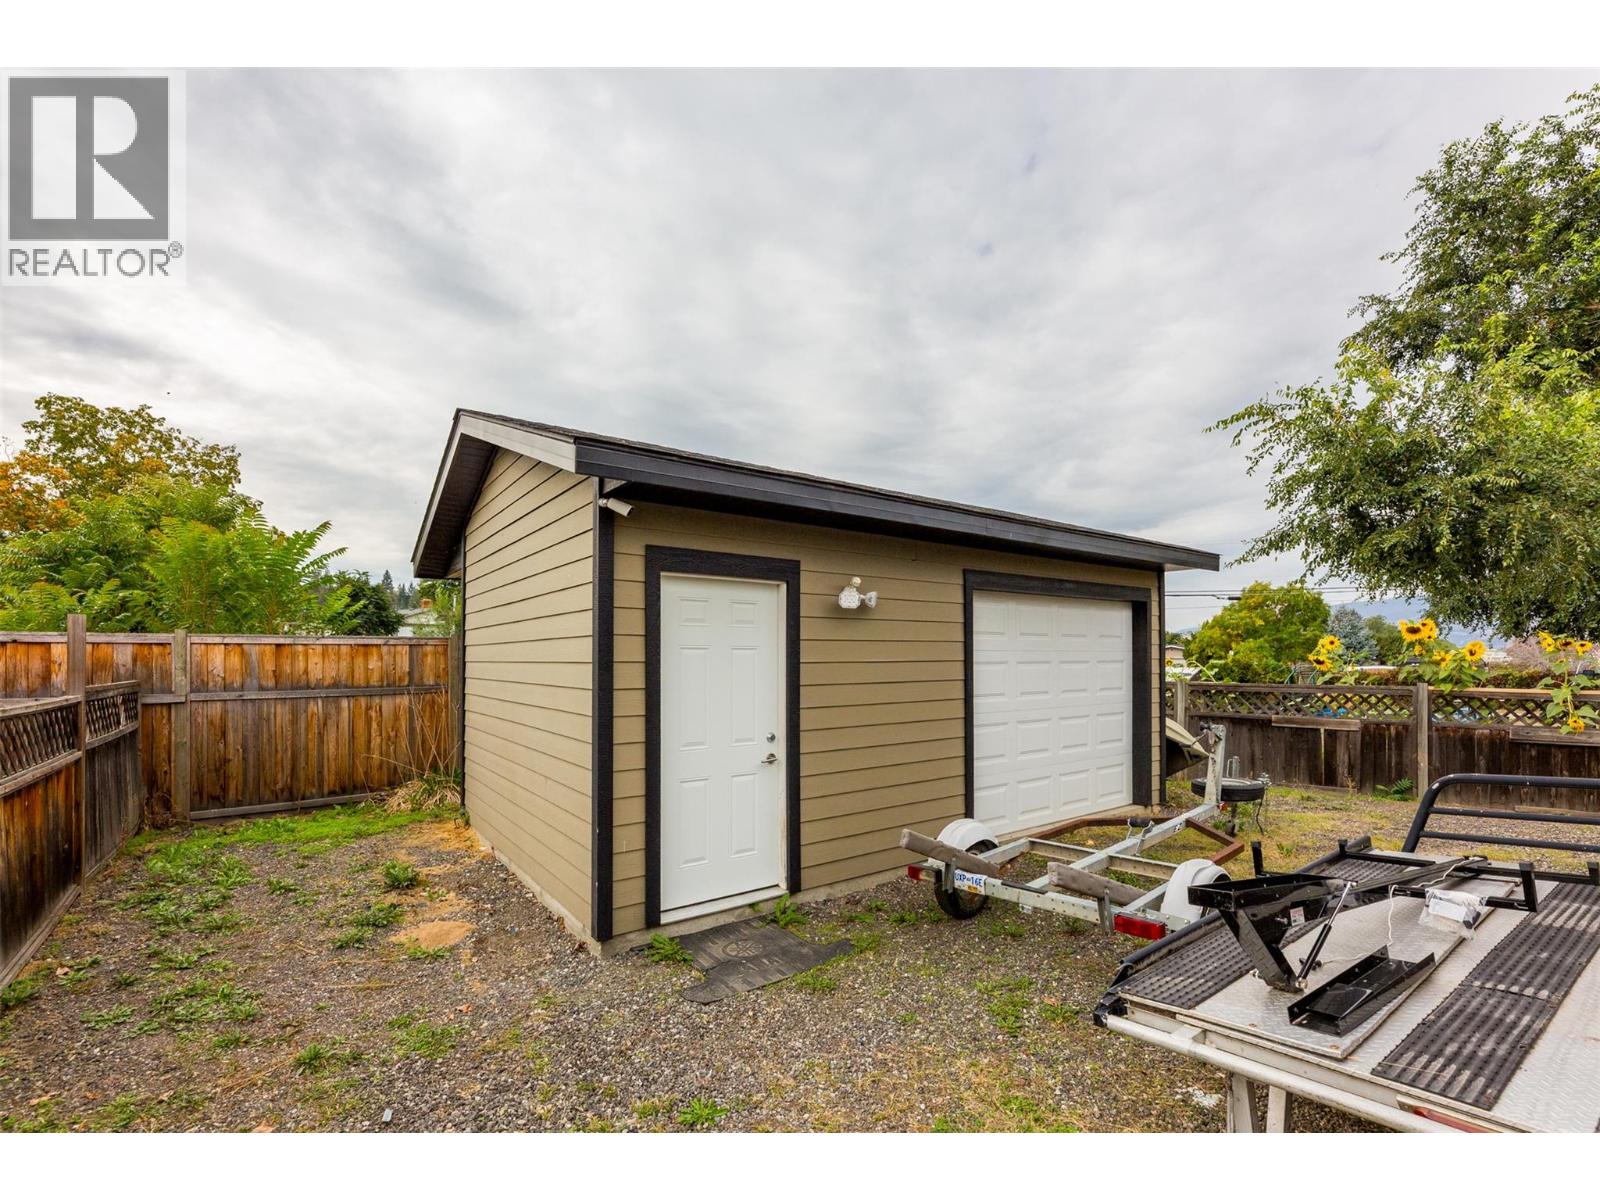
Photo 28
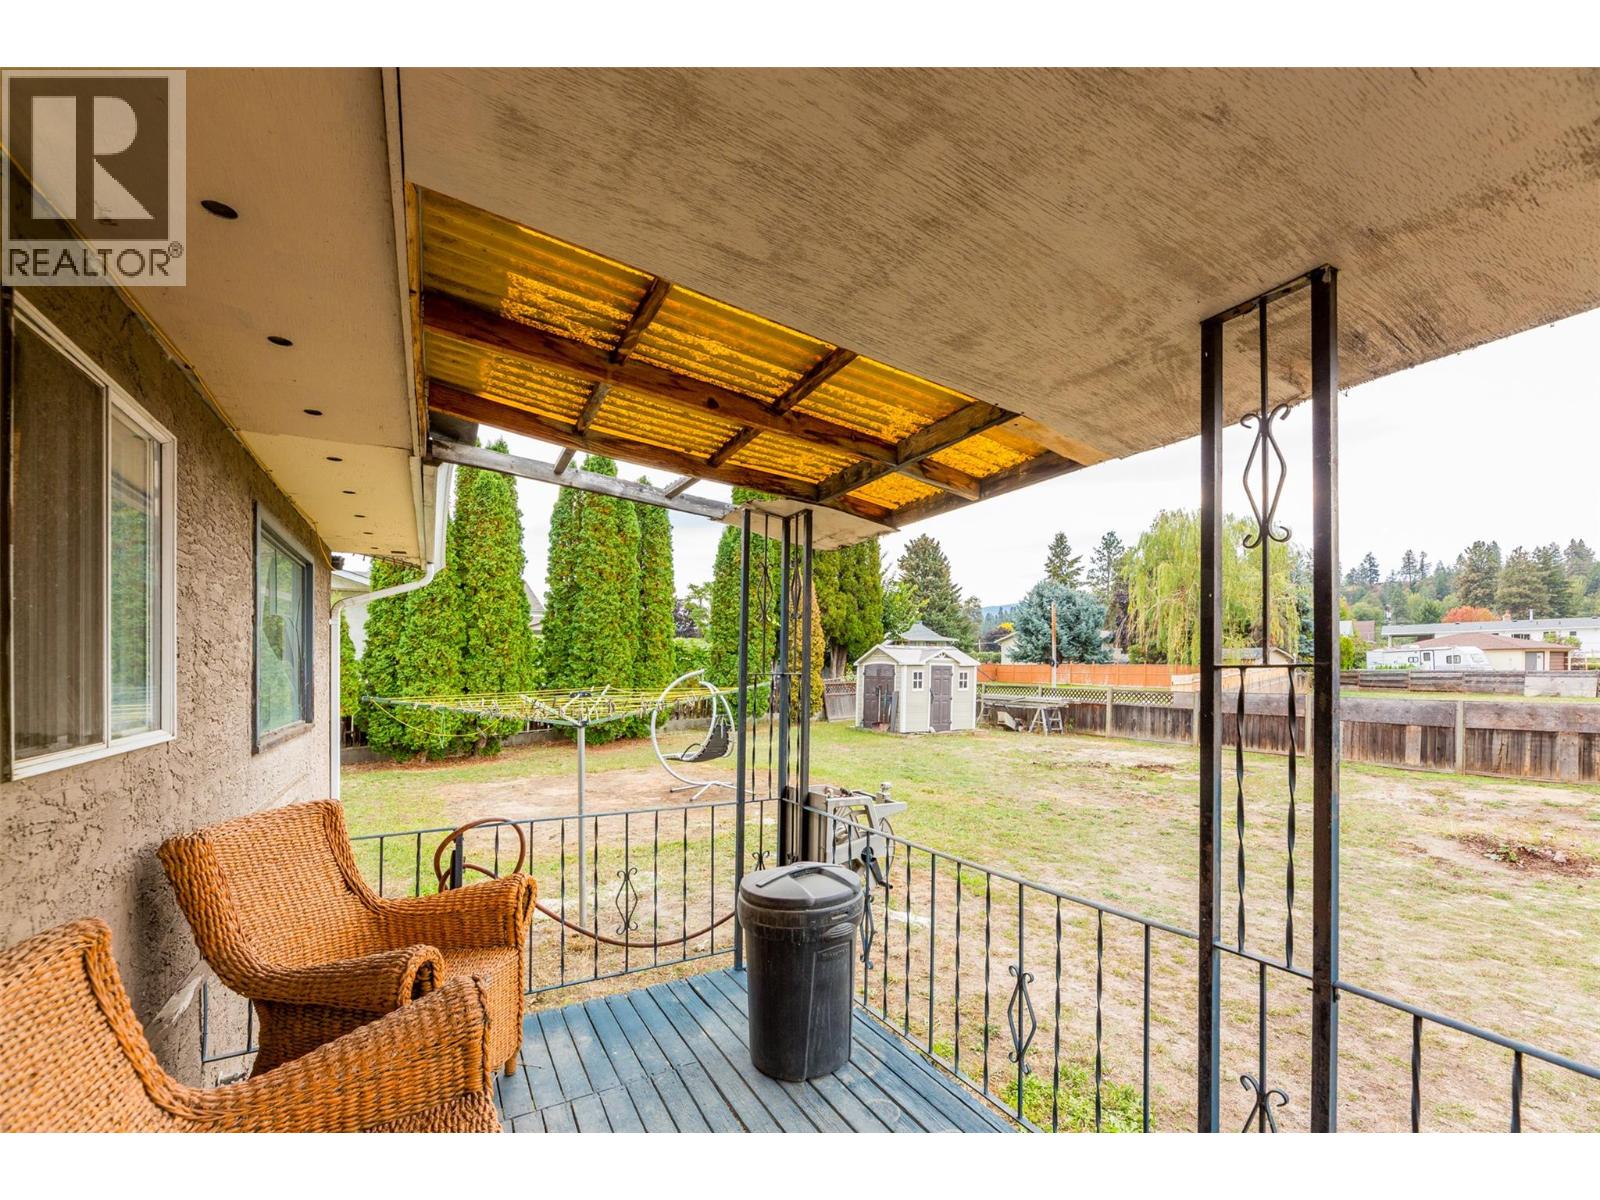
Photo 29
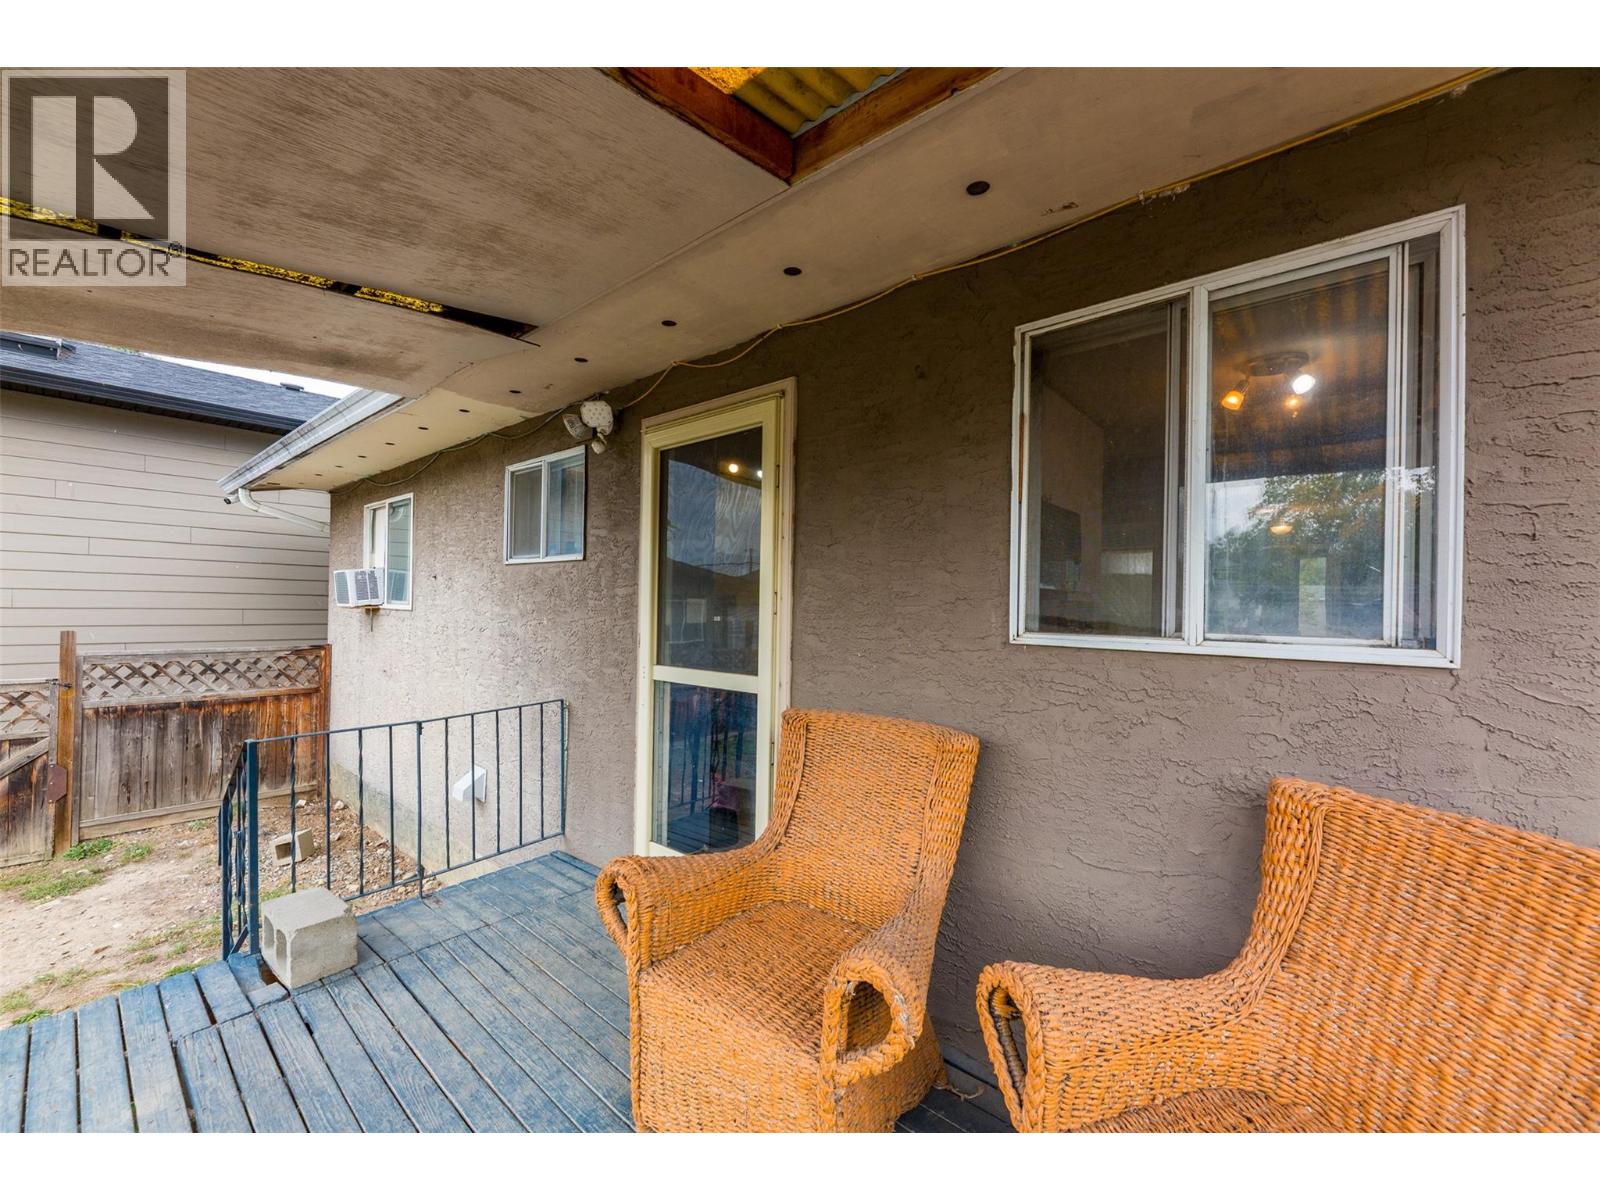
Photo 30
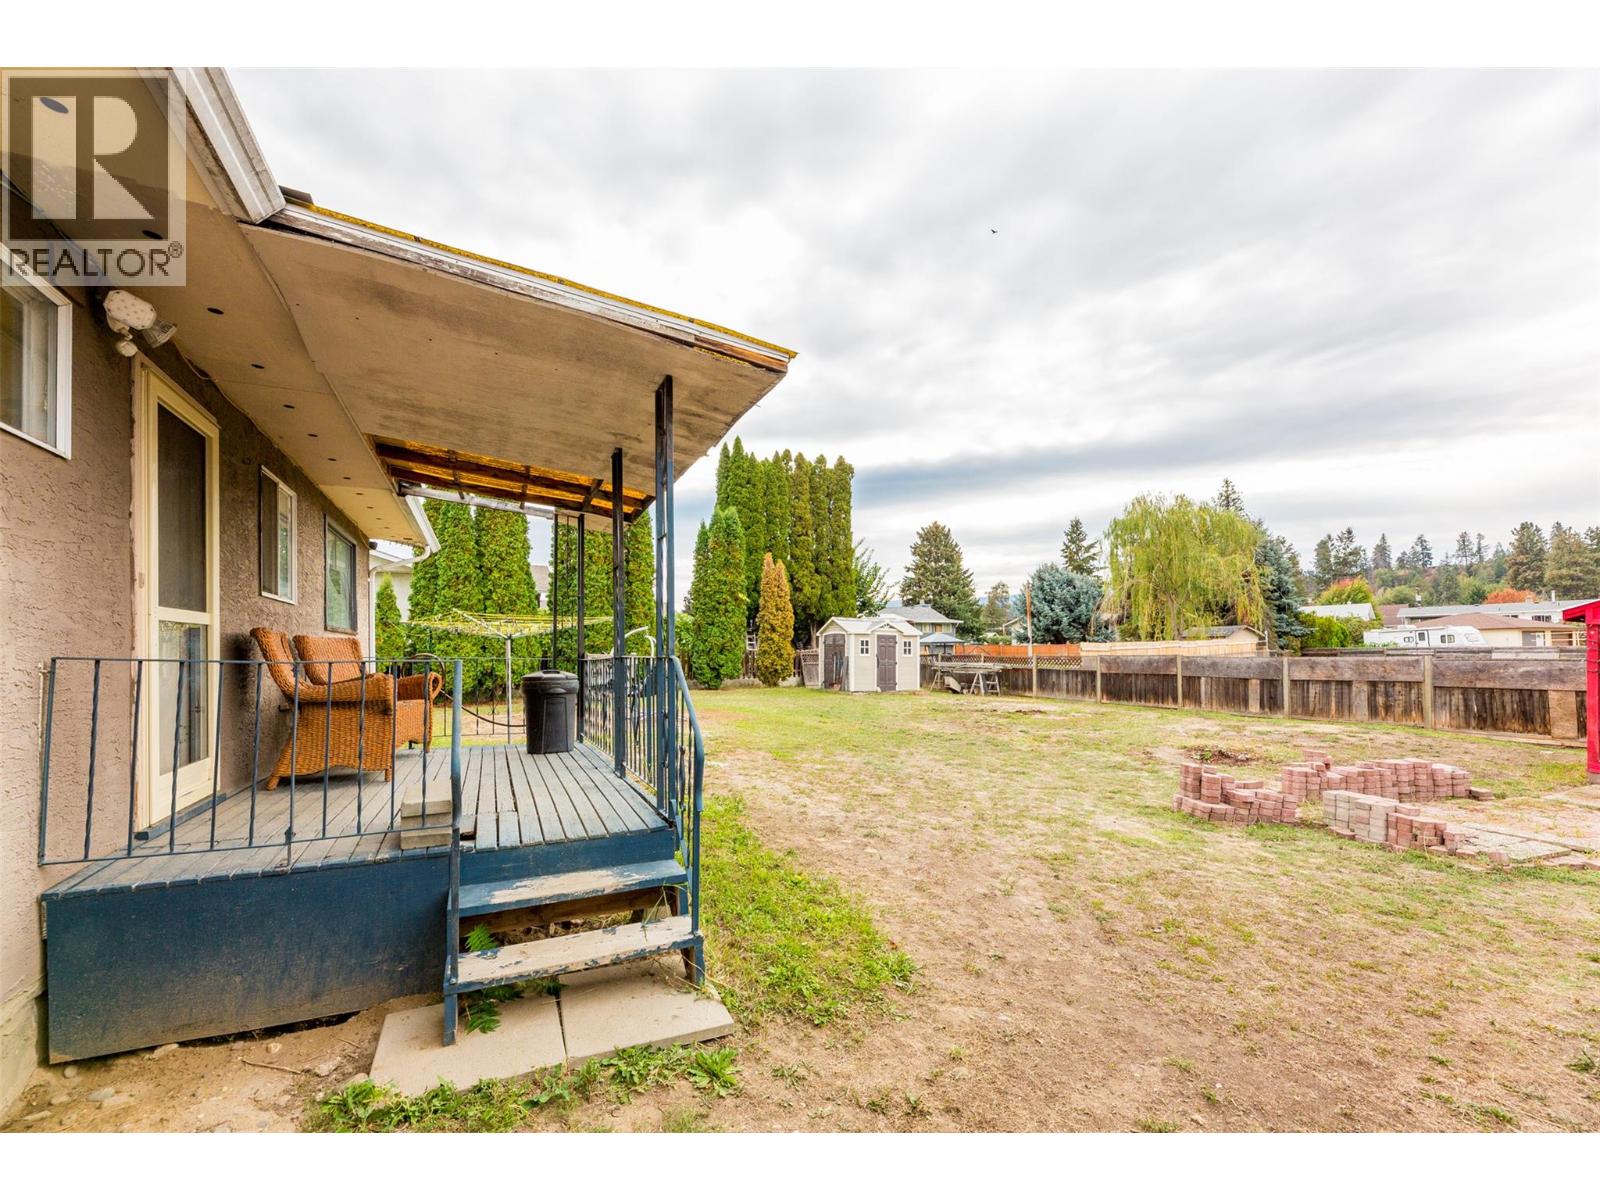
Photo 31
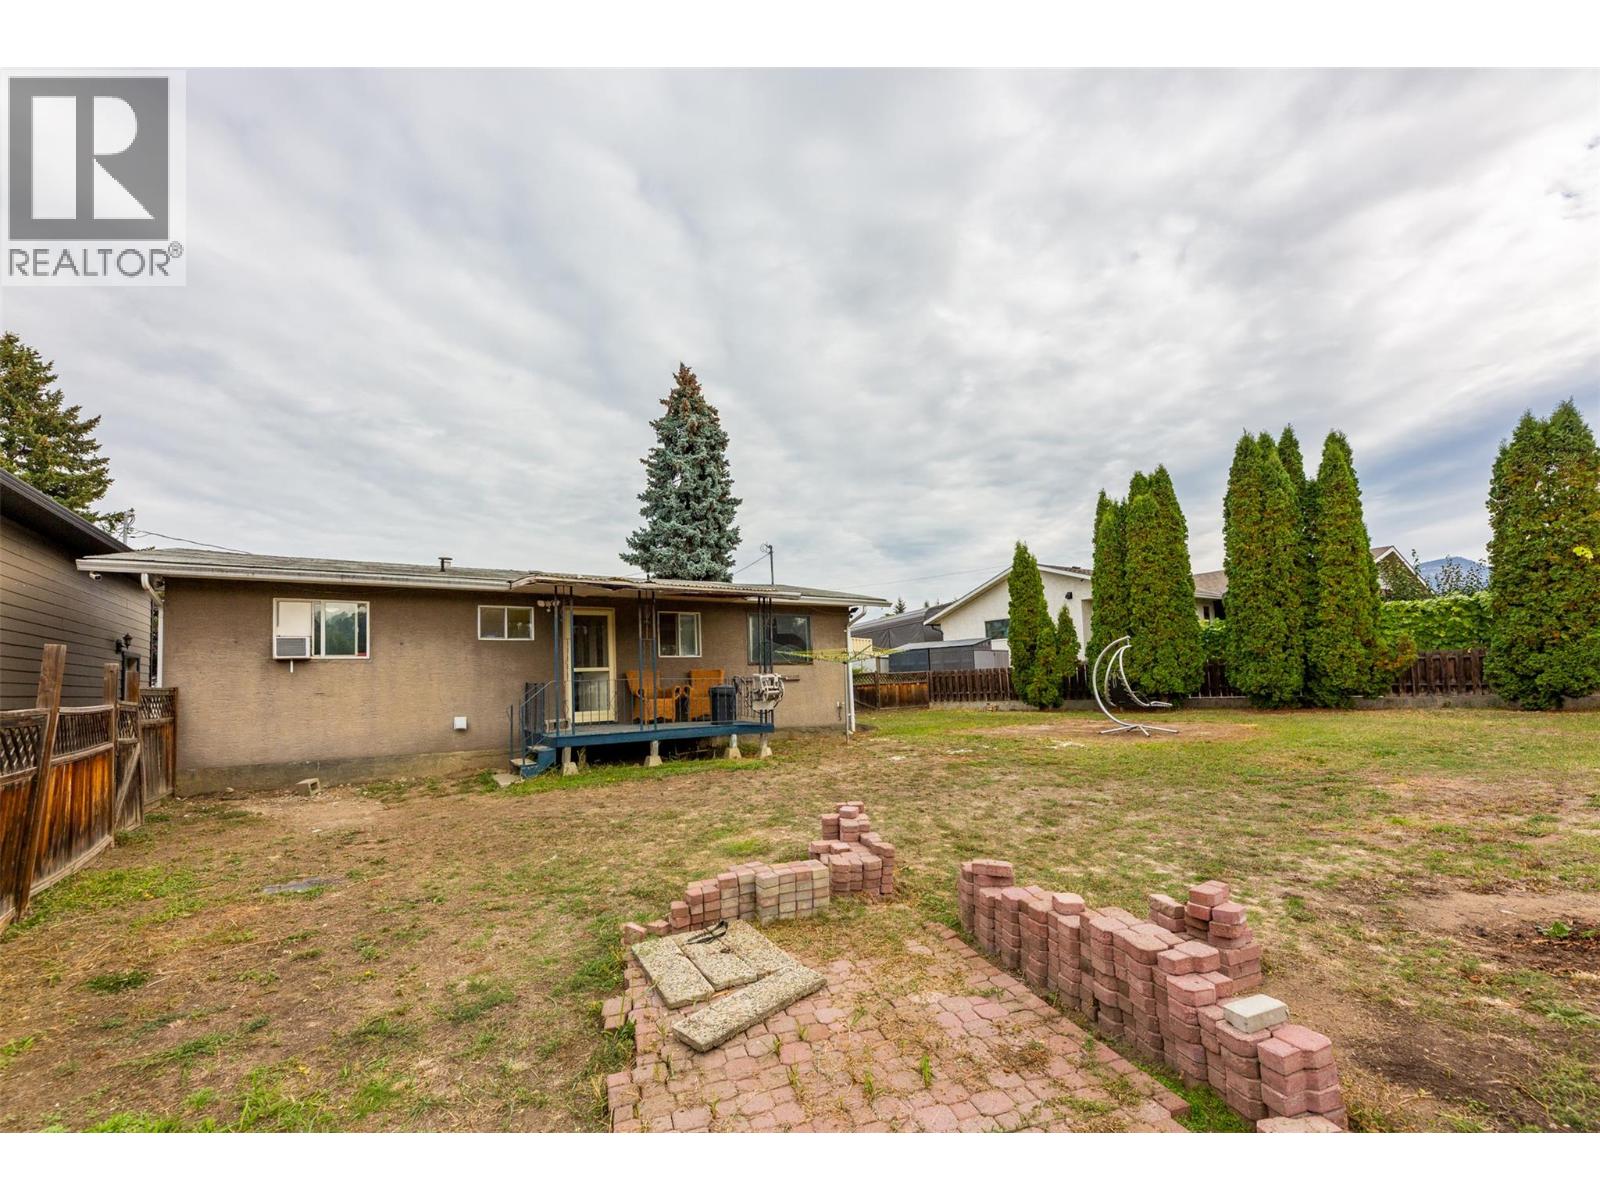
Photo 32
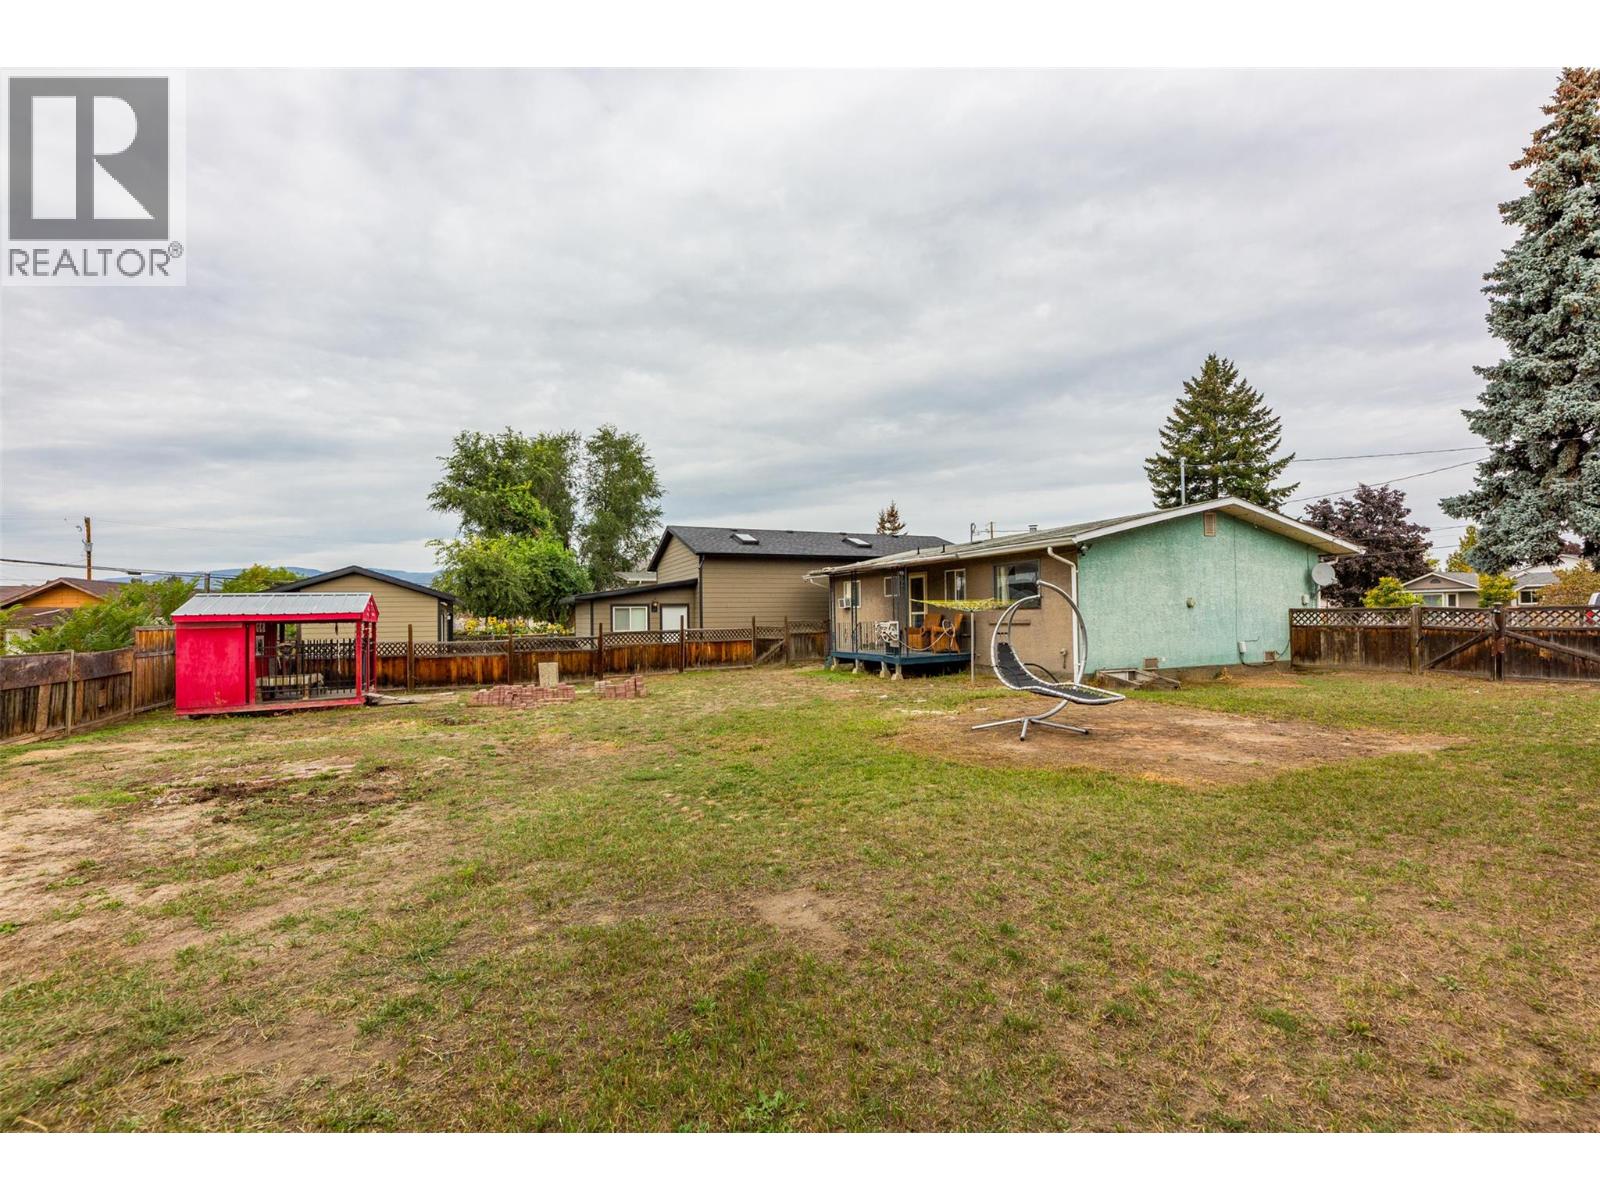
Photo 33
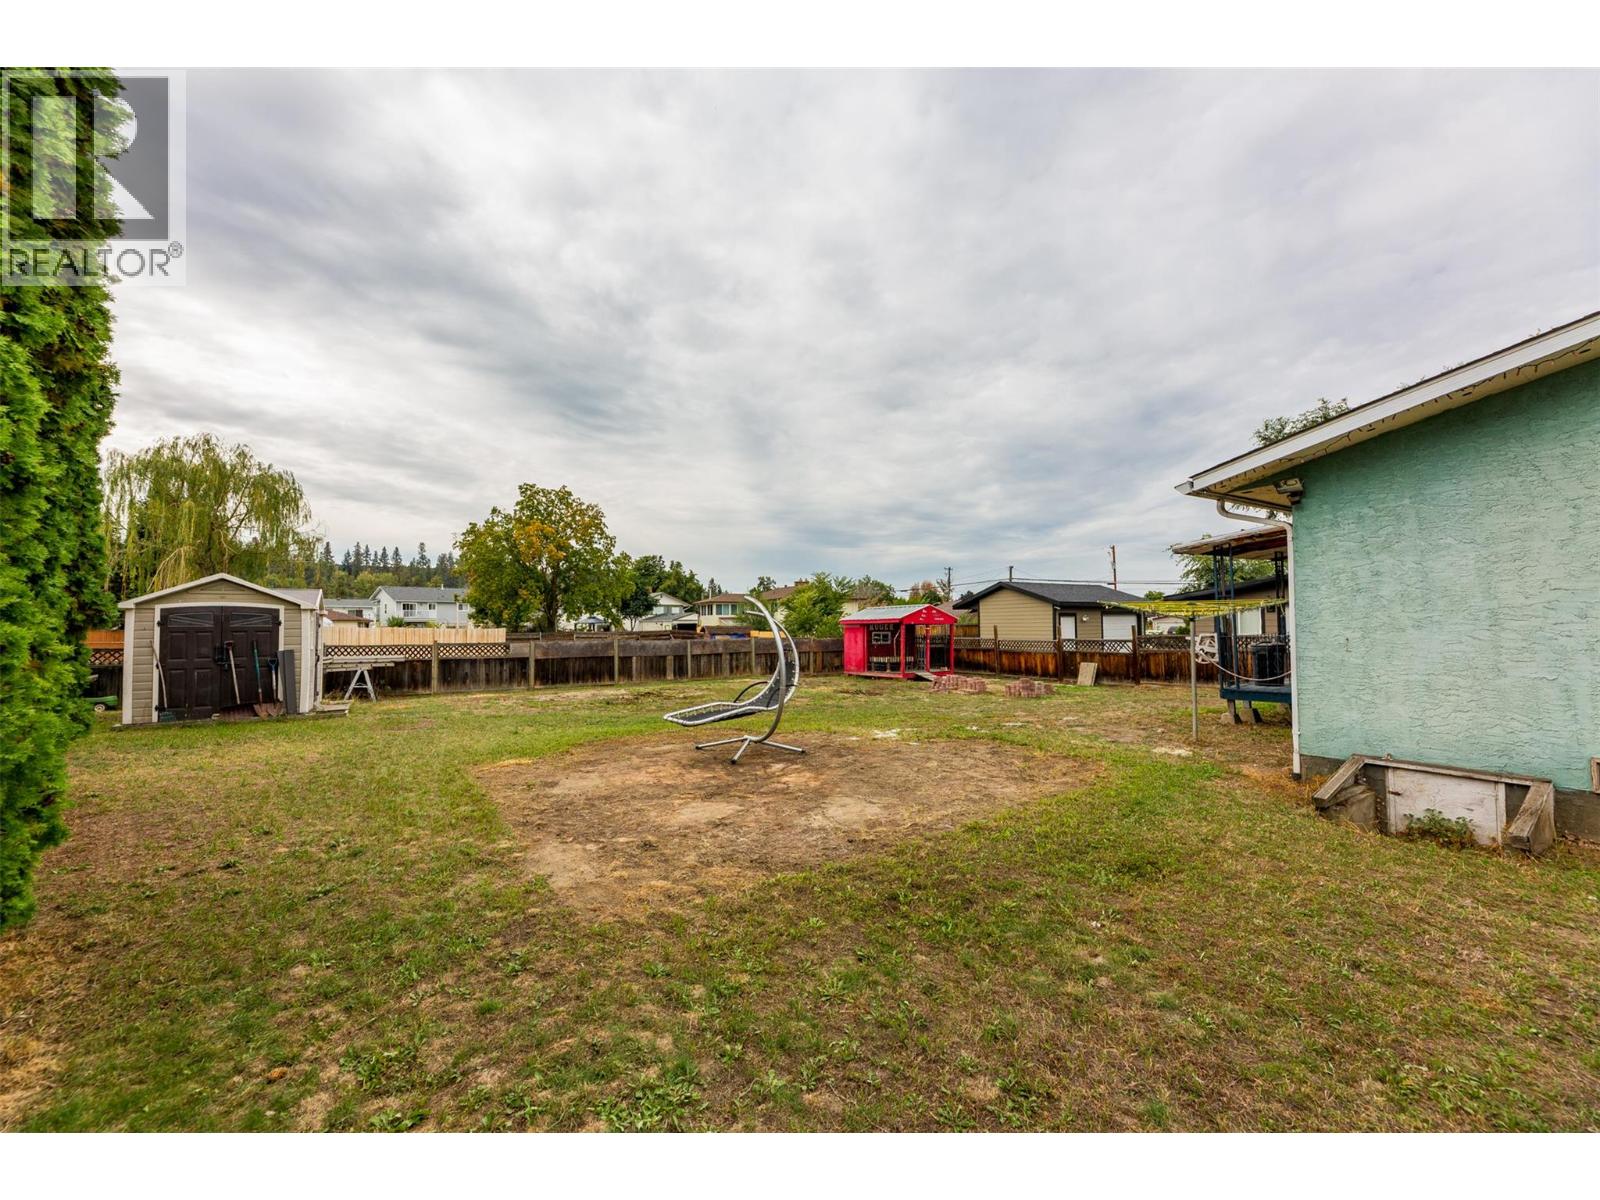
Photo 34
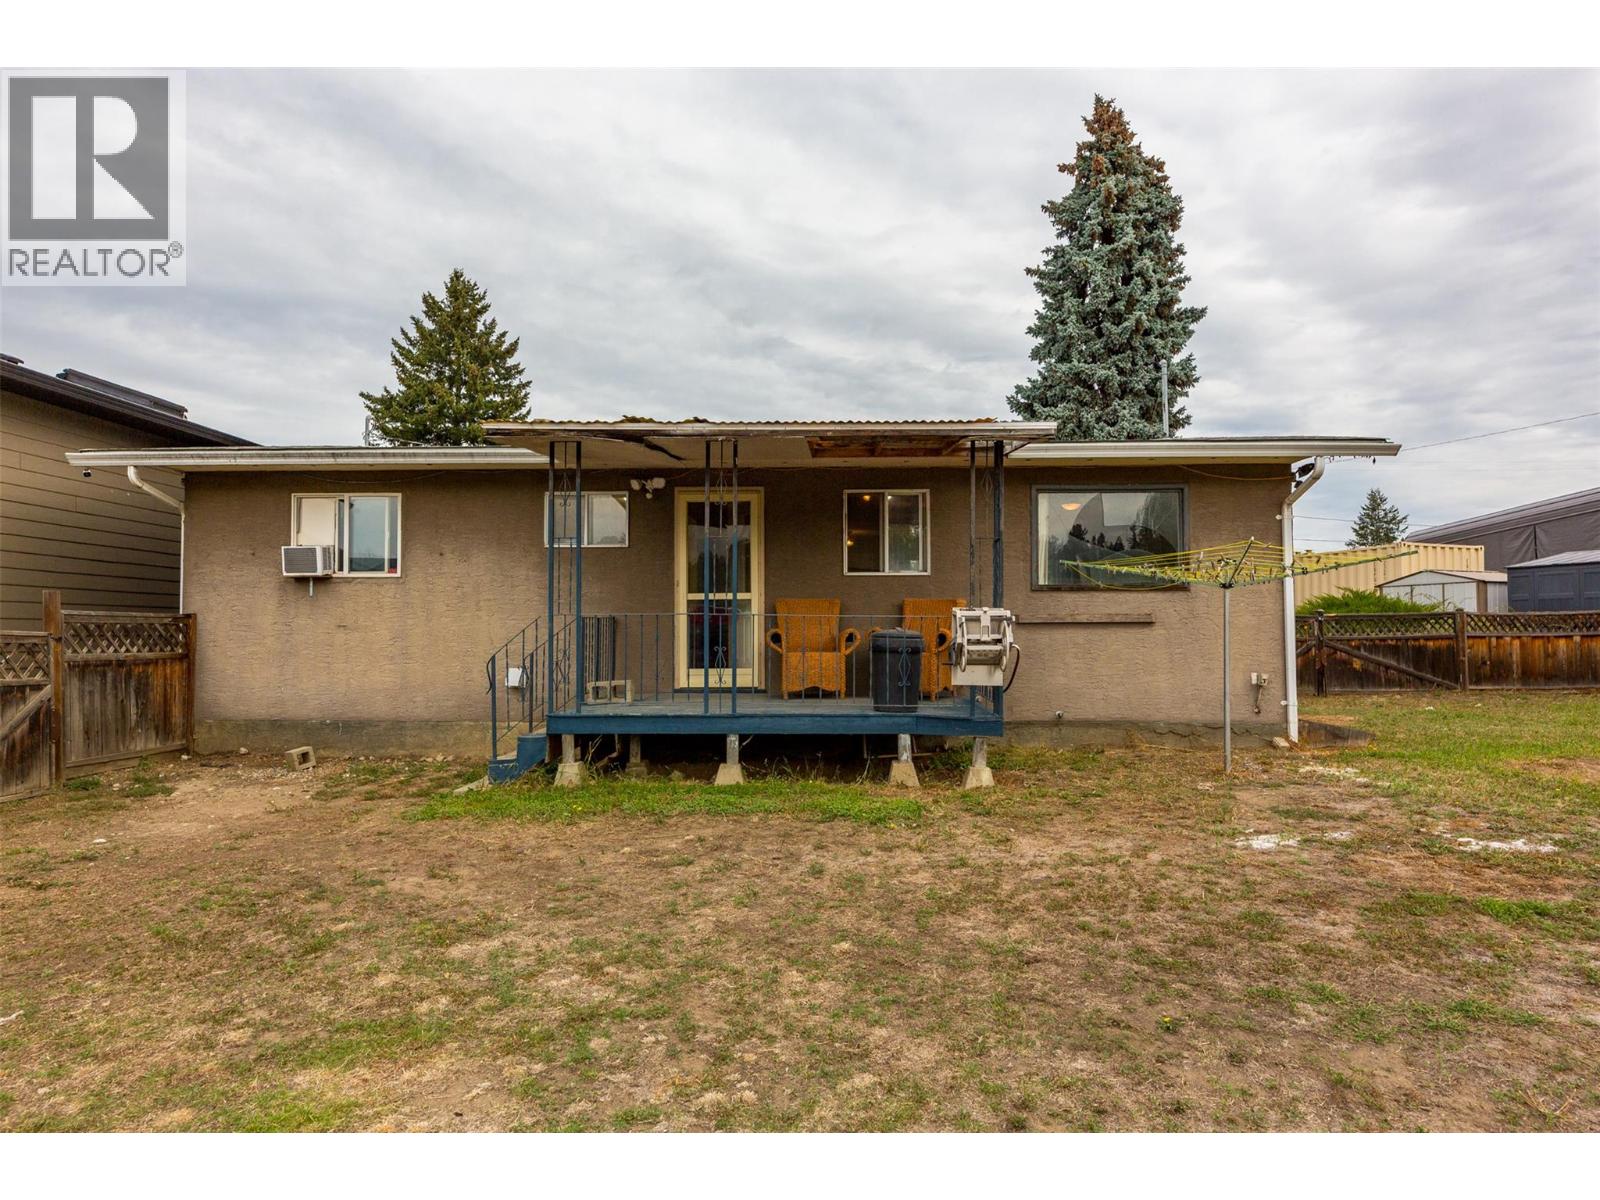
Photo 35
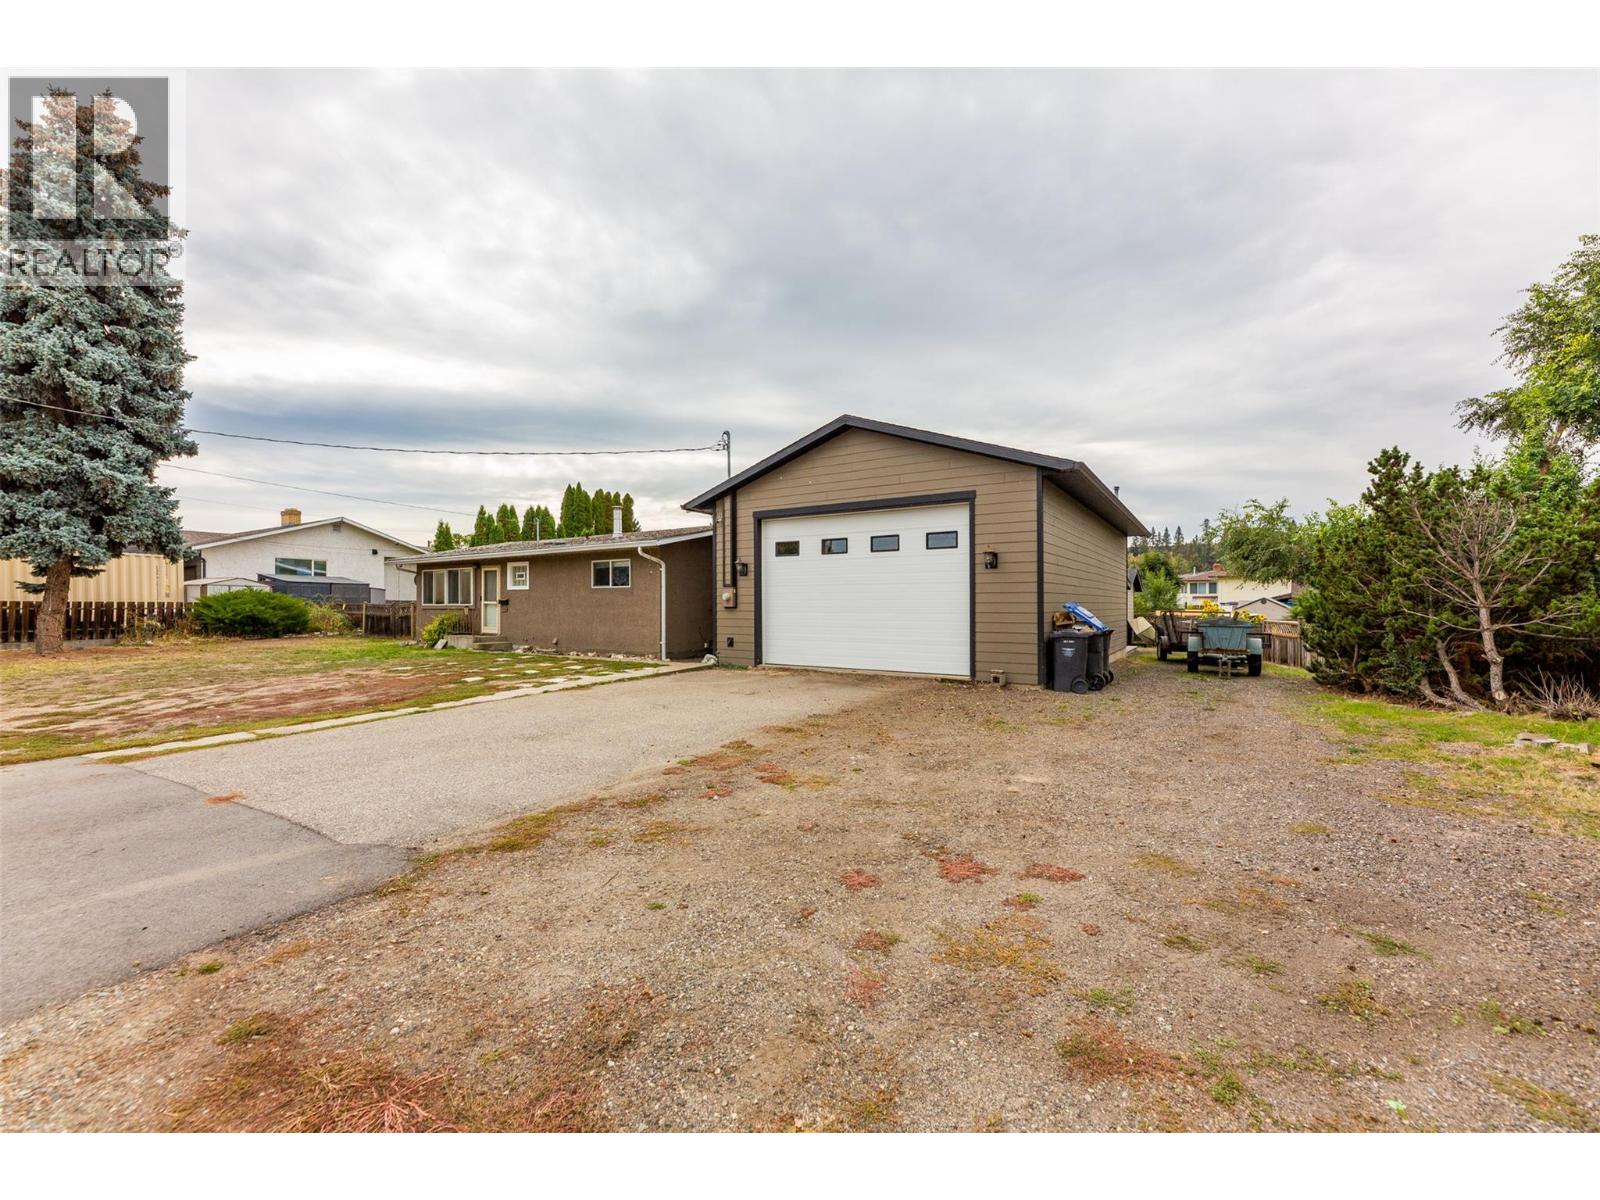
Photo 36
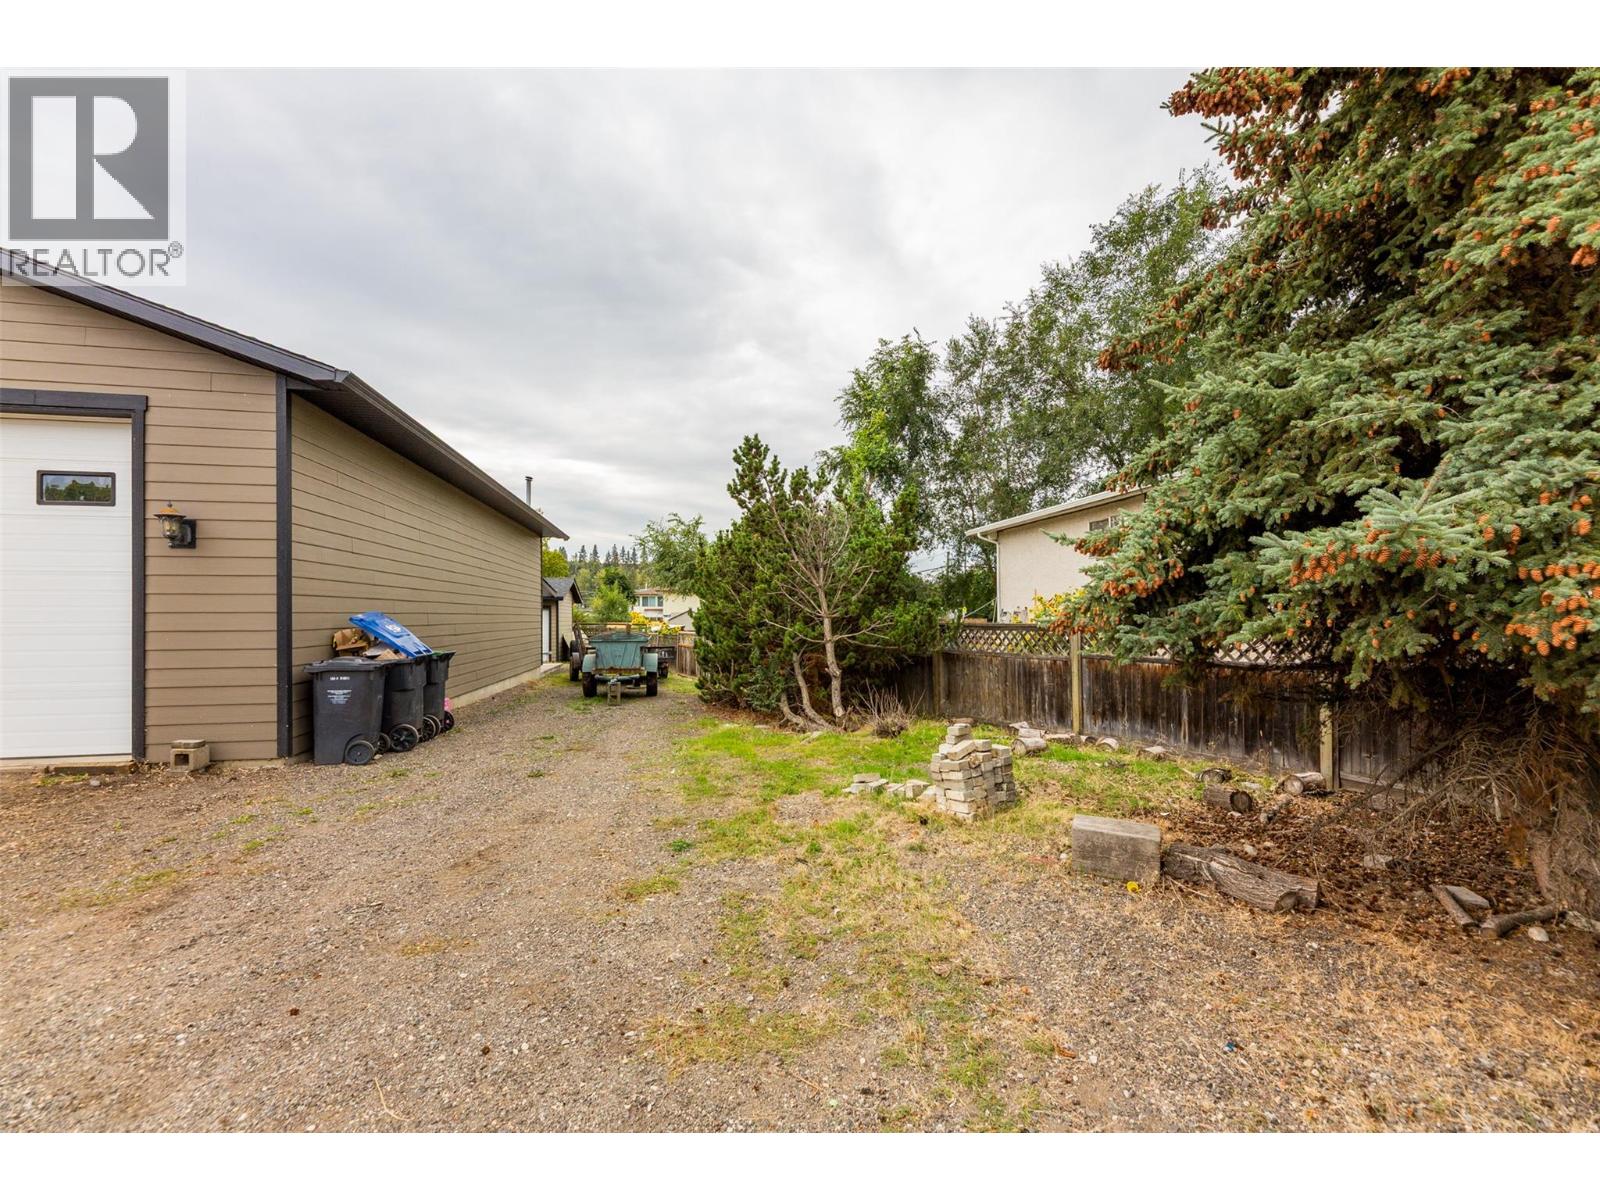
Photo 37
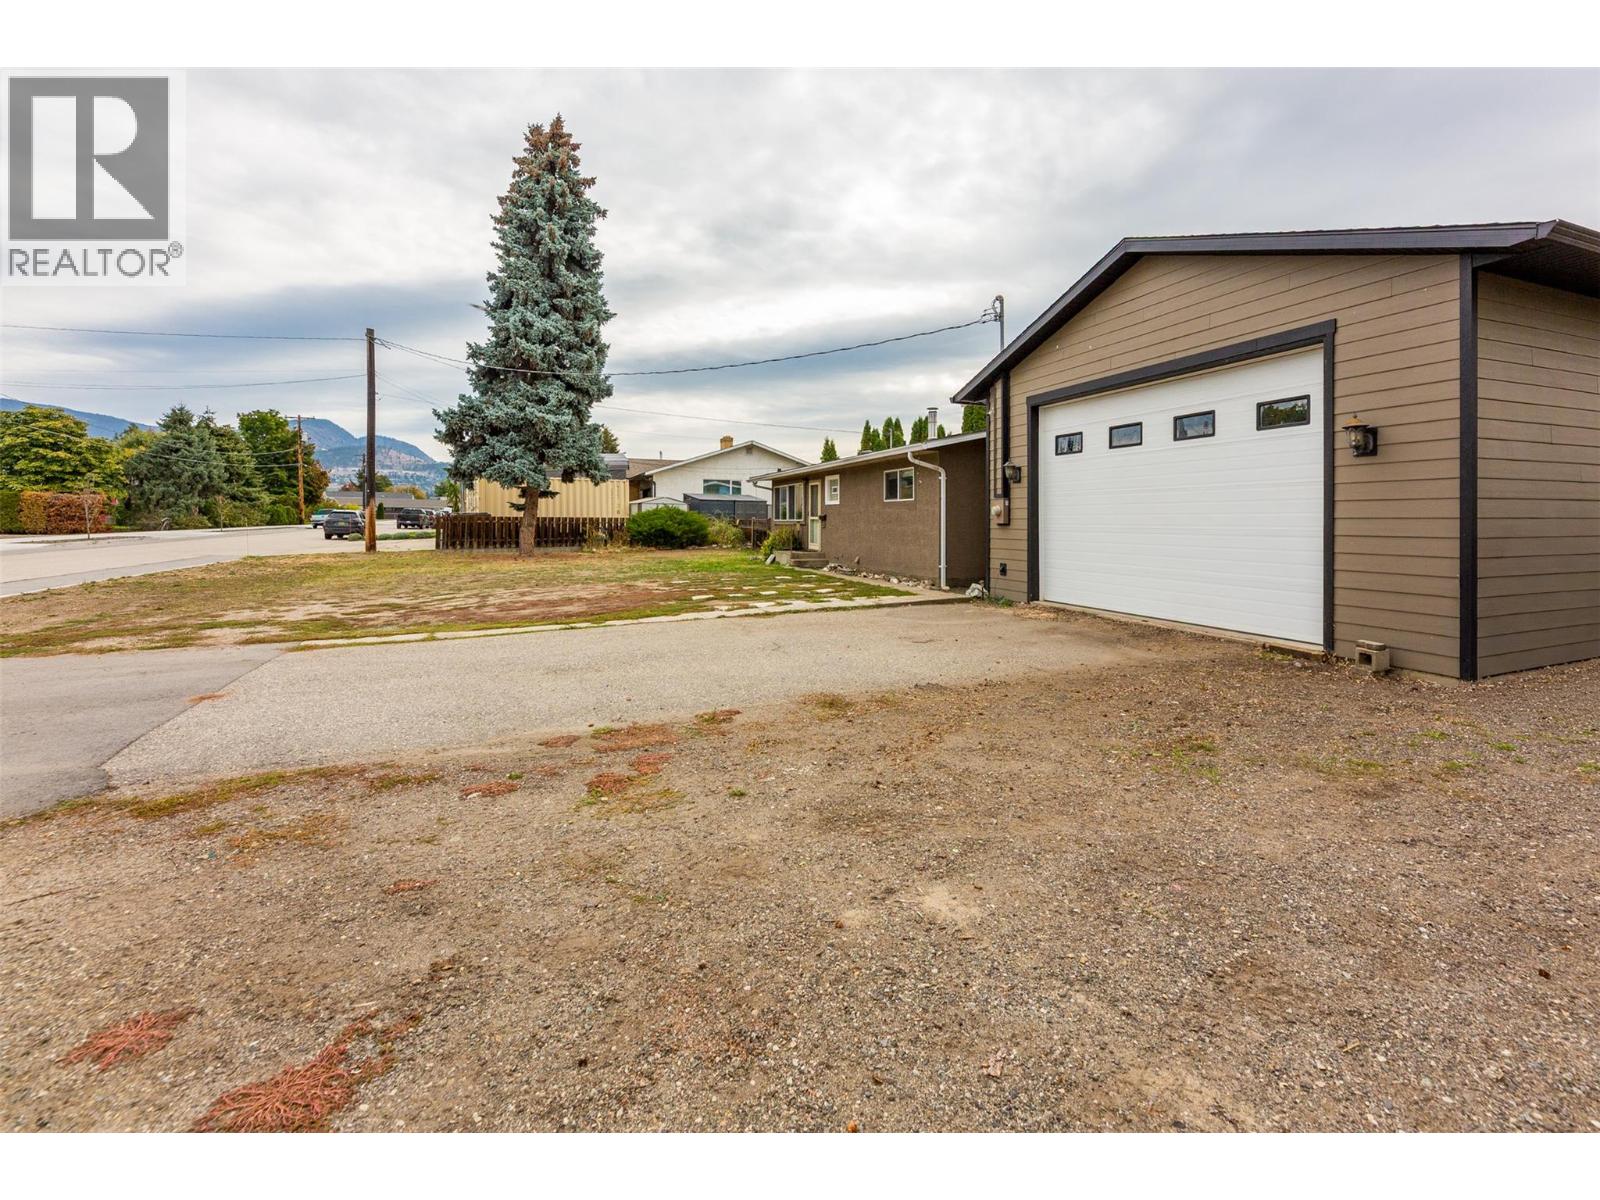
Photo 38
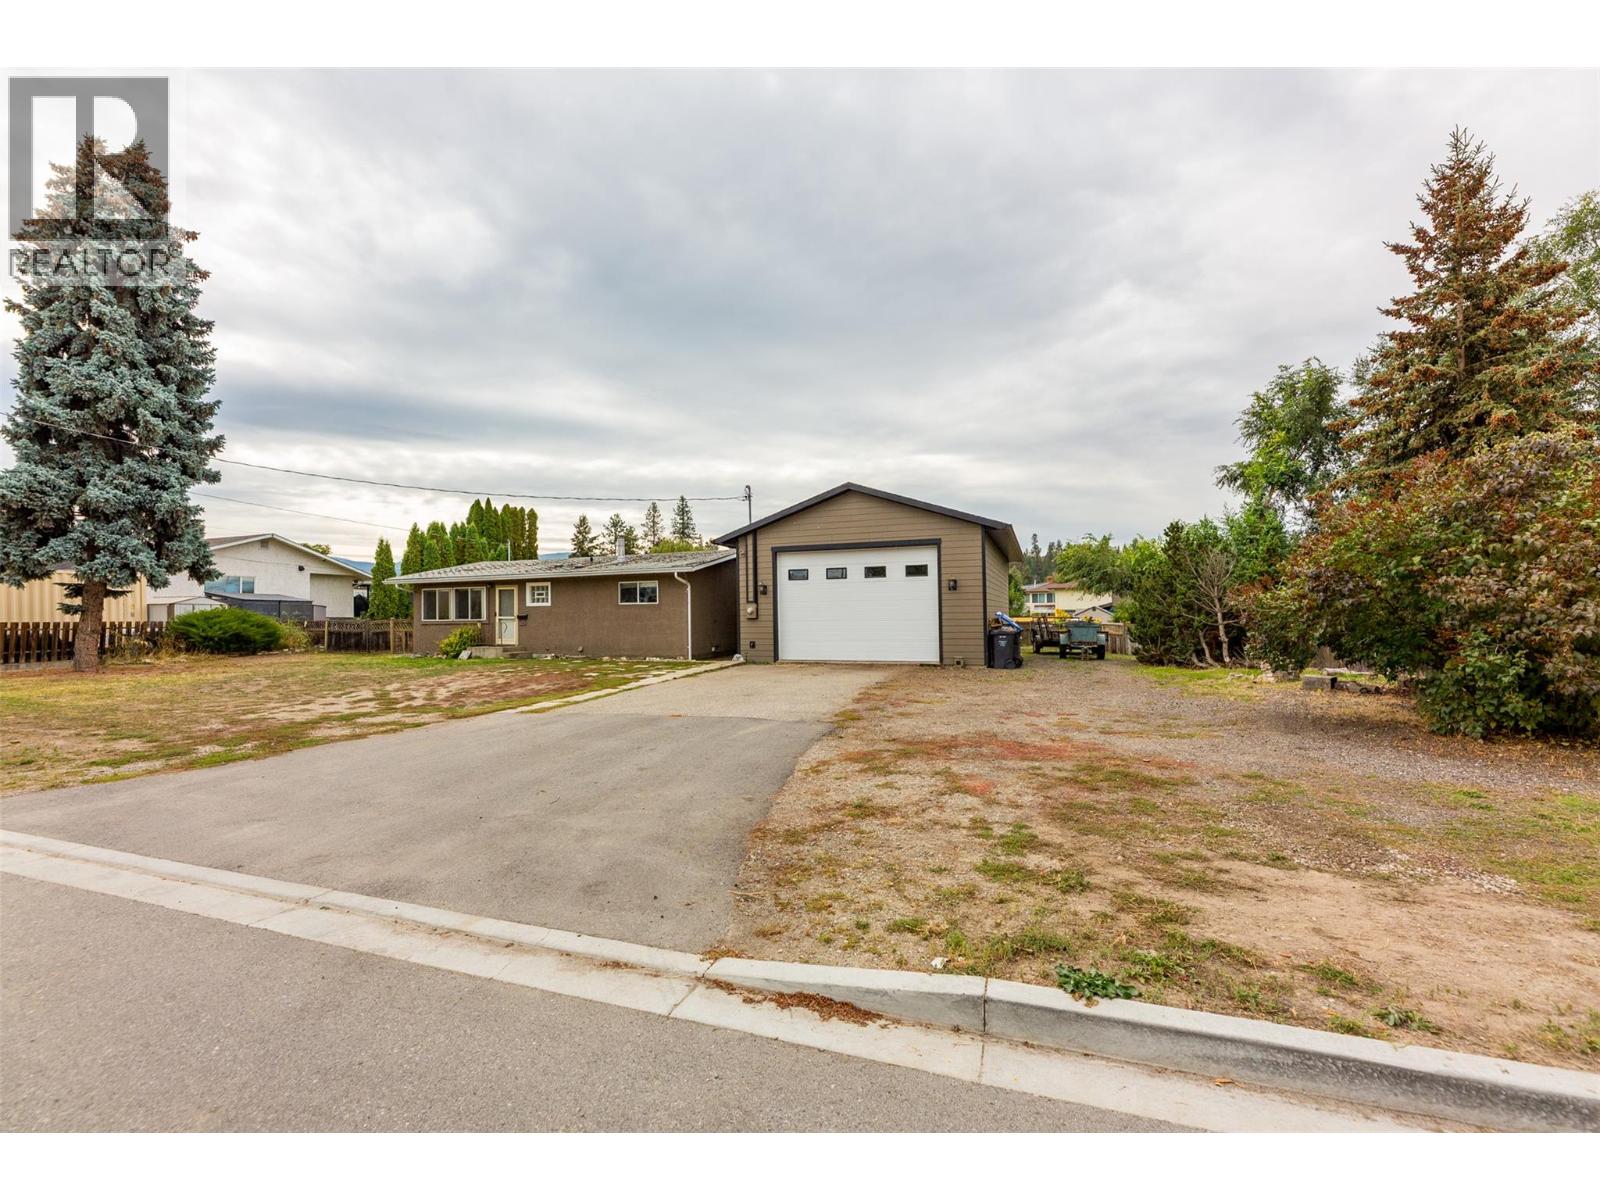
Photo 39
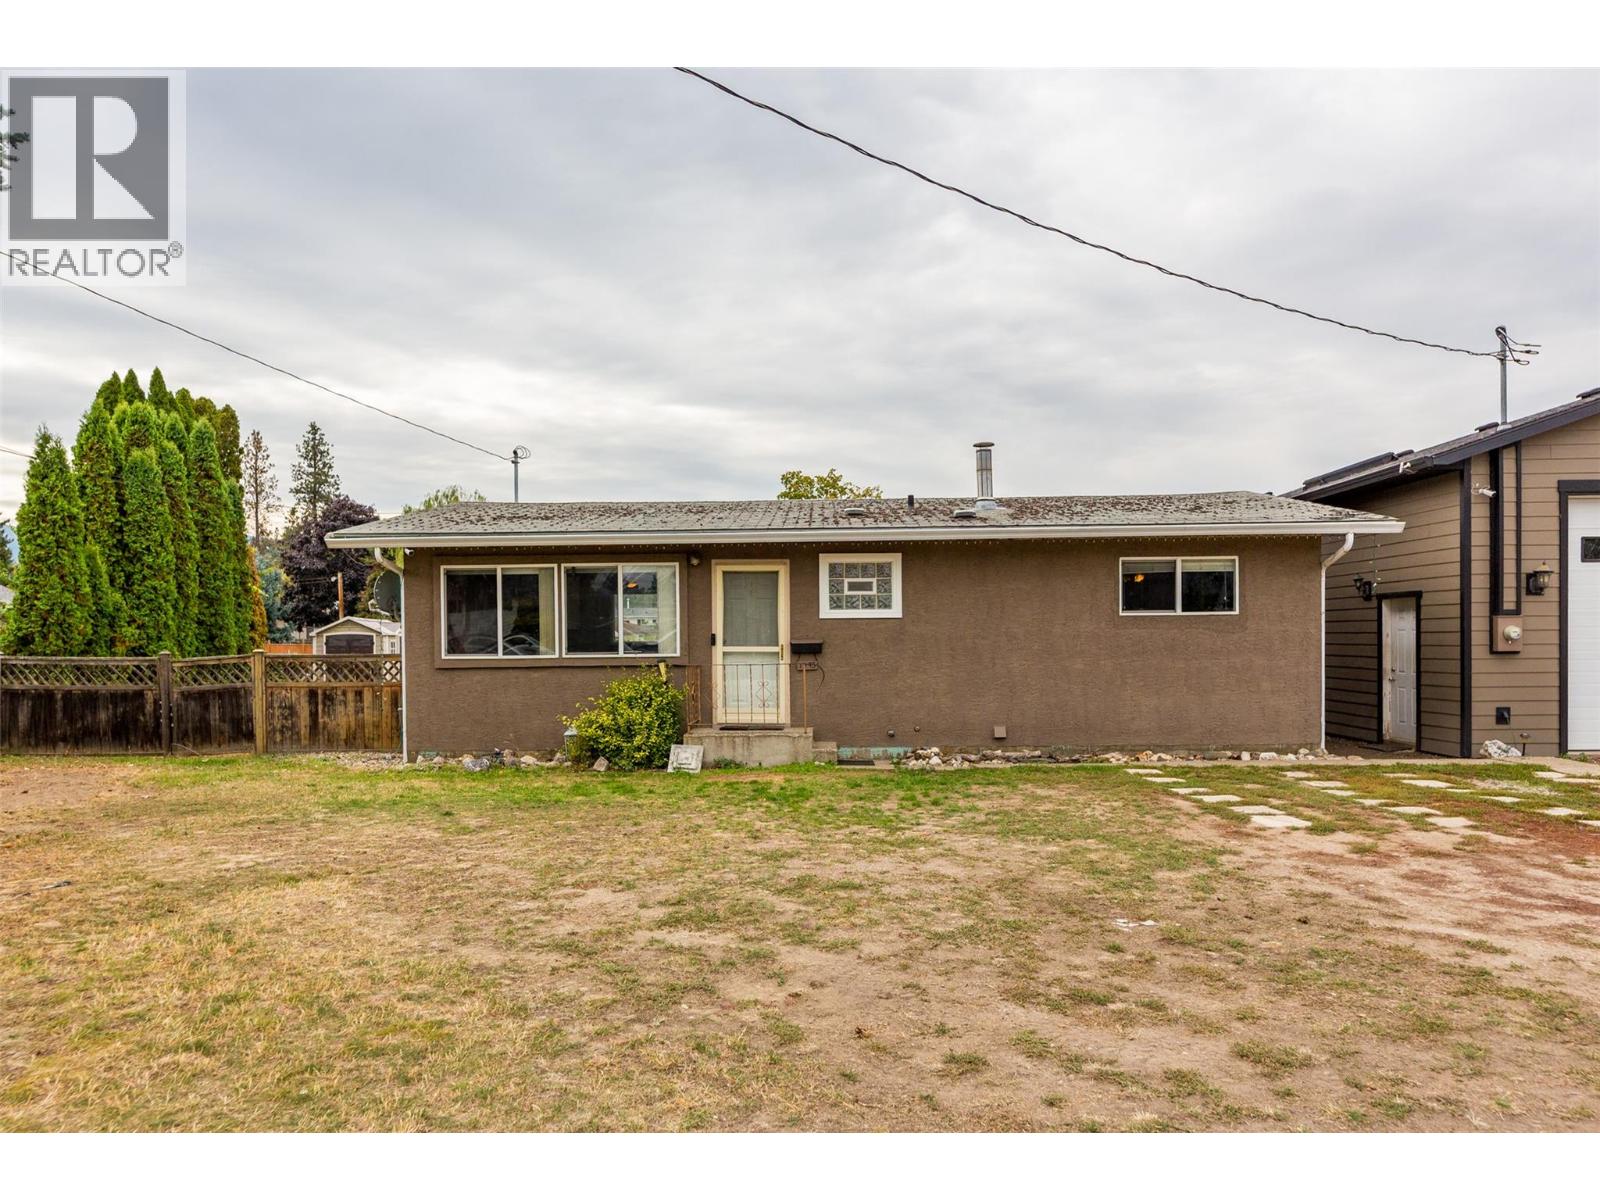
Photo 40
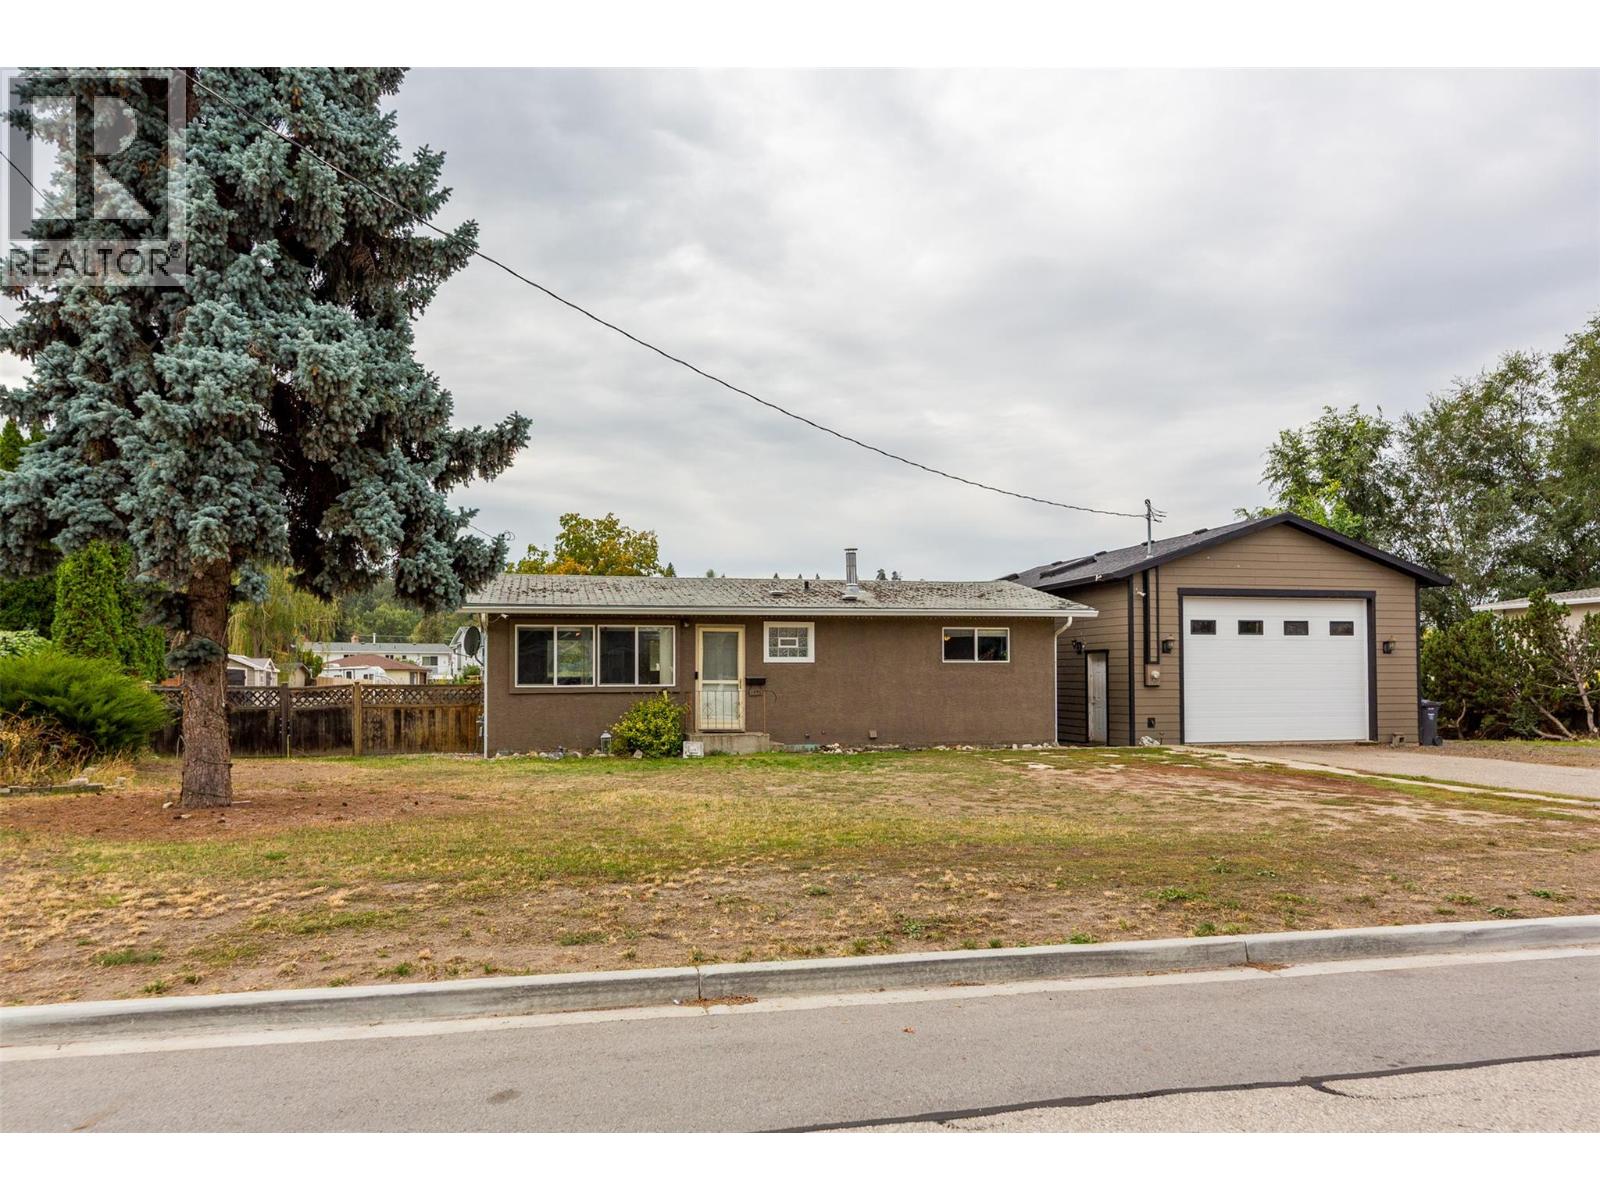
Photo 41